Install Zabbix 5.0 LTS offline on CentOS 7.4
This lab installs Zabbix on a VM with no internet access. The RPM packages are collected on another system and copied to the VM over SFTP.
This is a 2020 lab record. CentOS Linux 7 reached end of life in June 2024, and Zabbix 5.0 is outside its support lifecycle. Use a supported OS and Zabbix release for new deployments. Zabbix lifecycle
0. Prepare the Linux environment
The original package bundle is archived at Baidu Pan, with extraction code hfmn. Use trusted packages and verify them before installing.
0.1. Build the VM in VMware Workstation
The lab uses CentOS-7-x86_64-Everything-1708 and VMware Workstation 15.5 Pro on Windows 10.
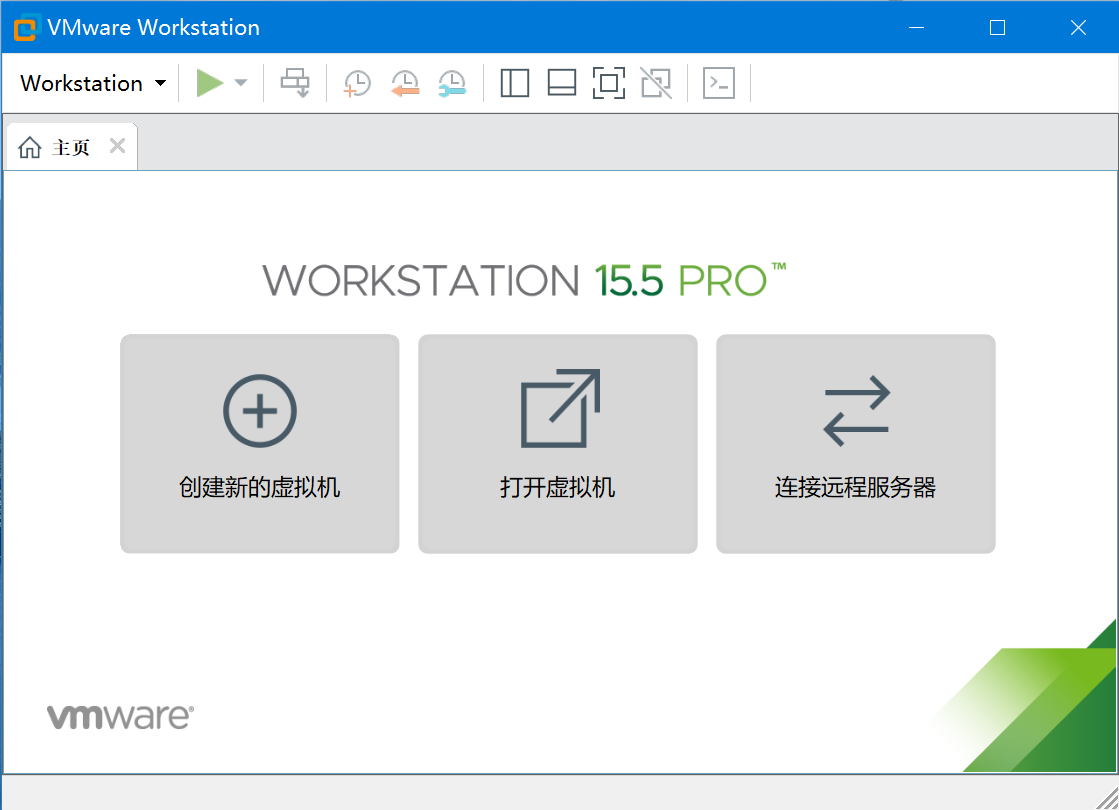
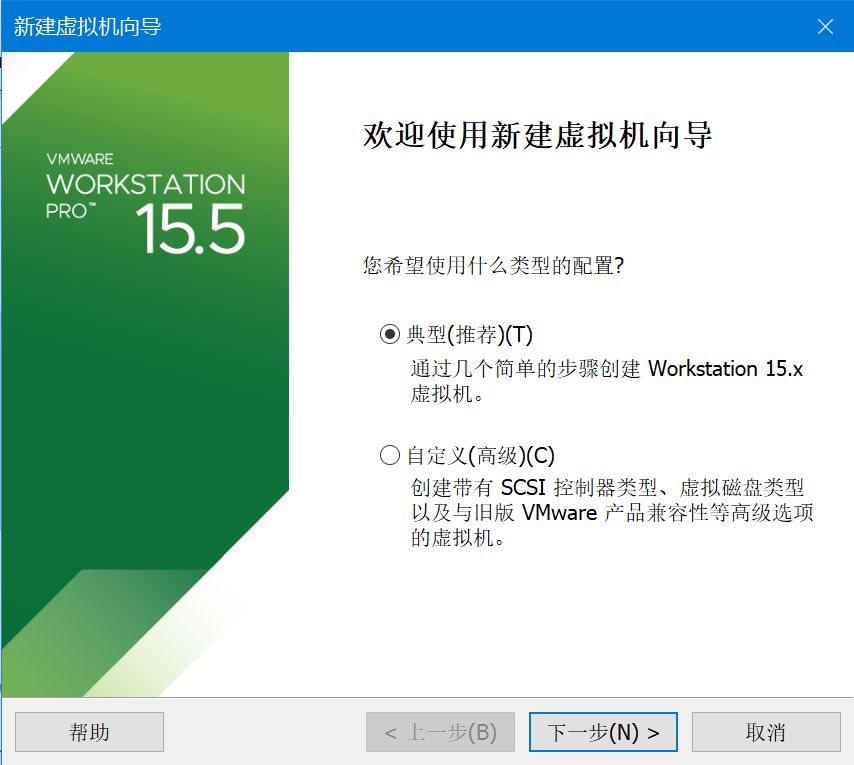
Create a new VM using the Typical setup and select the ISO.
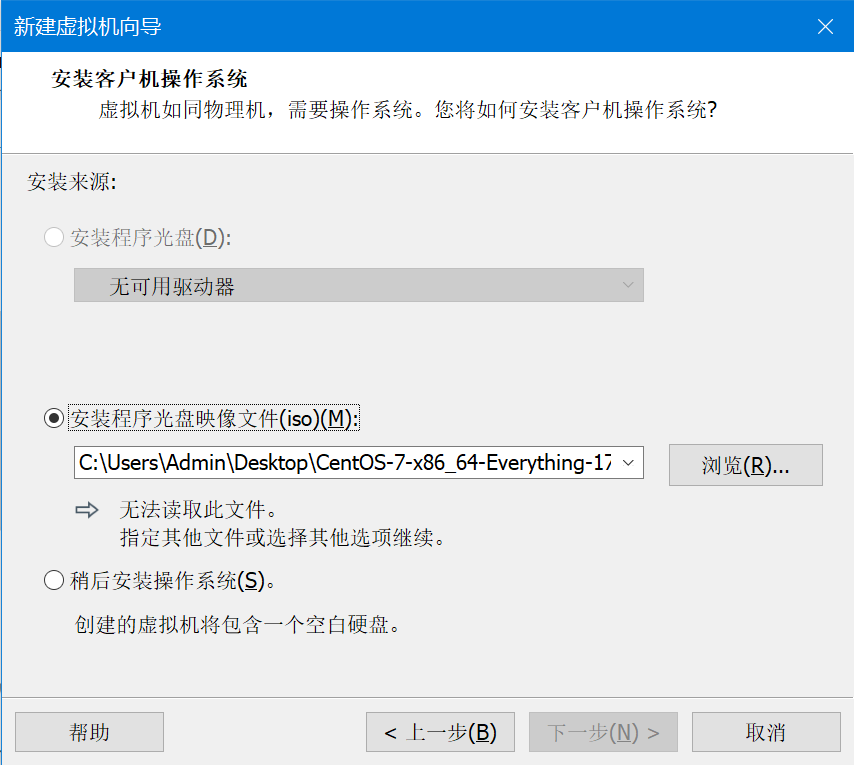
The installation example uses Testdevice as the full name, test as the username, and a lab-only password.

Choose where to store the VM files.
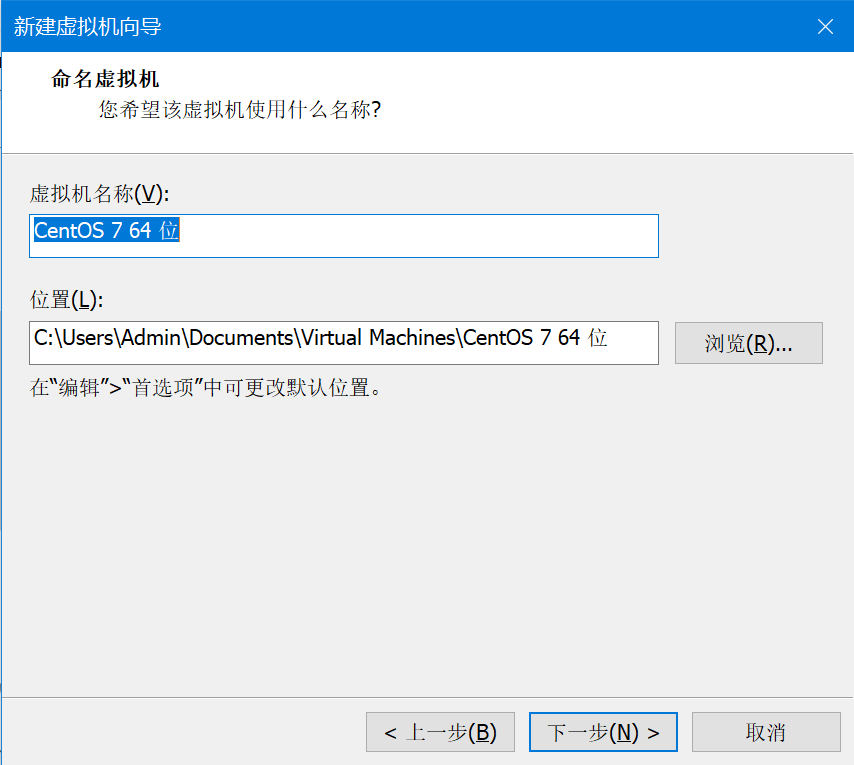
Allocate a 100 GB disk, 4 GB of RAM, and two CPU cores.
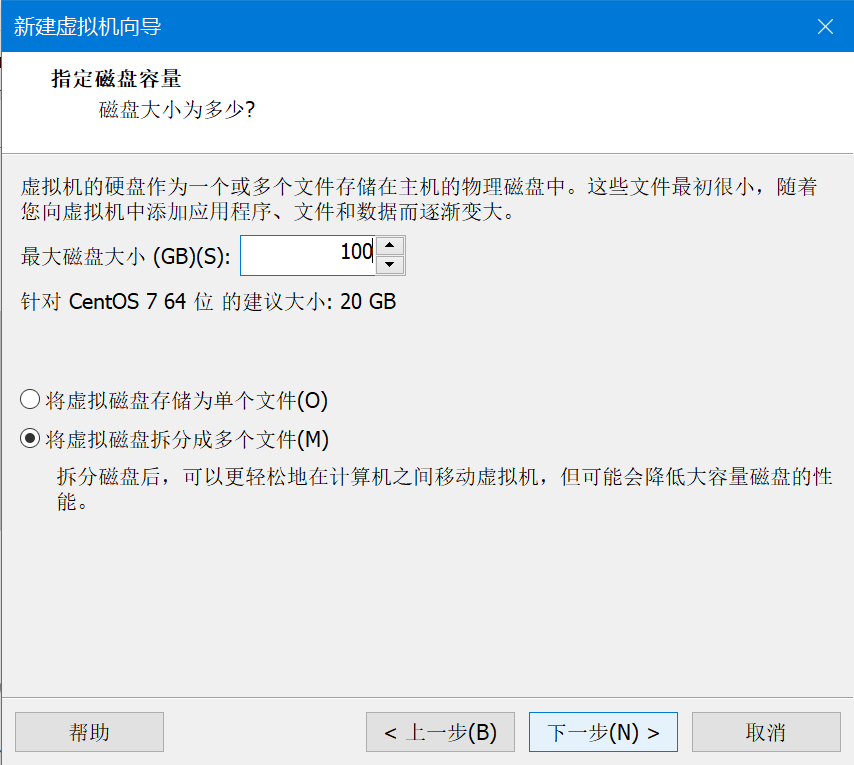
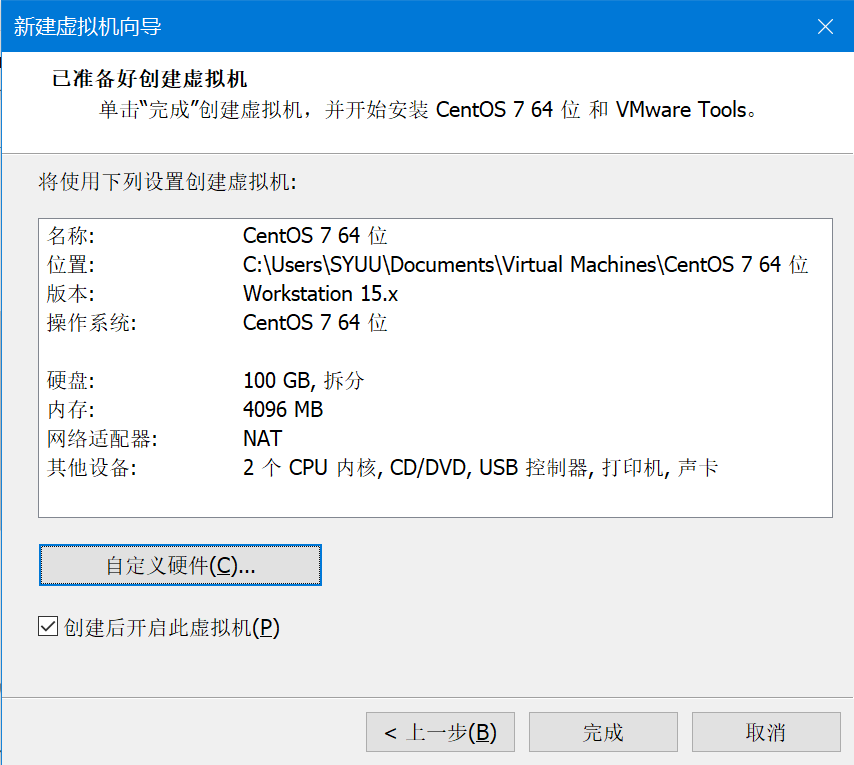
Finish the wizard and let the installer run.
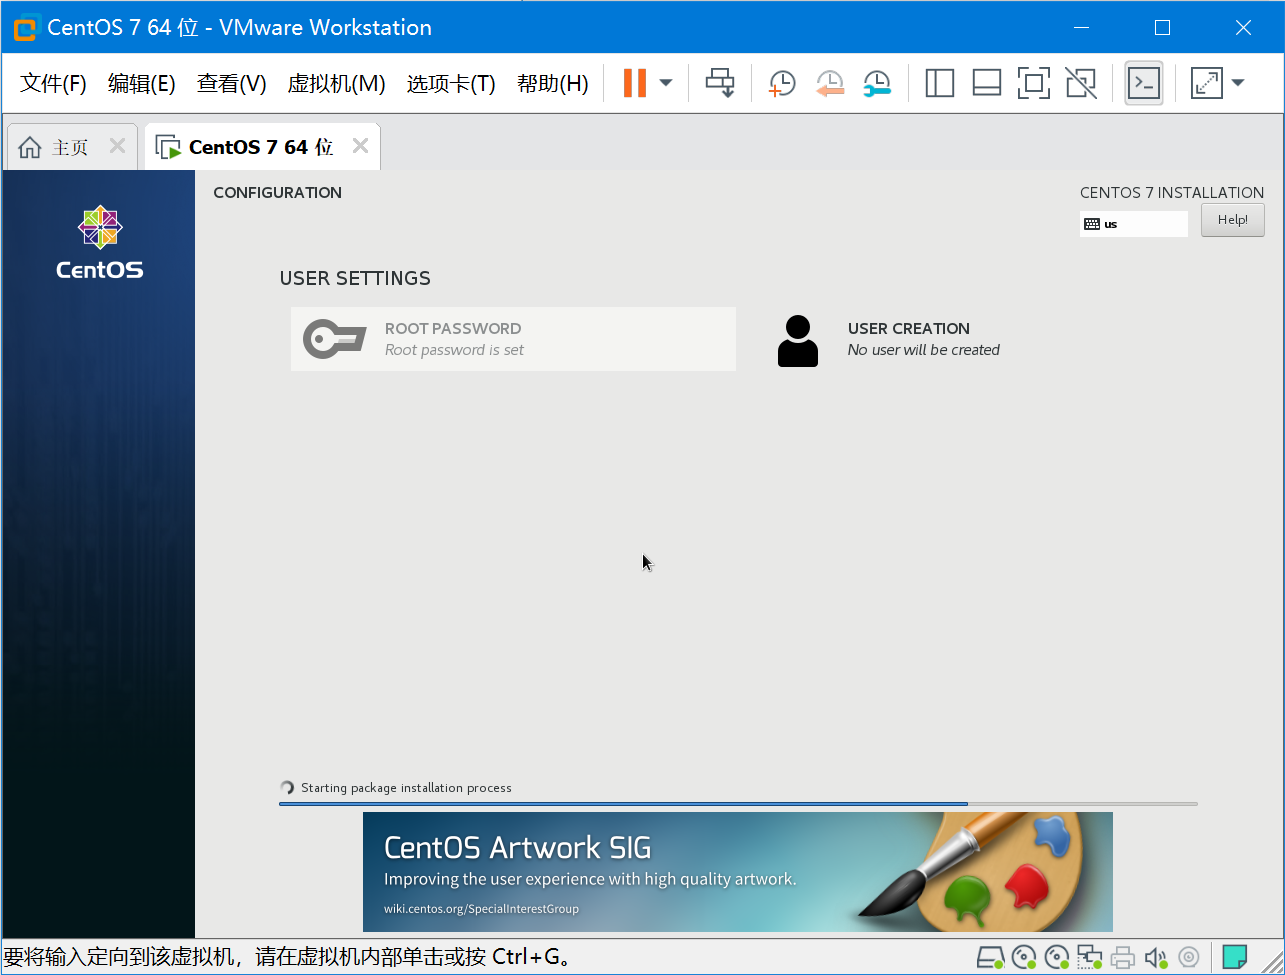
Complete the initial setup and check the network settings.
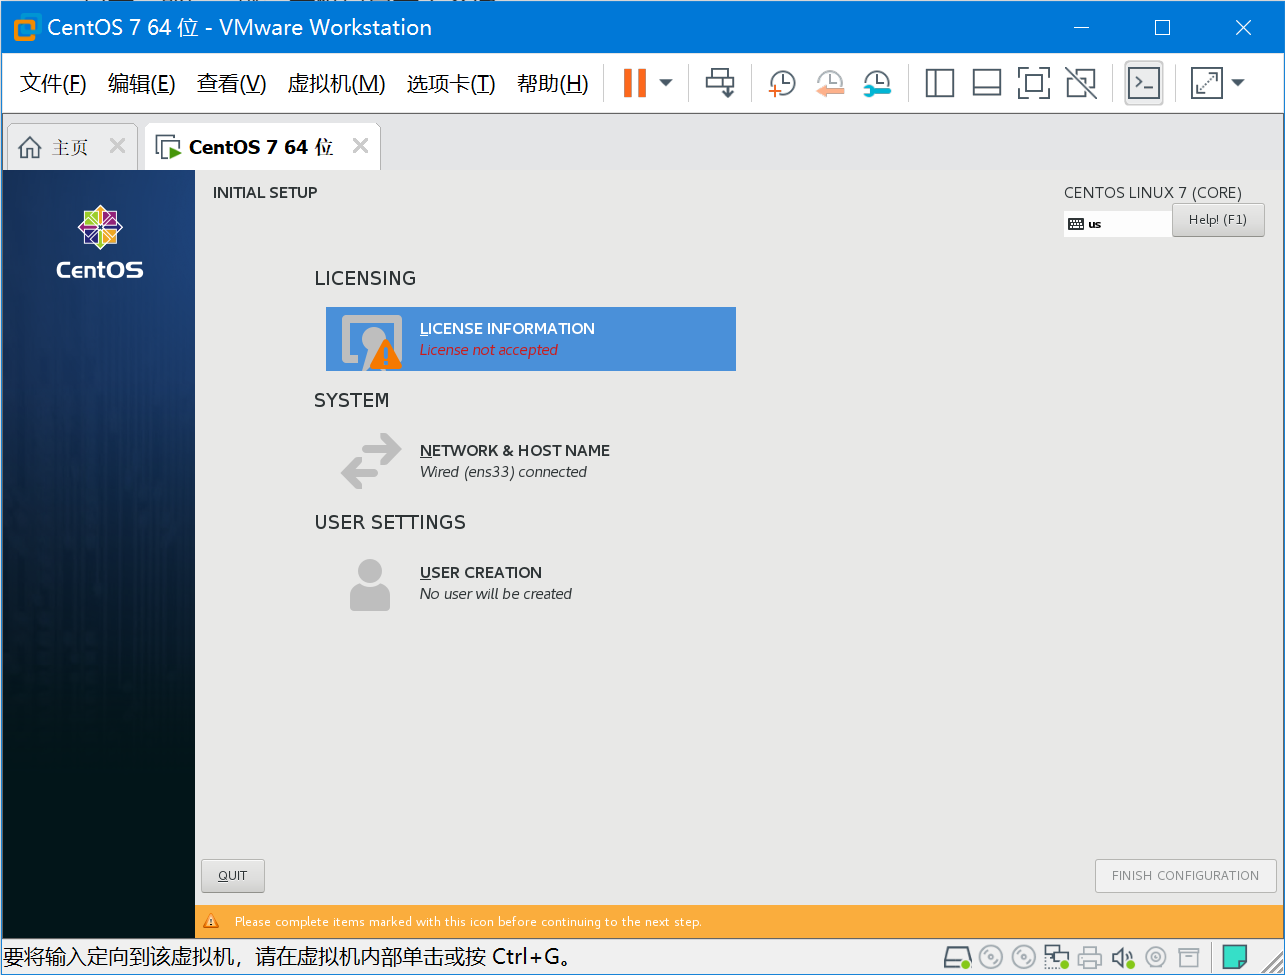
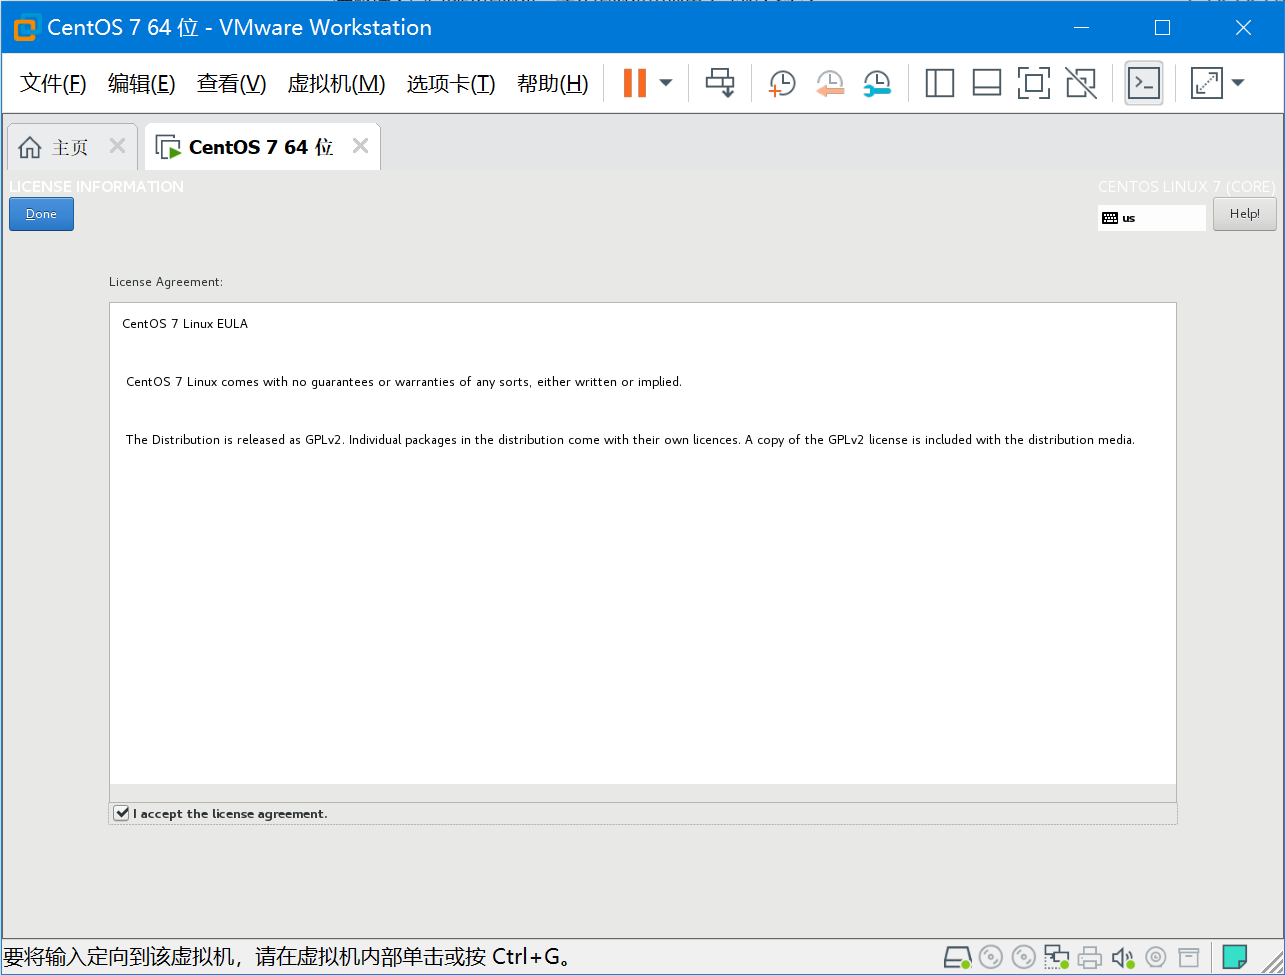
Review the license screen and complete it if you accept the terms.
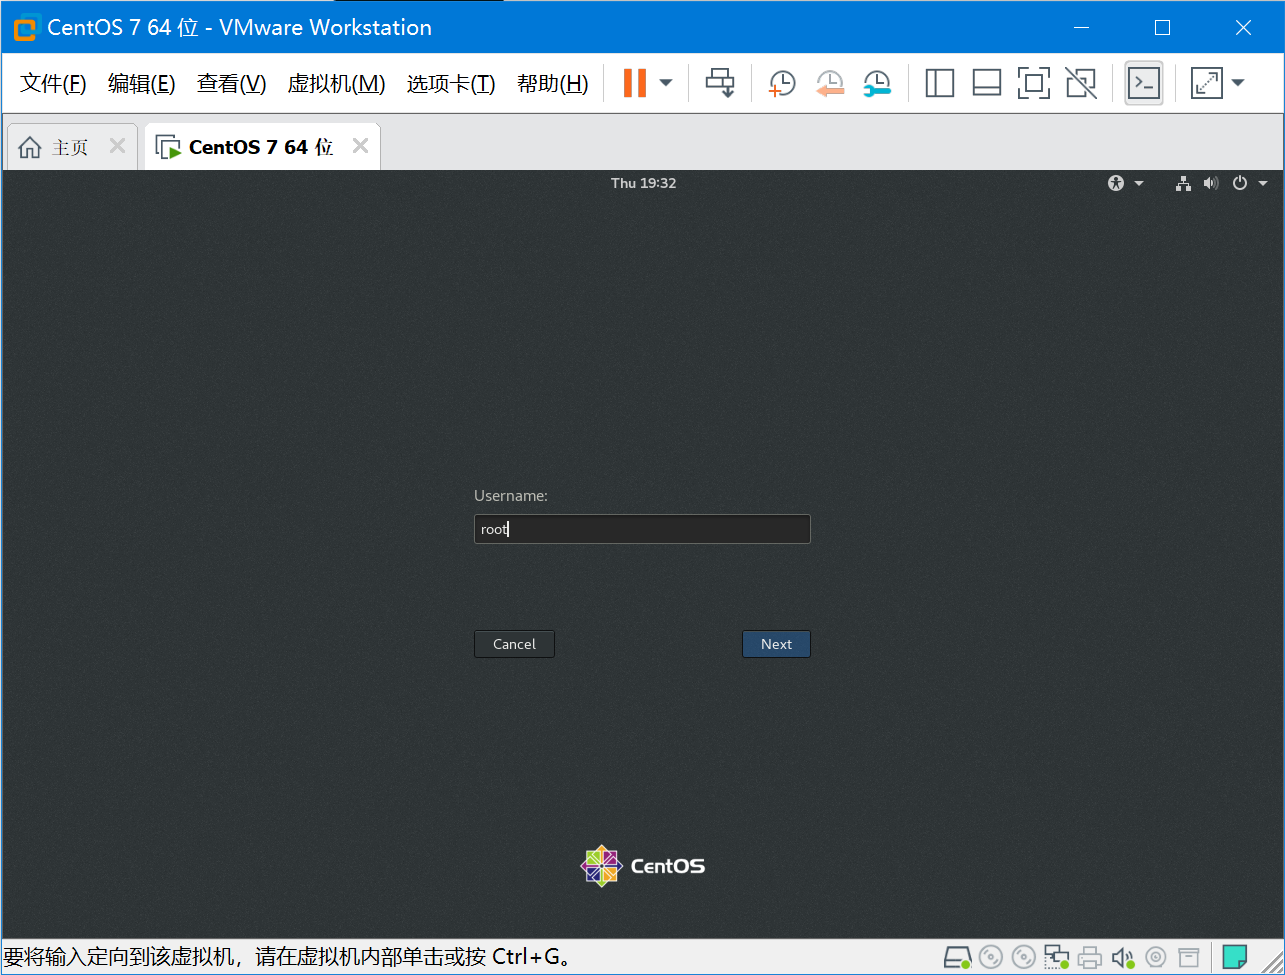
The saved lab uses the root account for the initial login.
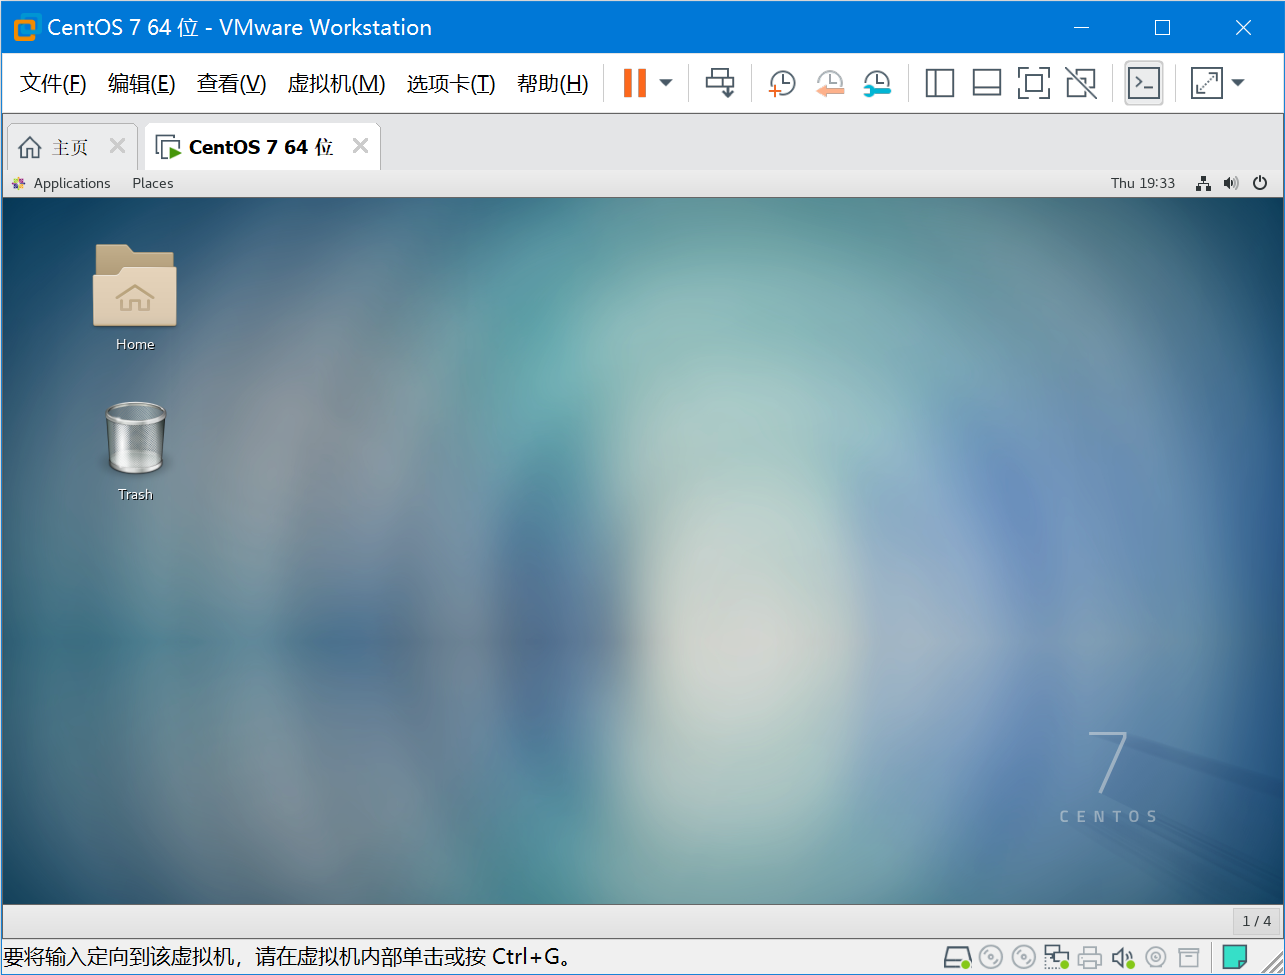
0.2. Isolate the VM from the internet
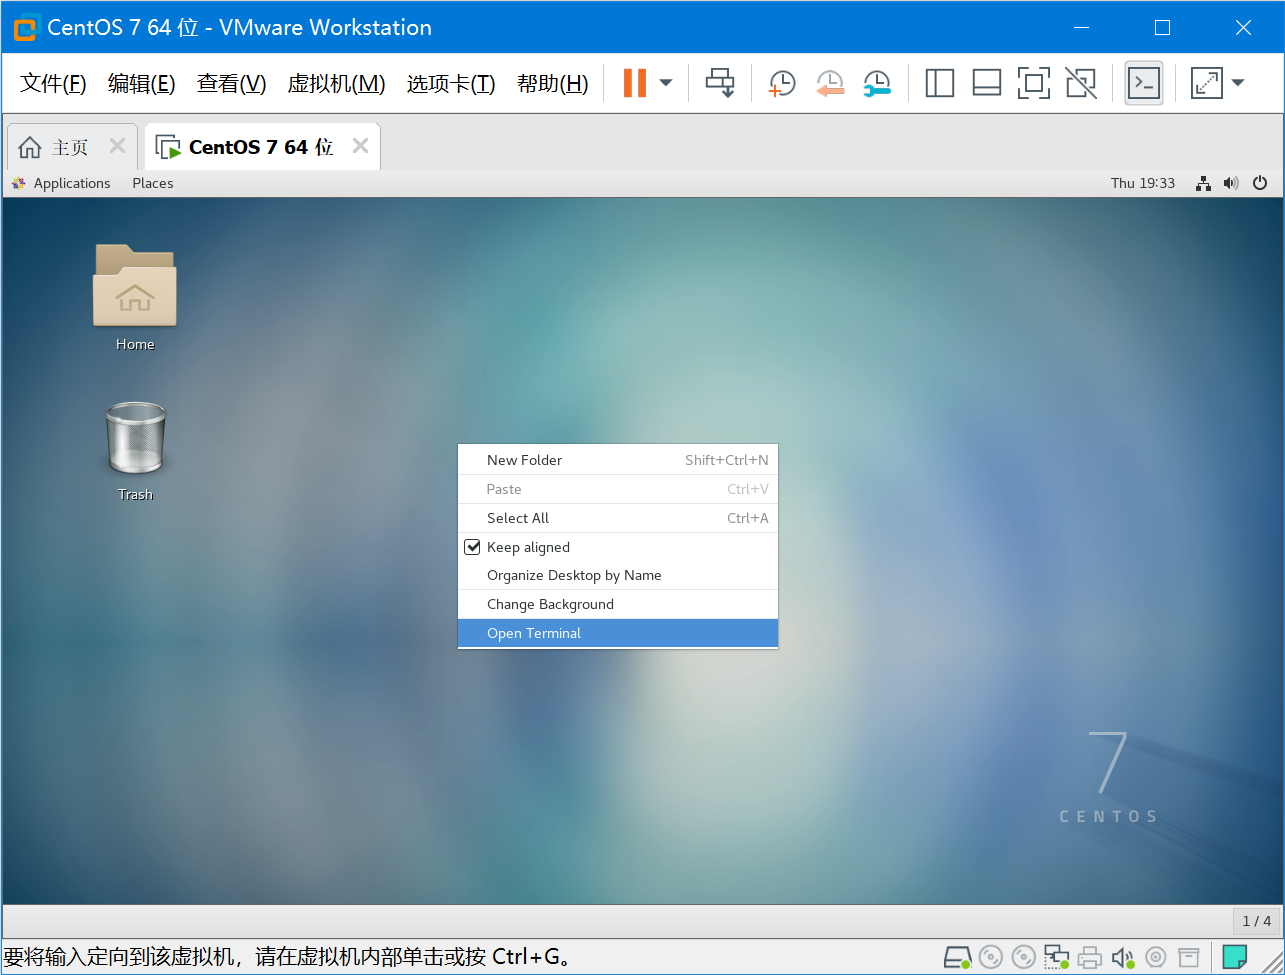
Open a terminal and check the initial network connection.
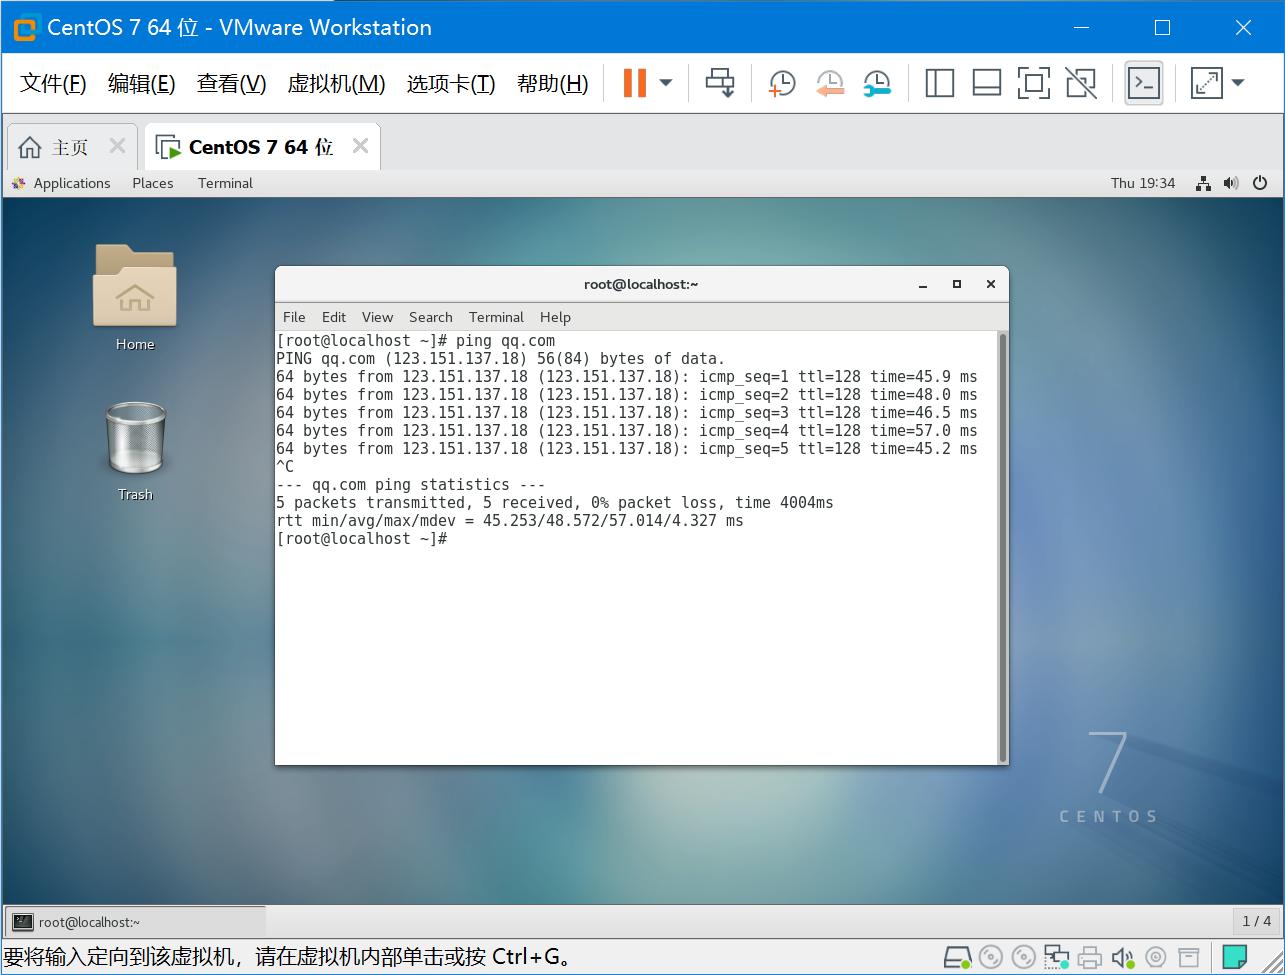
Open the VM’s network adapter settings.
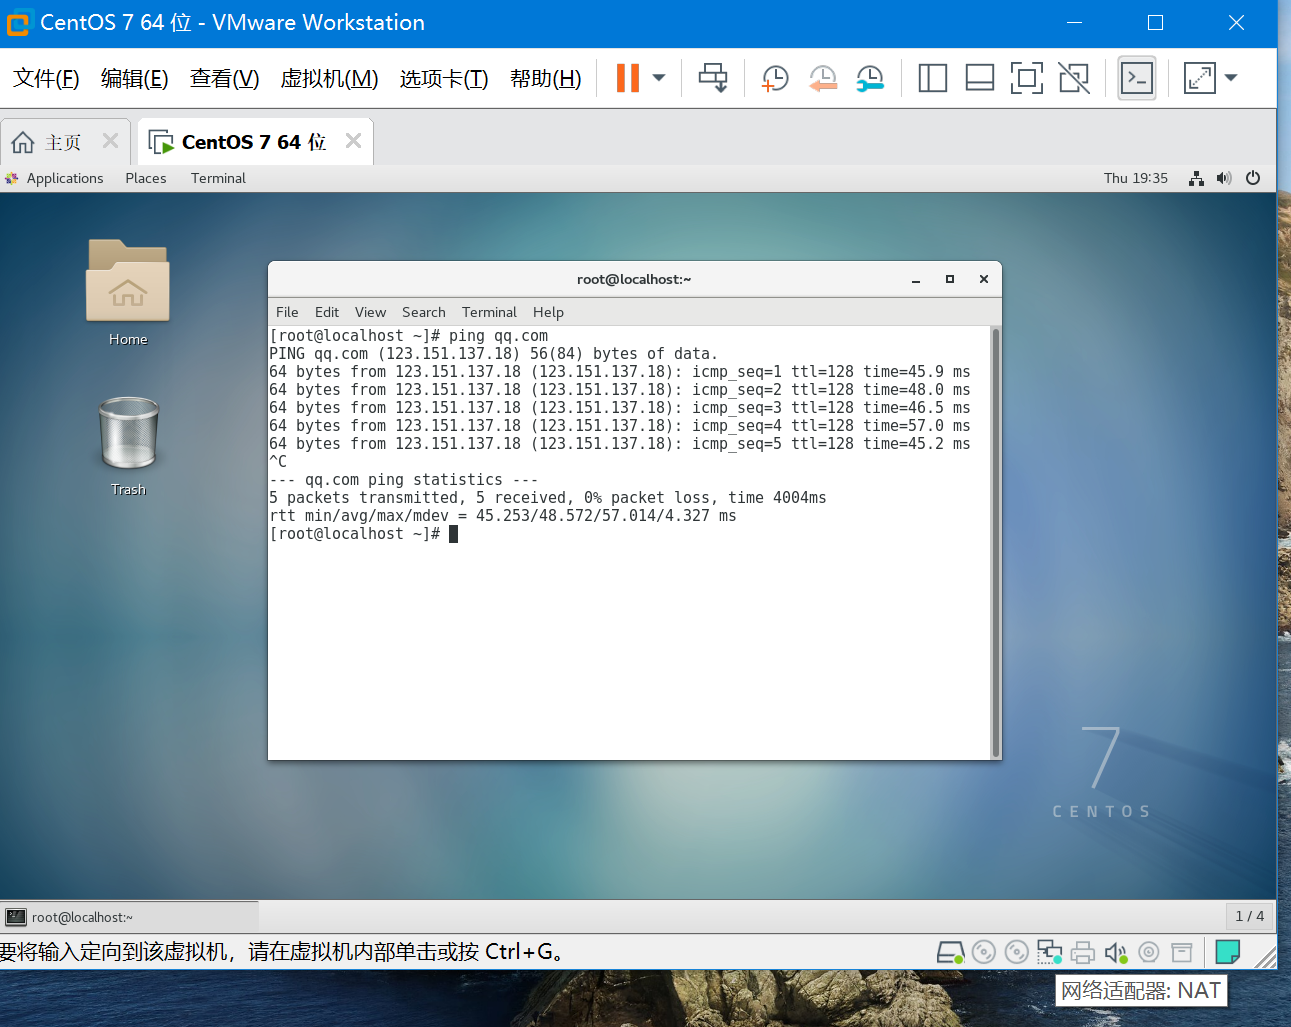
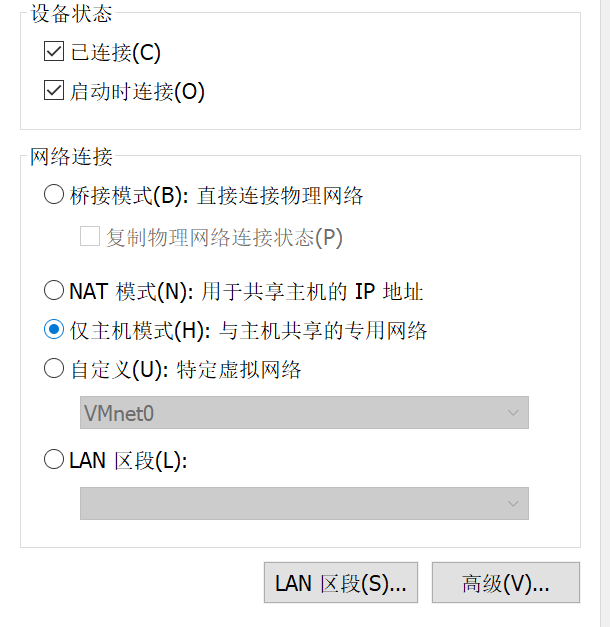
Select Host-only networking. Check for extra bridged or NAT adapters, and make sure the host does not route or share internet access to that network.
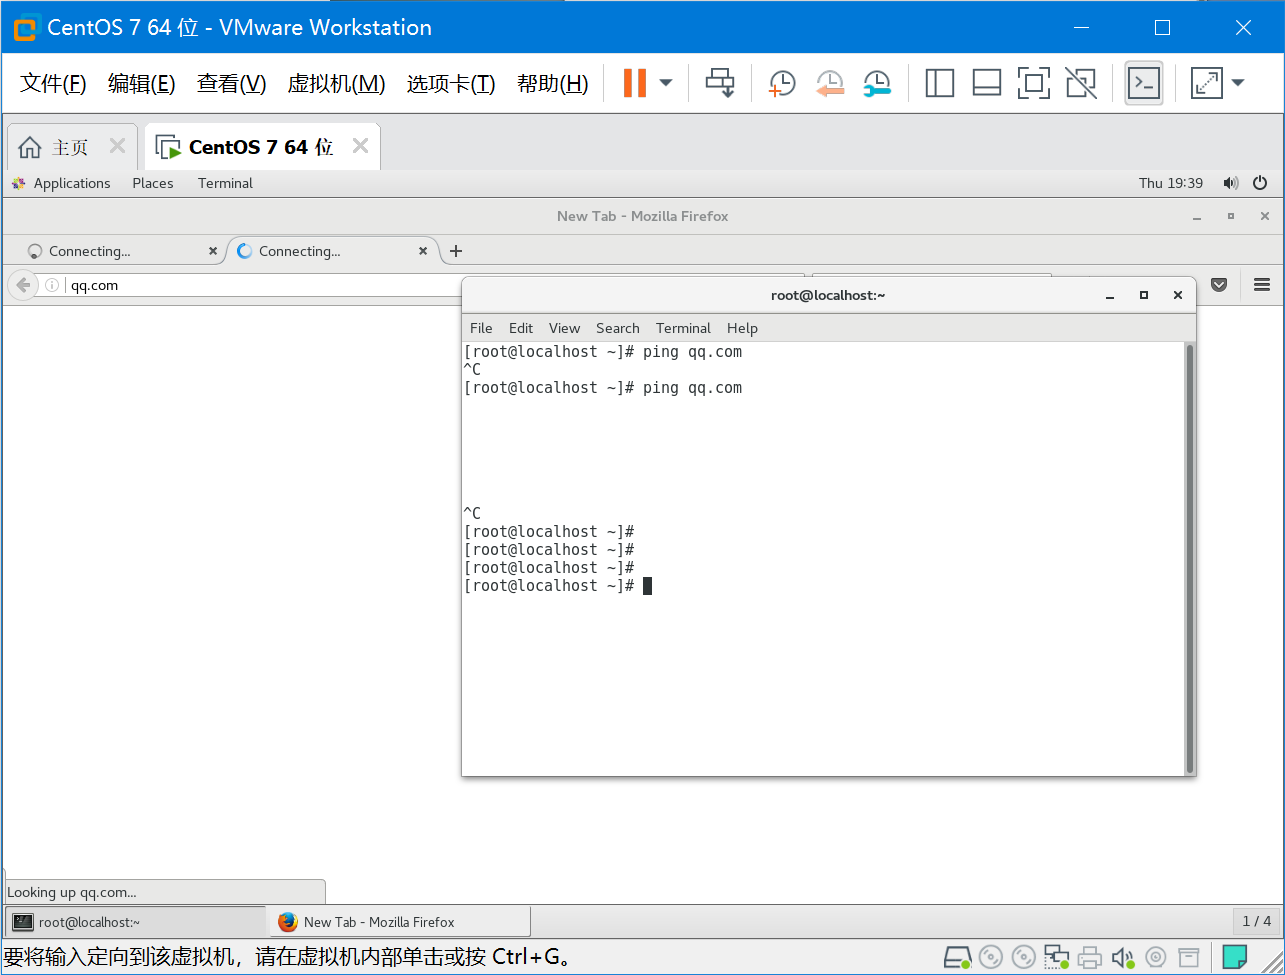
Test that external addresses and websites are unreachable.
0.3. SELinux in the original lab
The screenshots show SELinux disabled for the original test. Zabbix does not require this change. For deployment, keep SELinux enabled and use the logs to identify any policy or boolean settings needed.
 vi /etc/sysconfig/selinux

将SELINUX=enforcing 修改成disabled,然后重启

# This file controls the state of SELinux on the system.
# SELINUX= can take one of these three values:
#     enforcing - SELinux security policy is enforced.
#     permissive - SELinux prints warnings instead of enforcing.
#     disabled - No SELinux policy is loaded.
SELINUX=disabled
# SELINUXTYPE= can take one of three two values:
#     targeted - Targeted processes are protected,
#     minimum - Modification of targeted policy. Only selected processes are protected.
#     mls - Multi Level Security protection.
SELINUXTYPE=targeted

0.4. Take a snapshot
Take a VM snapshot before installing the RPMs. It gives the lab a known restore point.
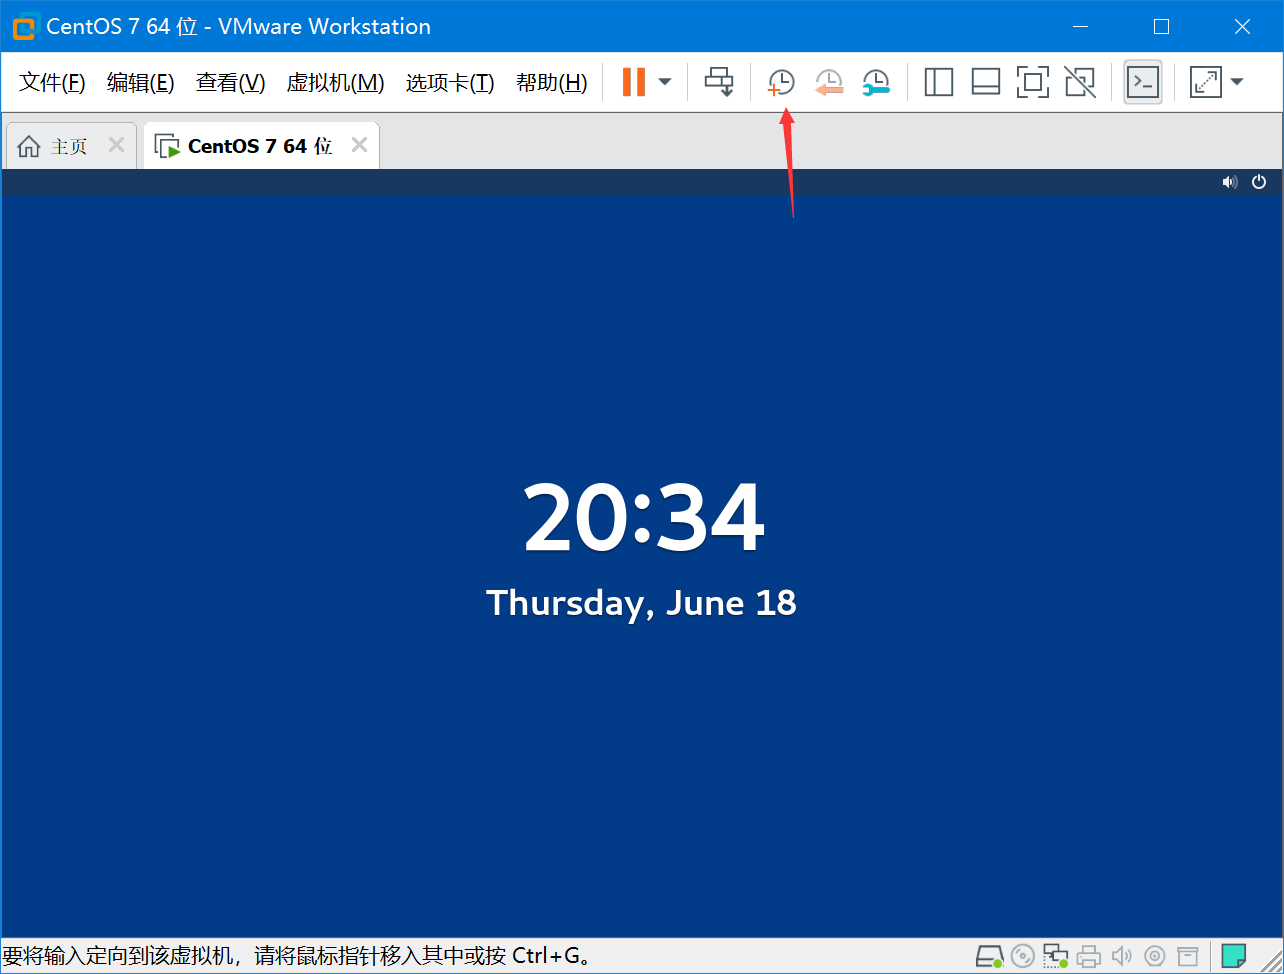
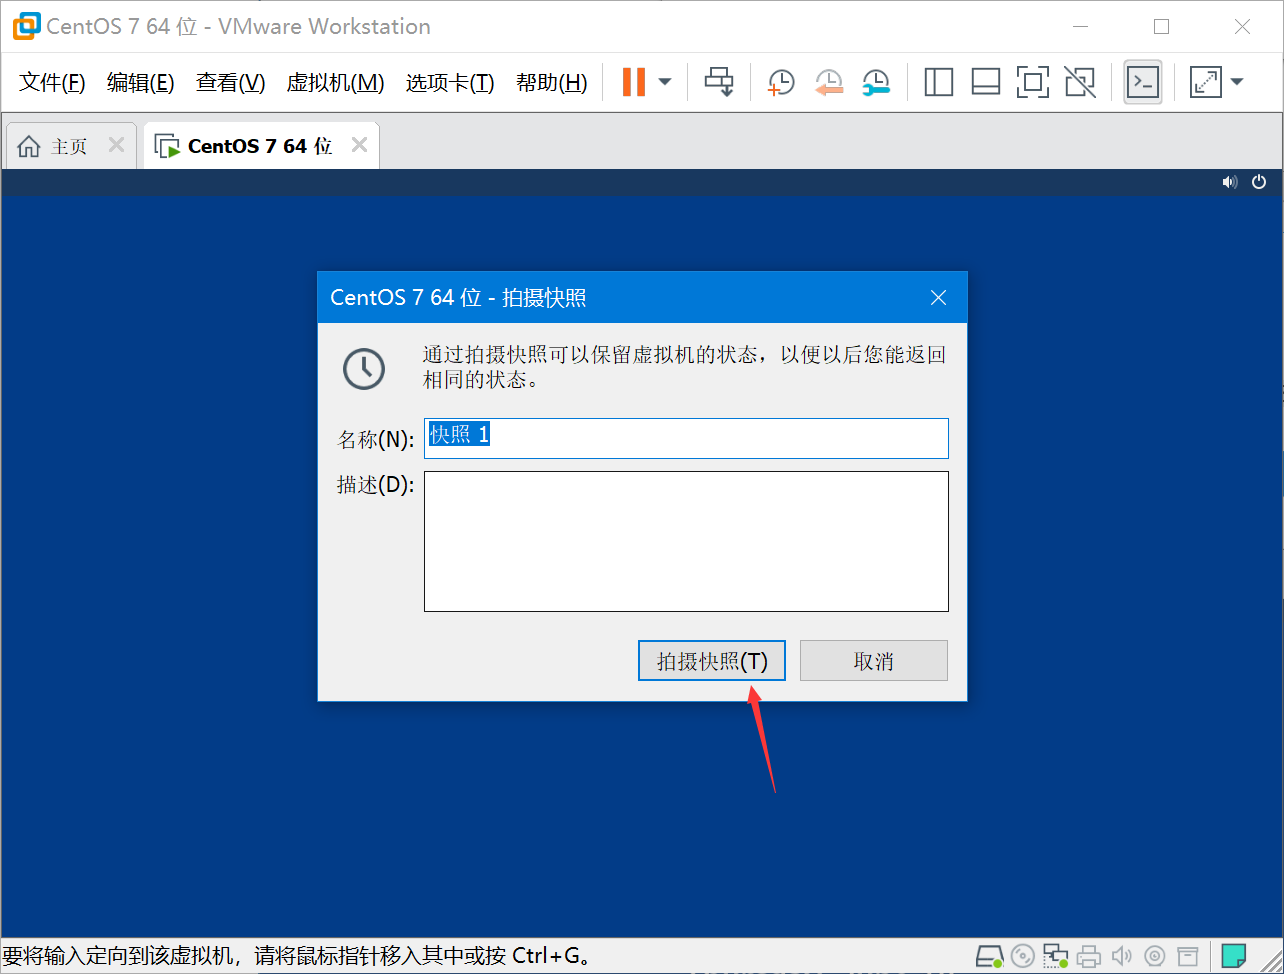
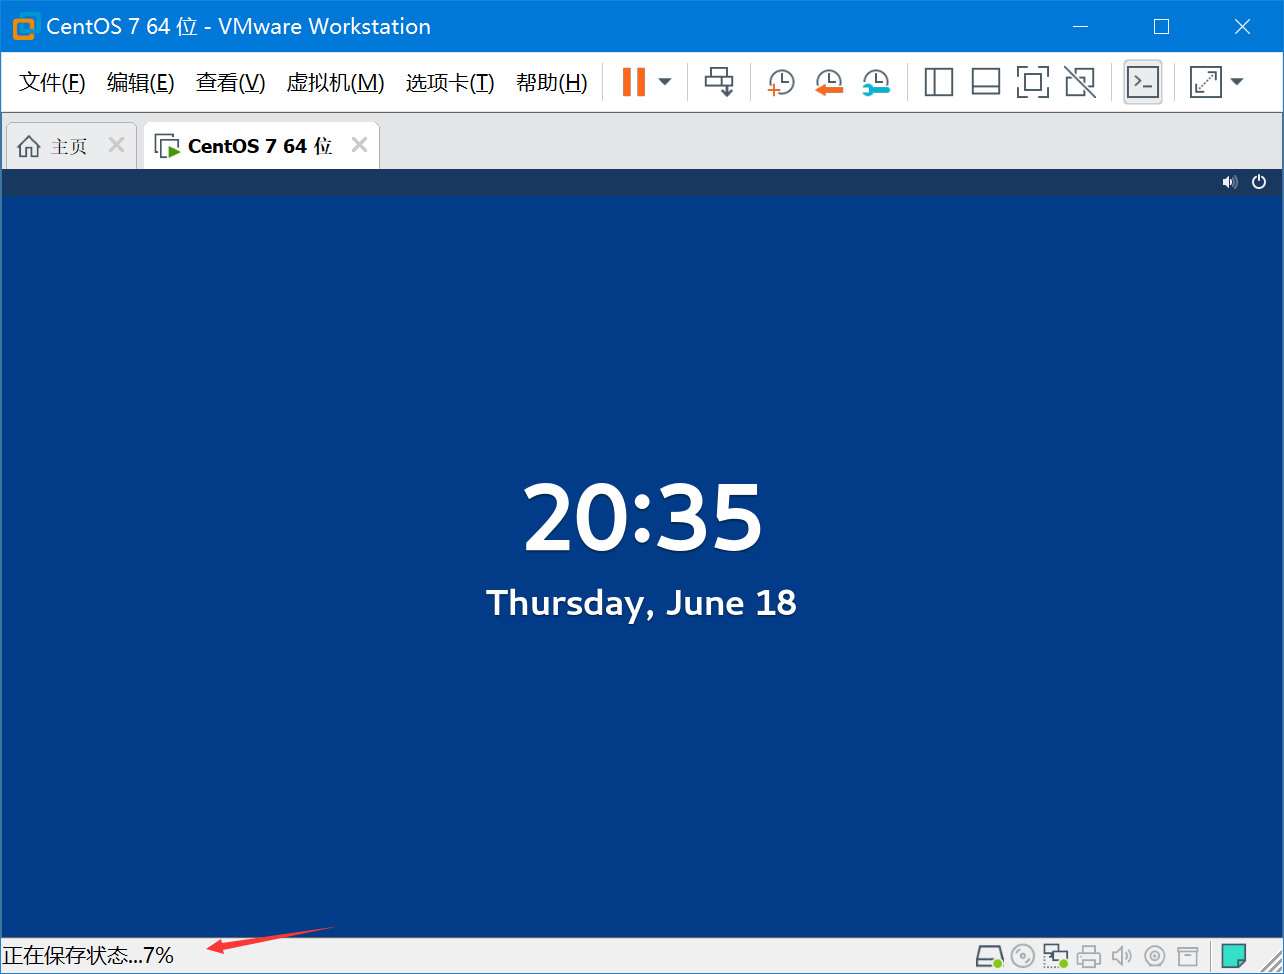
Wait for the snapshot to finish.
1. Upload the offline packages
Use an SSH client and an SFTP client. The screenshots use Xshell and Xftp. Run ip addr on the VM to find its address. The lab VM uses 192.168.44.128.
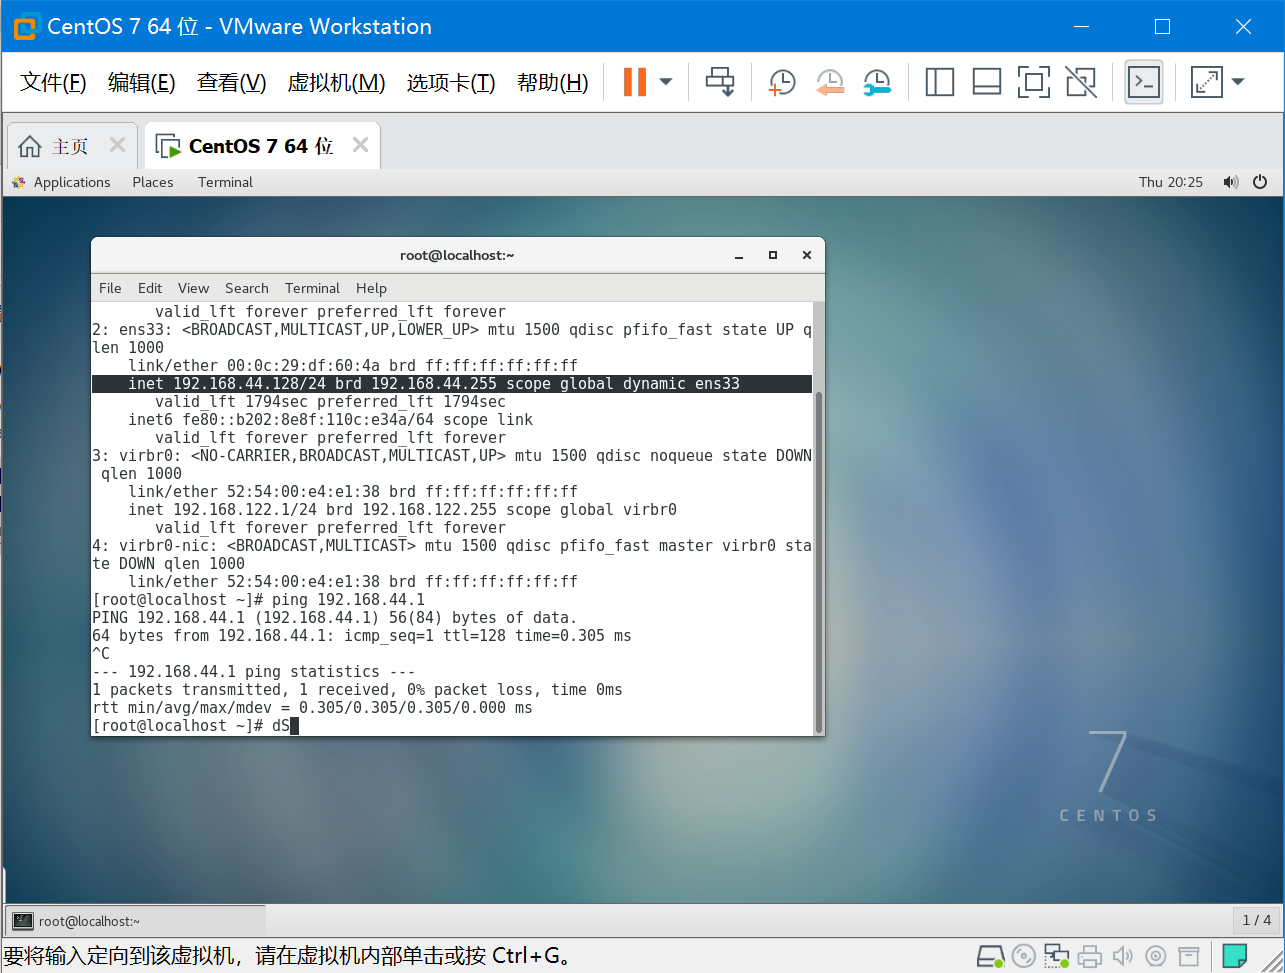
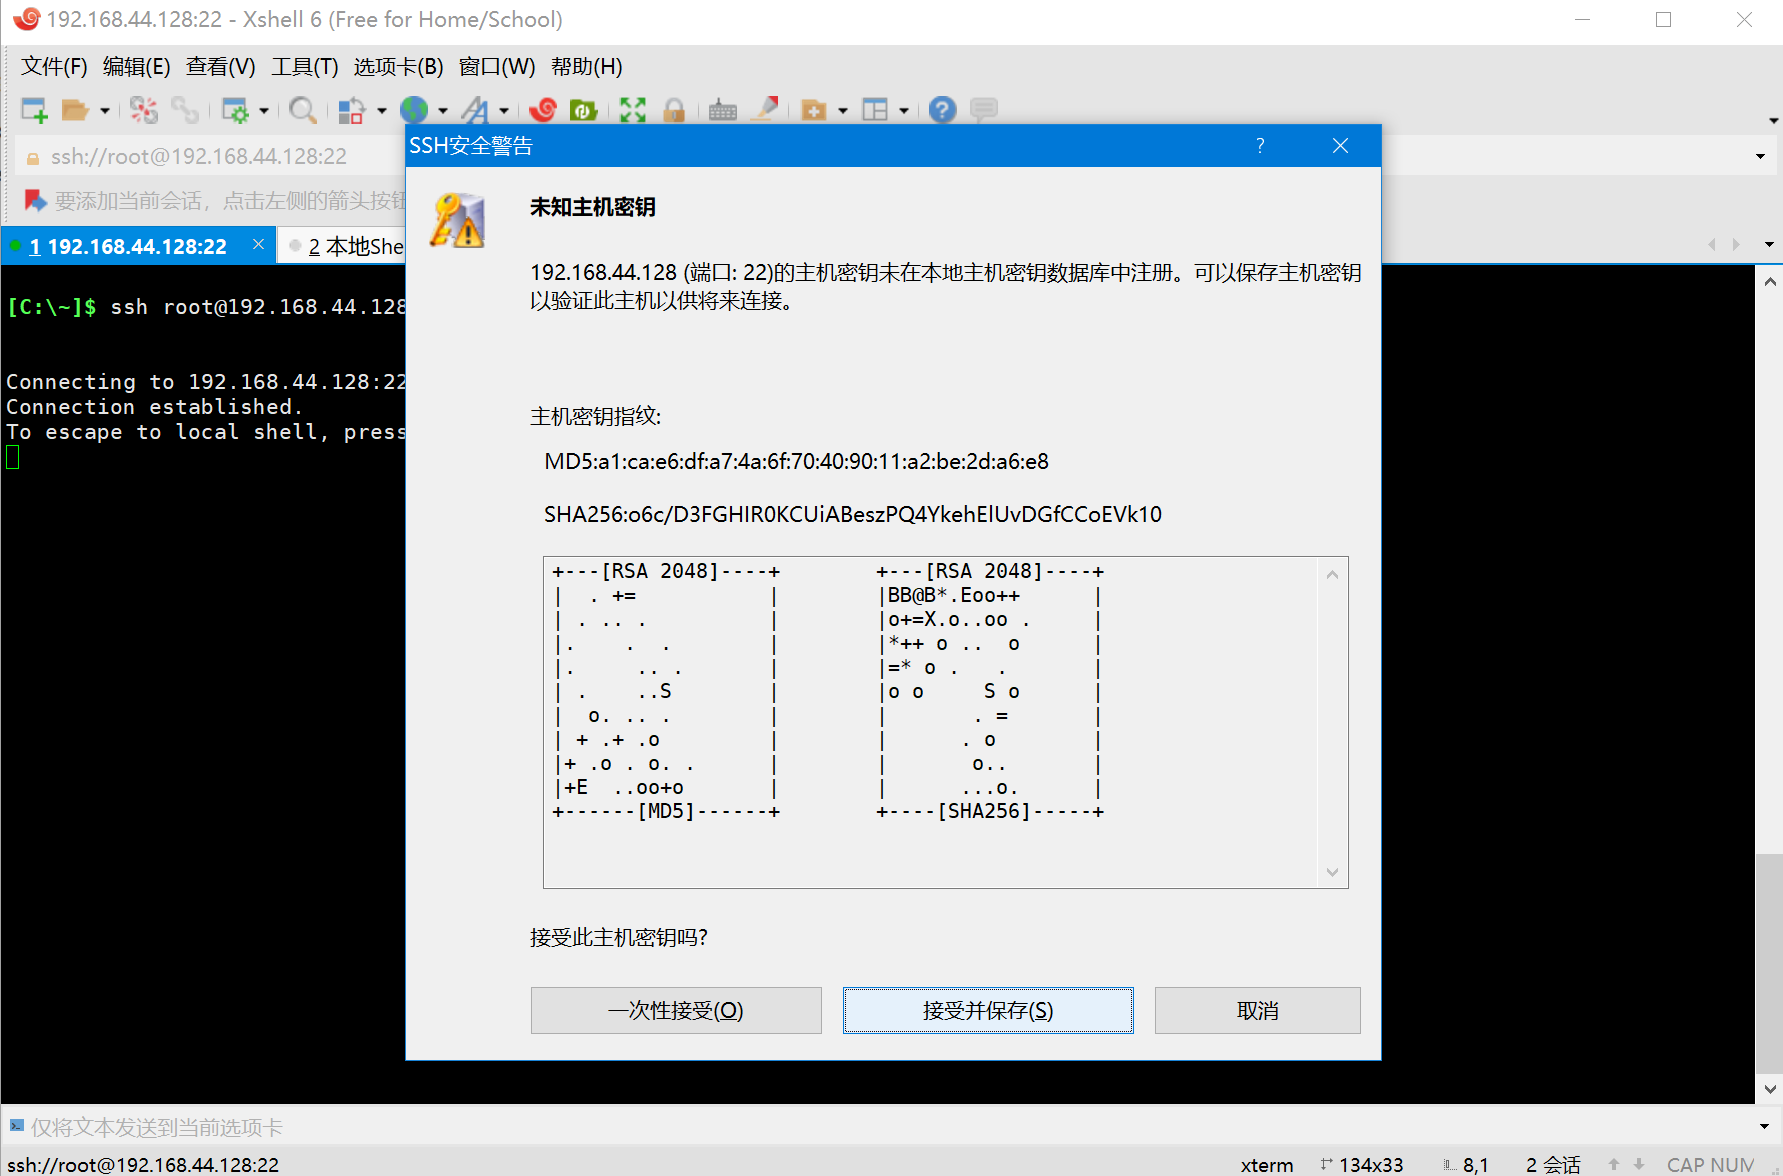
Connect over SSH.
ssh root@192.168.44.128
Verify the server host key before accepting it, then sign in.
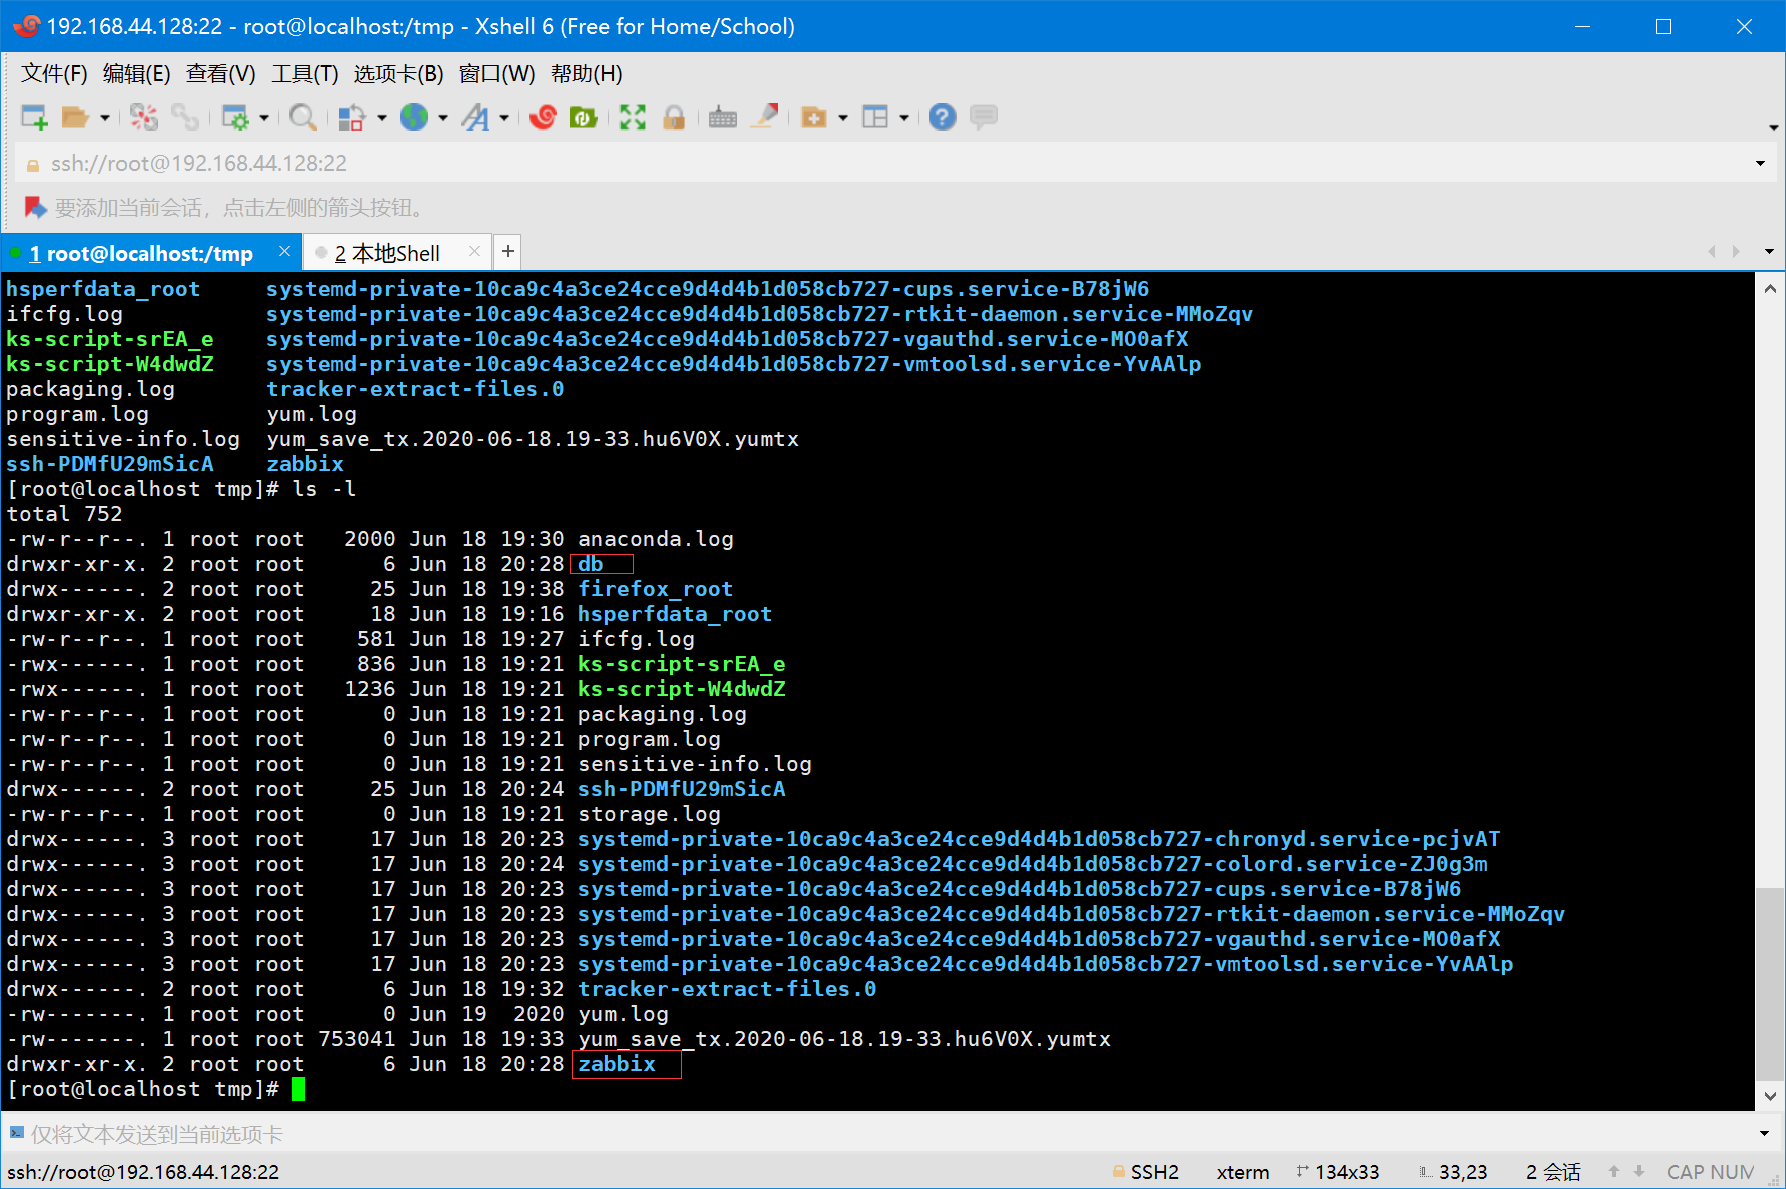
Create /tmp/db and /tmp/zabbix for the two sets of packages.
[root@localhost ~]# mkdir /tmp/zabbix /tmp/db
Upload the corresponding package folders over SFTP.
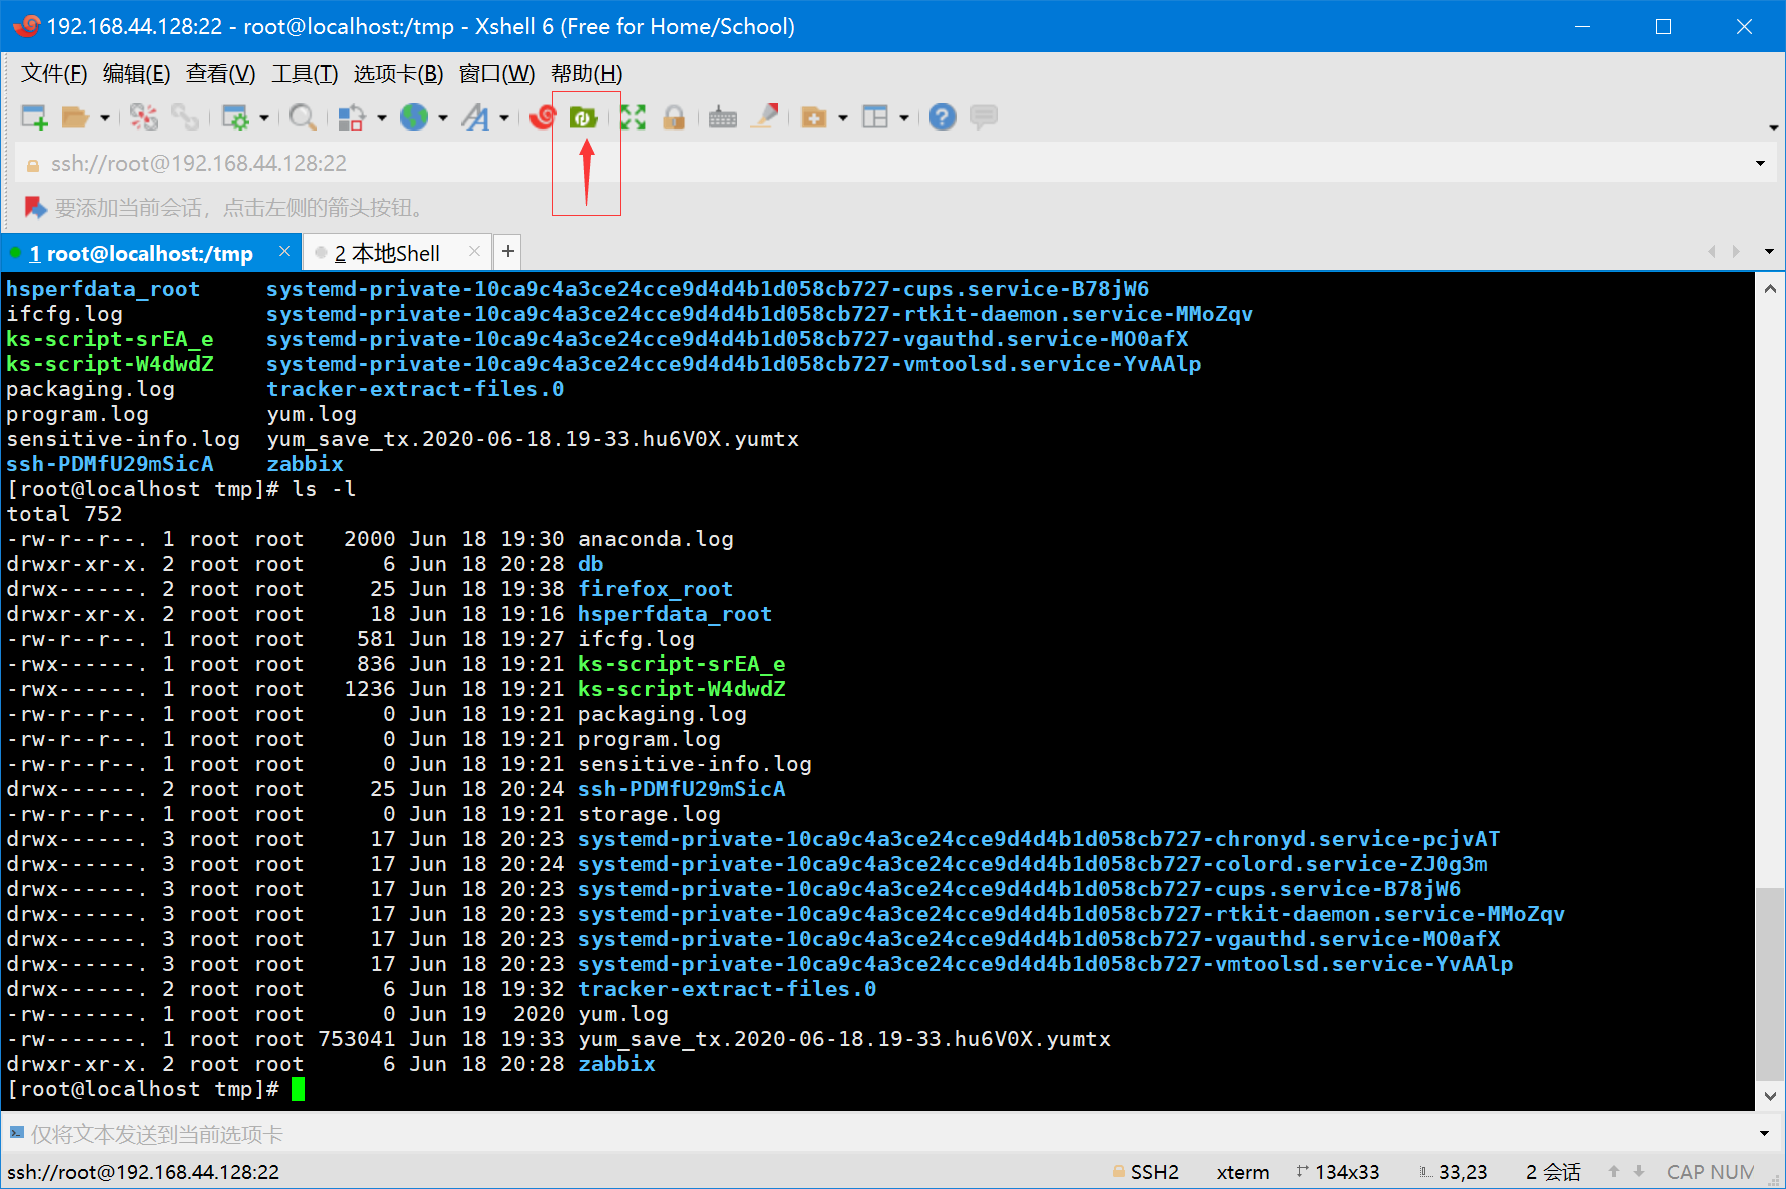
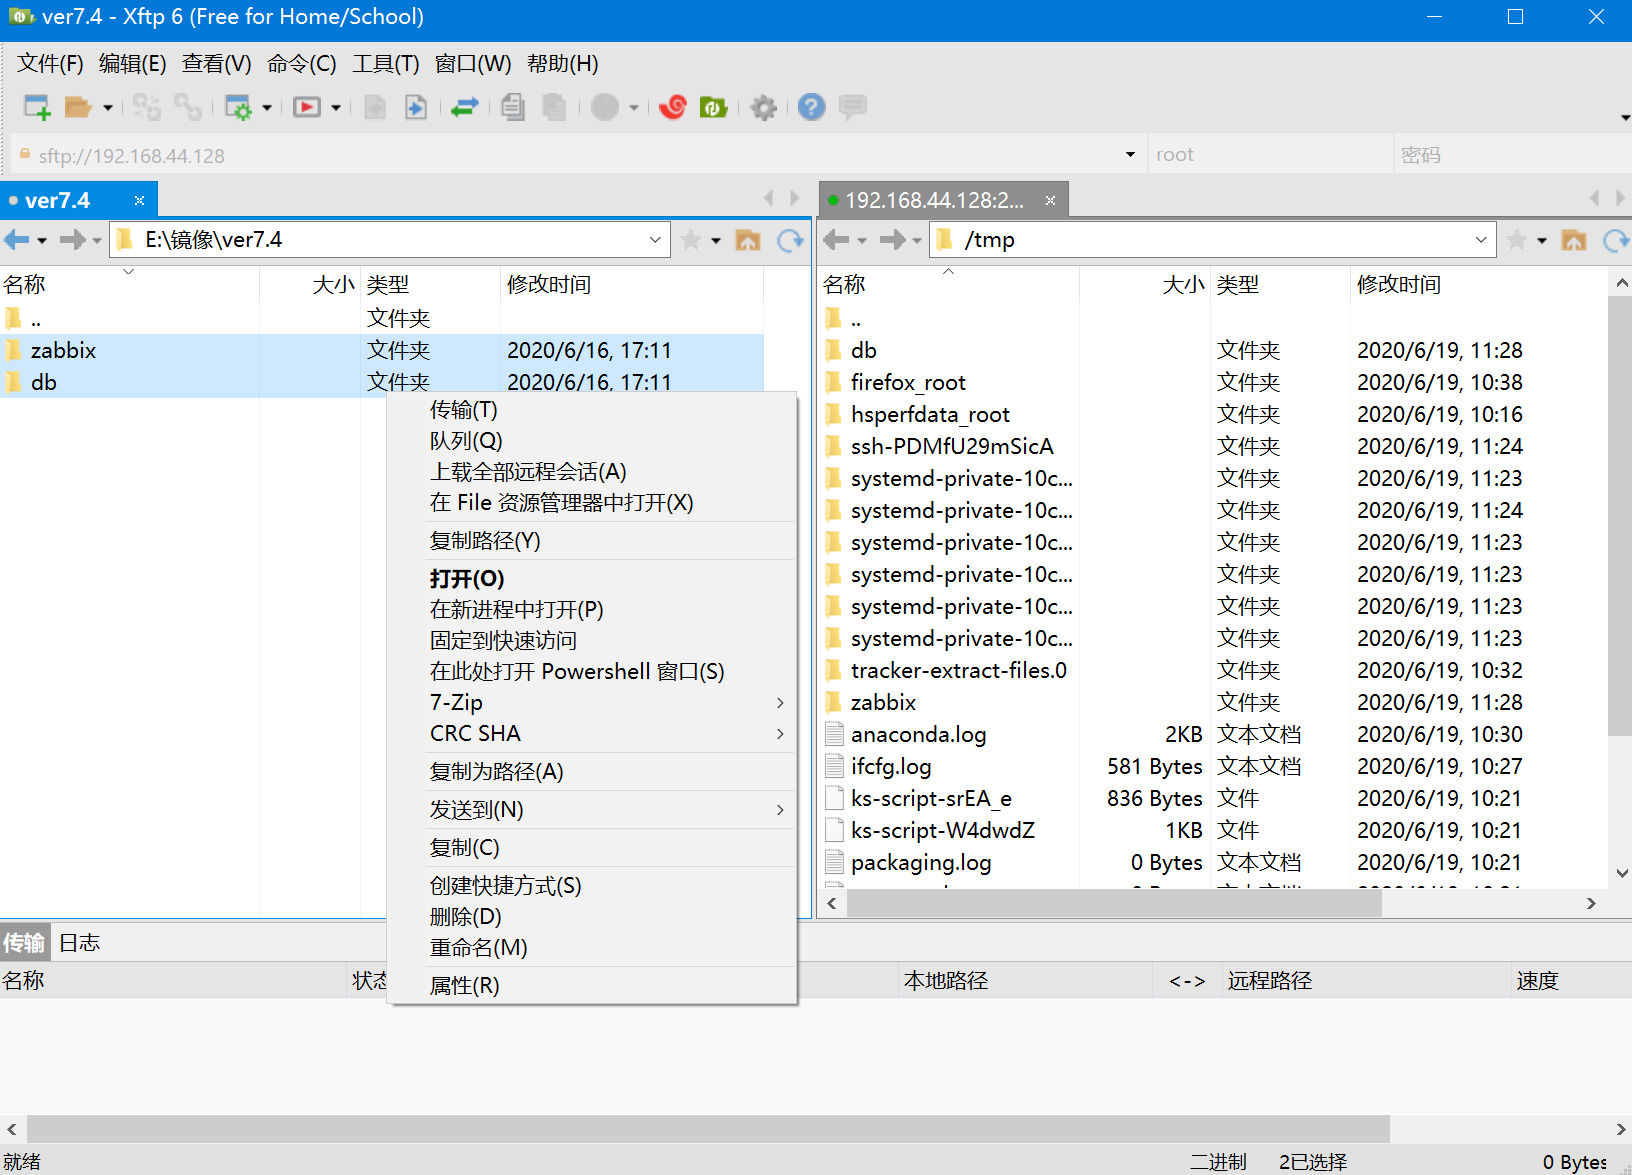
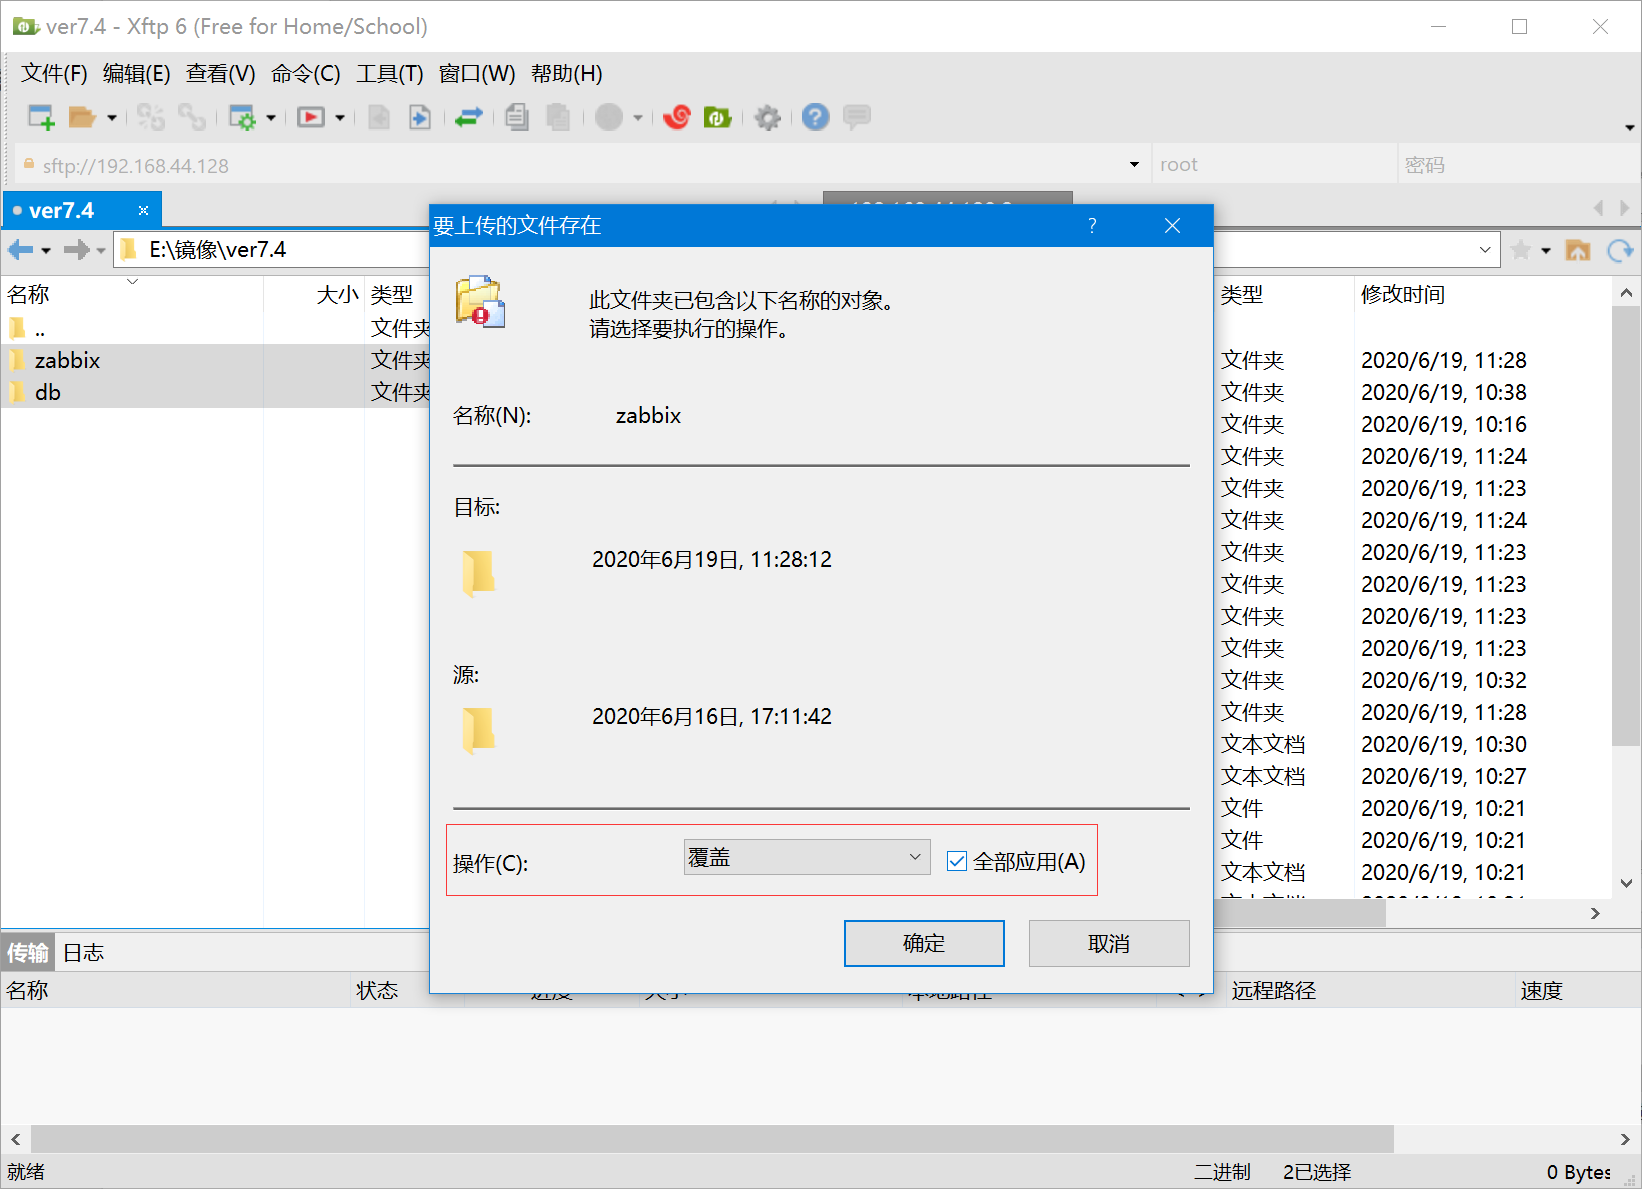
Upload the three repository release RPMs as well.
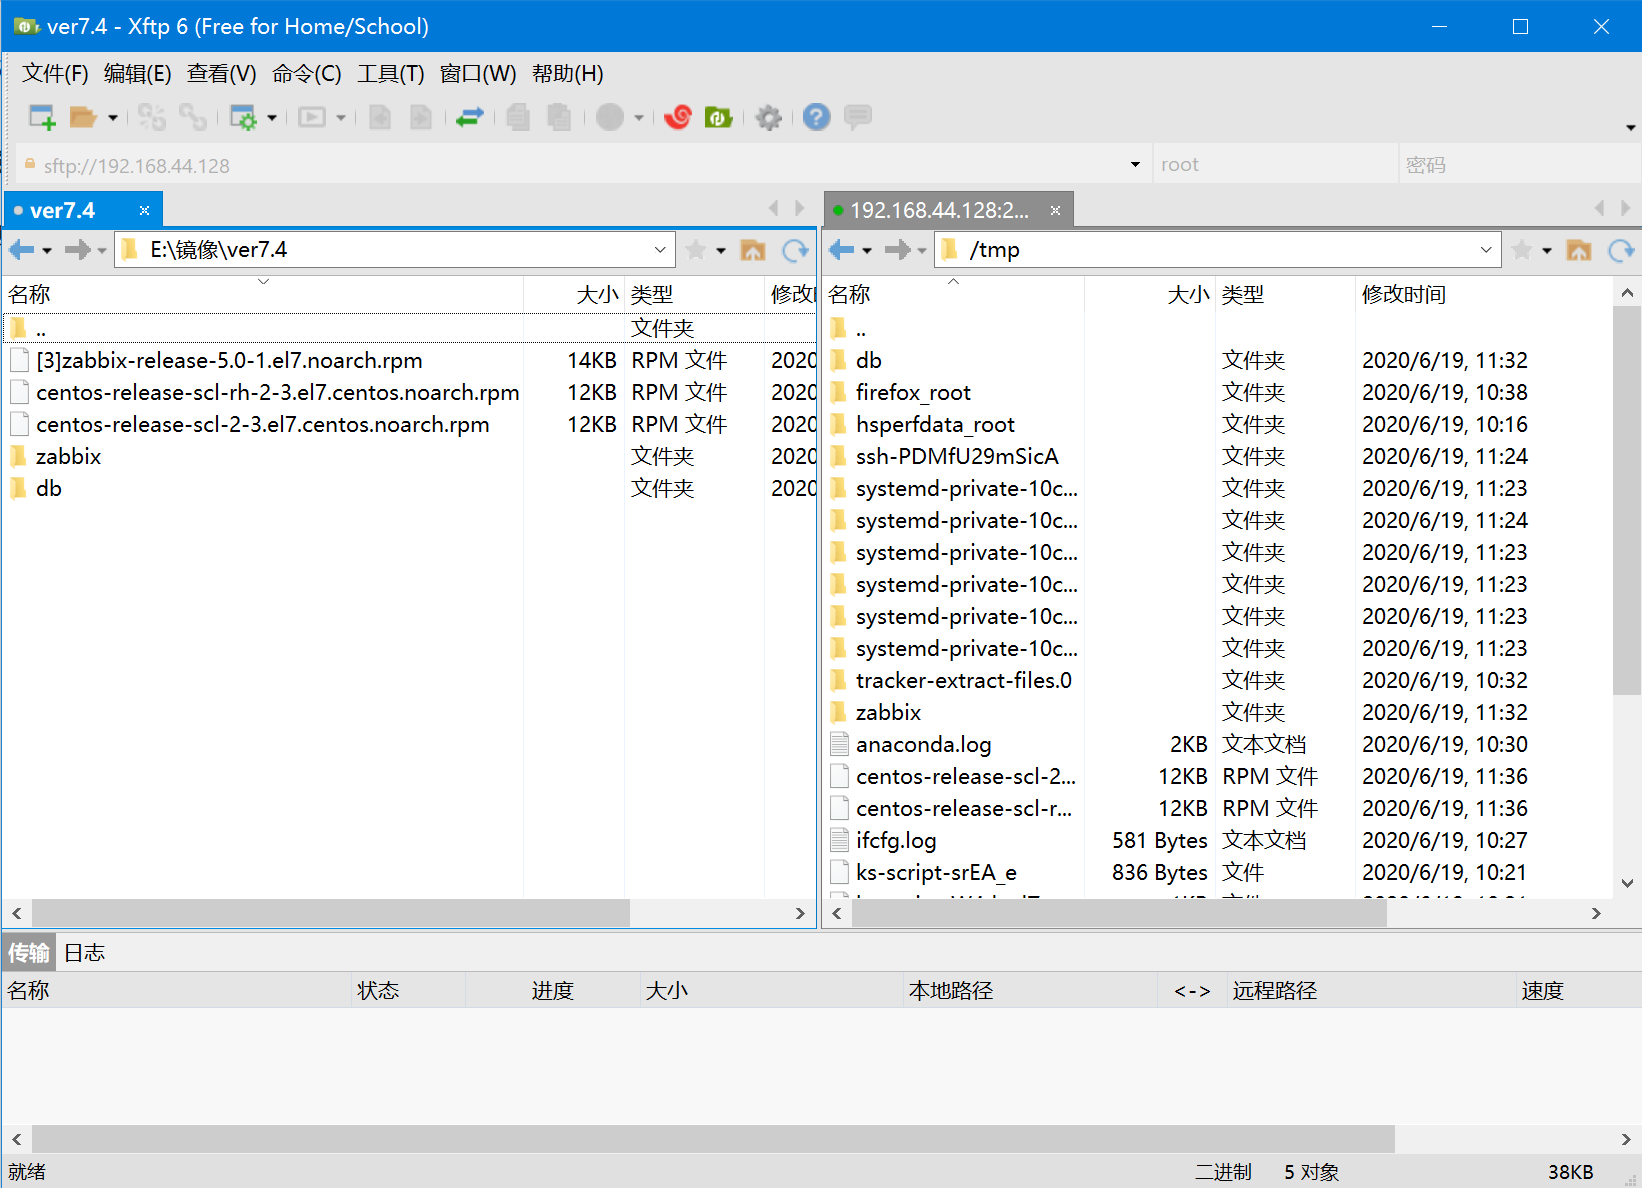
Install the release packages first, then the Zabbix RPMs and the database RPMs.
2. Install the RPM packages
2.1. Install the repository release packages
The release RPMs configure the SCL and Zabbix repositories. An offline installation still needs the actual RPMs and their dependencies.
切换到/tmp文件夹:
cd /tmp

安装scl的rpm包:
yum localinstall centos-release-scl-rh-2-3.el7.centos.noarch.rpm

输出:
Loaded plugins: fastestmirror, langpacks
Examining centos-release-scl-rh-2-3.el7.centos.noarch.rpm: centos-release-scl-rh-2-3.el7.centos.noarch
Marking centos-release-scl-rh-2-3.el7.centos.noarch.rpm to be installed
Resolving Dependencies
--> Running transaction check
---> Package centos-release-scl-rh.noarch 0:2-3.el7.centos will be installed
--> Finished Dependency Resolution

Dependencies Resolved

======================================================================================================================================
 Package                        Arch            Version                   Repository                                             Size
======================================================================================================================================
Installing:
 centos-release-scl-rh          noarch          2-3.el7.centos            /centos-release-scl-rh-2-3.el7.centos.noarch           20 k

Transaction Summary
======================================================================================================================================
Install  1 Package

Total size: 20 k
Installed size: 20 k
Is this ok [y/d/N]: y
Downloading packages:
Running transaction check
Running transaction test
Transaction test succeeded
Running transaction
  Installing : centos-release-scl-rh-2-3.el7.centos.noarch                                                                        1/1
  Verifying  : centos-release-scl-rh-2-3.el7.centos.noarch                                                                        1/1

Installed:
  centos-release-scl-rh.noarch 0:2-3.el7.centos

Complete!

安装第二个scl的rpm包:

yum -y localinstall centos-release-scl-2-3.el7.centos.noarch.rpm

输出:

Loaded plugins: fastestmirror, langpacks
Examining centos-release-scl-2-3.el7.centos.noarch.rpm: centos-release-scl-2-3.el7.centos.noarch
Marking centos-release-scl-2-3.el7.centos.noarch.rpm to be installed
Resolving Dependencies
--> Running transaction check
---> Package centos-release-scl.noarch 0:2-3.el7.centos will be installed
--> Finished Dependency Resolution
Could not retrieve mirrorlist http://mirrorlist.centos.org?arch=x86_64&release=7&repo=sclo-rh error was
14: curl#6 - "Could not resolve host: mirrorlist.centos.org; Unknown error"

Dependencies Resolved

======================================================================================================================================
 Package                       Arch              Version                   Repository                                            Size
======================================================================================================================================
Installing:
 centos-release-scl            noarch            2-3.el7.centos            /centos-release-scl-2-3.el7.centos.noarch             20 k

Transaction Summary
======================================================================================================================================
Install  1 Package

Total size: 20 k
Installed size: 20 k
Downloading packages:
Running transaction check
Running transaction test
Transaction test succeeded
Running transaction
  Installing : centos-release-scl-2-3.el7.centos.noarch                                                                           1/1
  Verifying  : centos-release-scl-2-3.el7.centos.noarch                                                                           1/1

Installed:
  centos-release-scl.noarch 0:2-3.el7.centos

Complete!

[root@localhost tmp]# yum -y install zabbix-release-5.0-1.el7.noarch.rpm

输出:

Dependencies Resolved

======================================================================================================================================
 Package                      Arch                 Version                    Repository                                         Size
======================================================================================================================================
Installing:
 zabbix-release               noarch               5.0-1.el7                  /[3]zabbix-release-5.0-1.el7.noarch                22 k

Transaction Summary
======================================================================================================================================
Install  1 Package

Total size: 22 k
Installed size: 22 k
Is this ok [y/d/N]: y
Downloading packages:
Running transaction check
Running transaction test
Transaction test succeeded
Running transaction
  Installing : zabbix-release-5.0-1.el7.noarch                                                                                    1/1
  Verifying  : zabbix-release-5.0-1.el7.noarch                                                                                    1/1

Installed:
  zabbix-release.noarch 0:5.0-1.el7
2.2. Install the Zabbix packages
Install the packages from the Zabbix directory.
cd /tmp/zabbix/
yum -y localinstall *.rpm
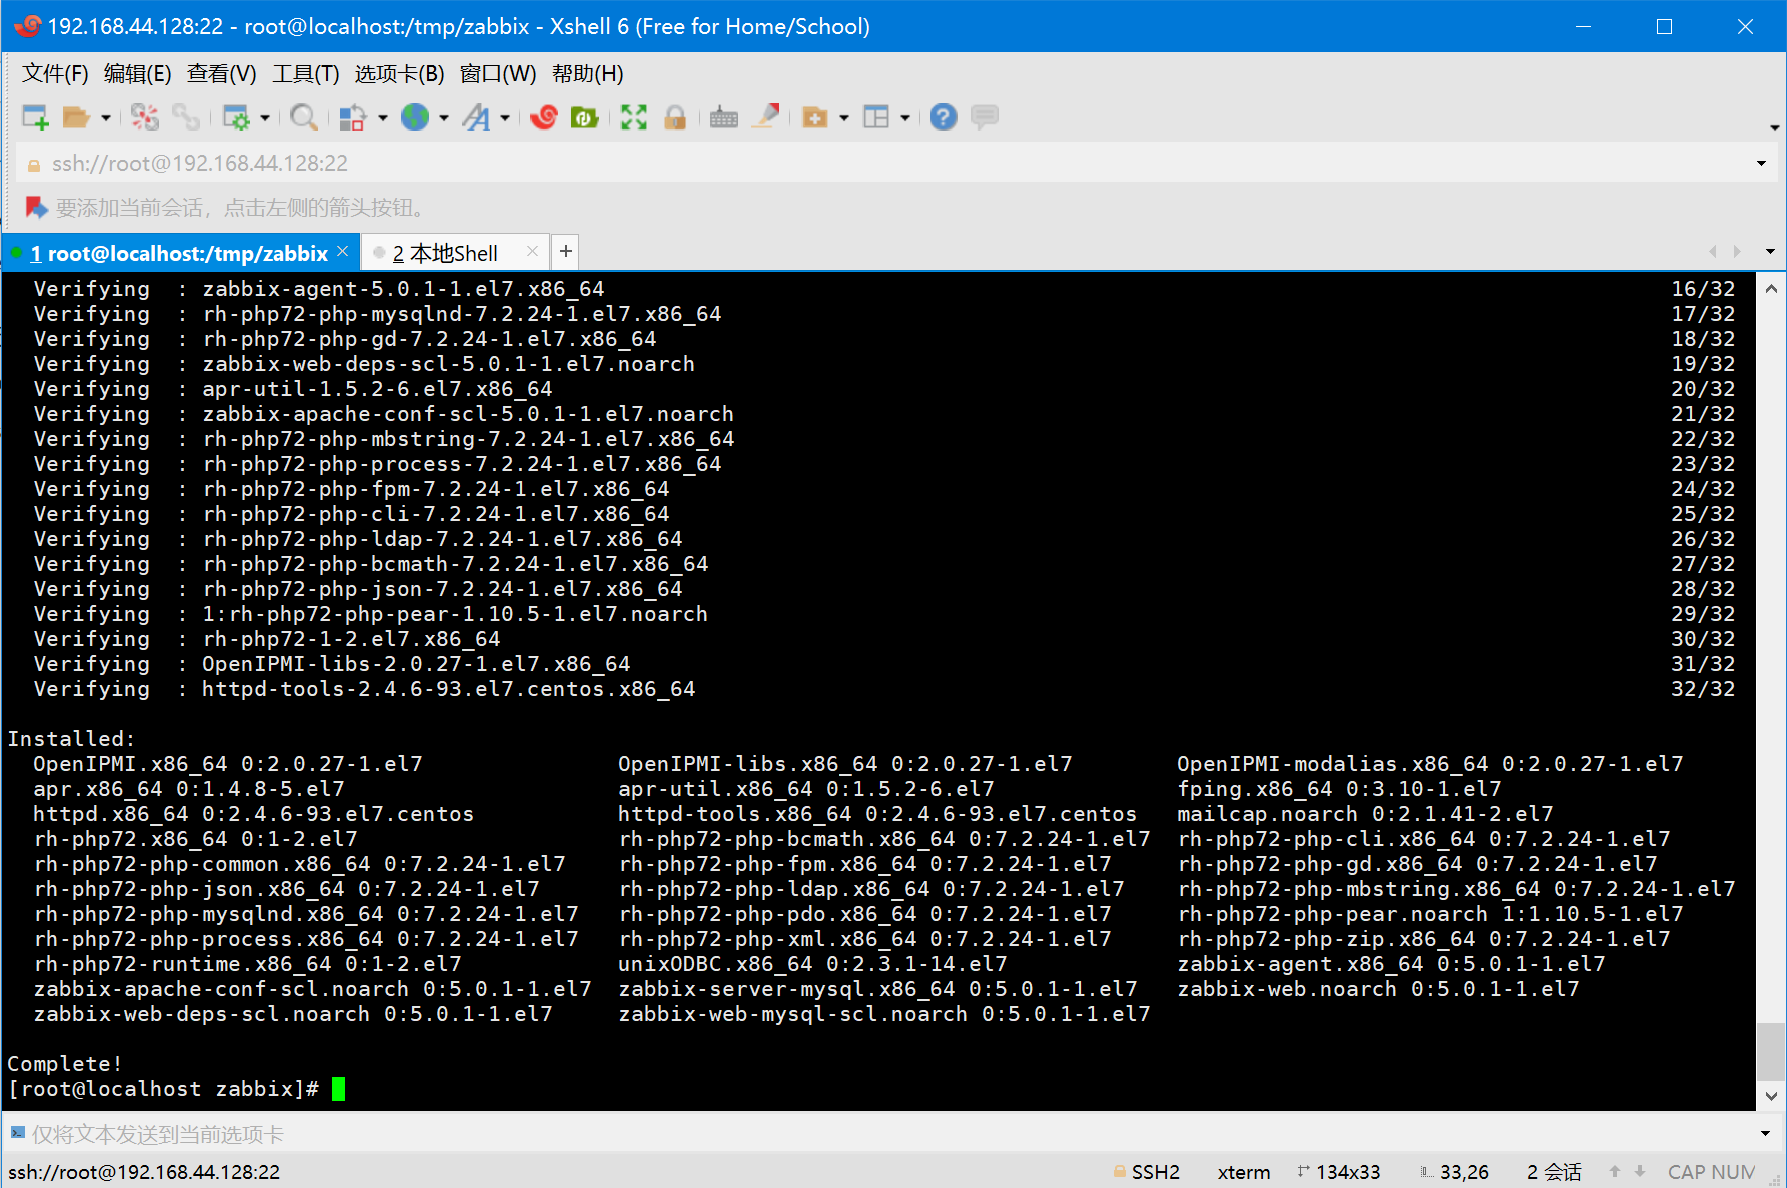
Check whether the server and agent processes can start. An active process alone does not confirm that Zabbix is ready. The database still needs its schema and configuration.
systemctl start zabbix-agent

systemctl start zabbix-server
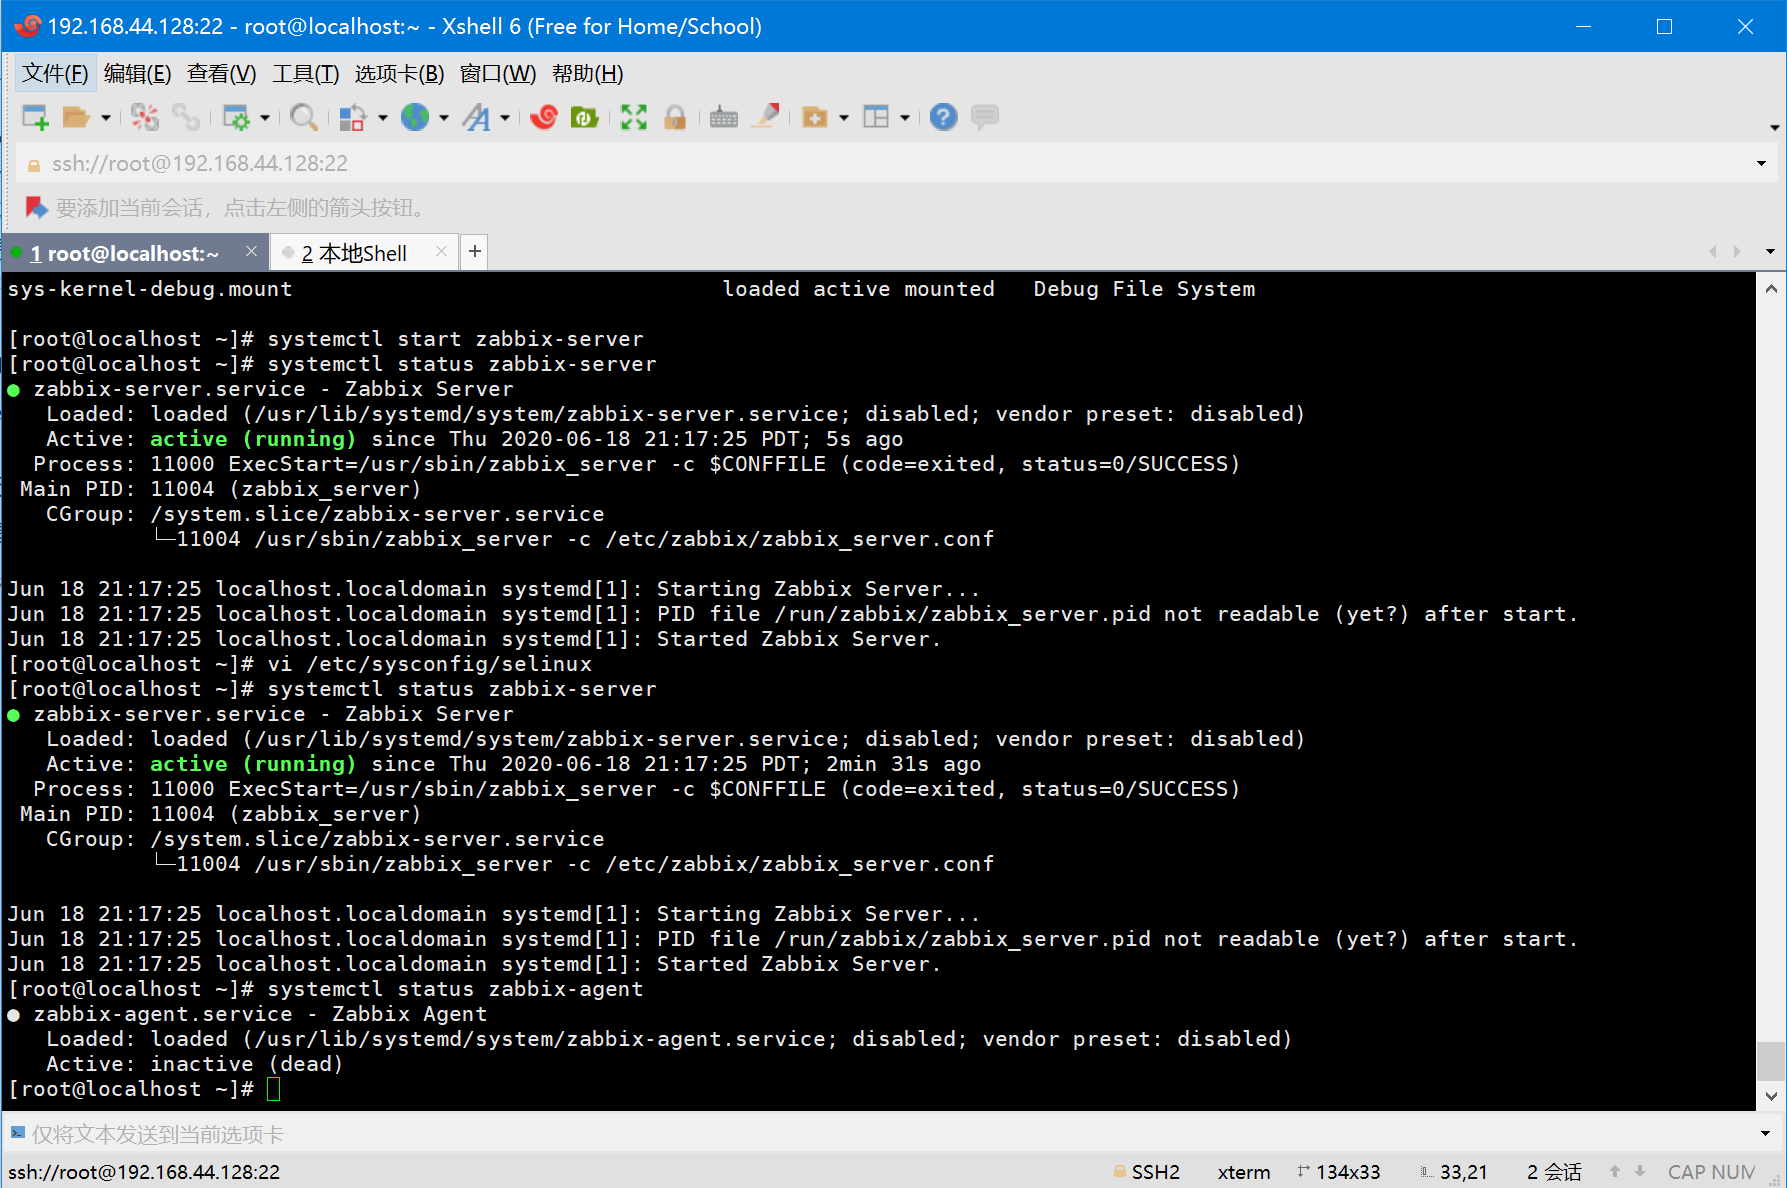
Enable the services at boot if required.
systemctl enable zabbix-agent

systemctl enable zabbix-server
Open the frontend PHP configuration.
vi /etc/opt/rh/rh-php72/php-fpm.d/zabbix.conf
Set the correct timezone. The lab uses Asia/Shanghai.
php_value[date.timezone] = Asia/Shanghai
2.3. Install MariaDB
Install the RPMs from /tmp/db.
cd /tmp/db

yum -y localinstall *.rpm
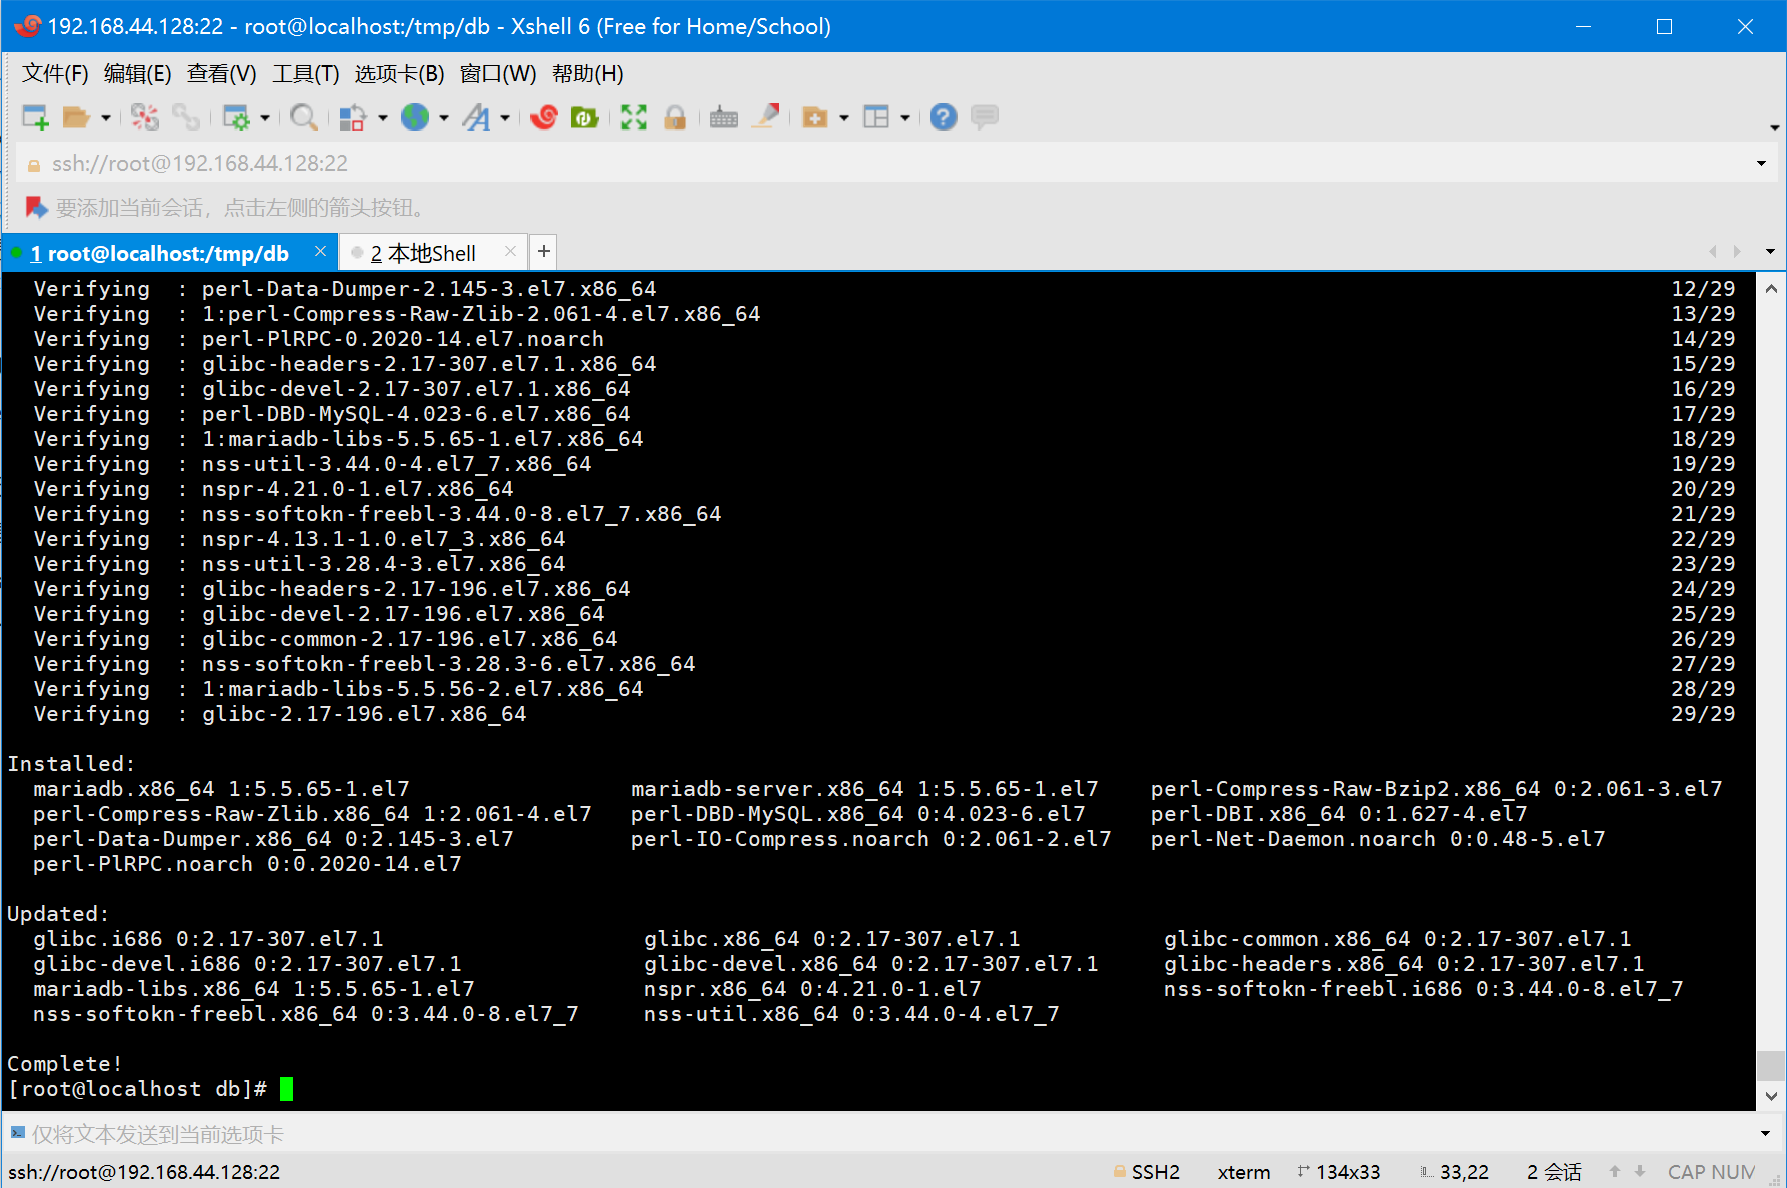
Start MariaDB and verify its status.
systemctl start mariadb
systemctl status mariadb
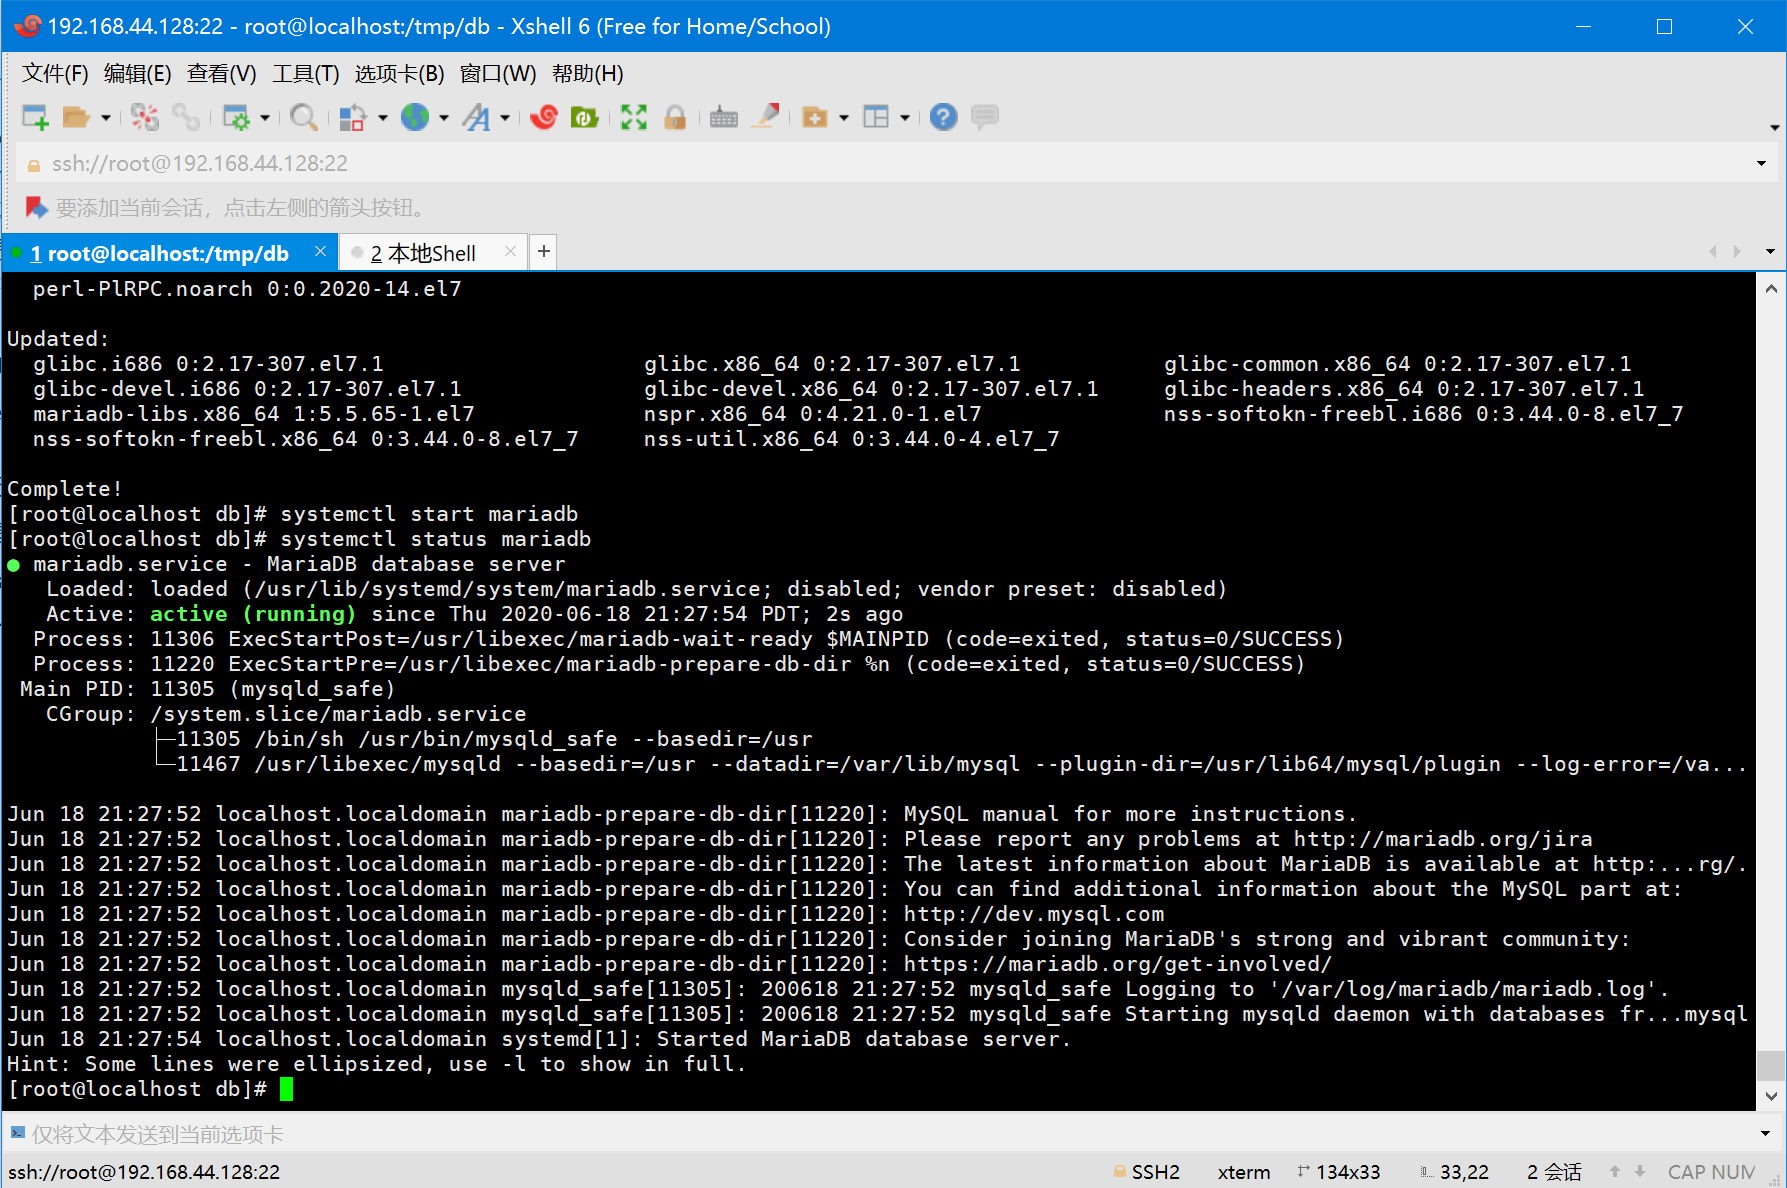
Enable it at boot if required.
systemctl enable mariadb
Run mysql_secure_installation to set up the initial database security options.
mysql_secure_installation
The lab removes anonymous users and the test database and disables remote root login. The password shown is a lab example.
NOTE: RUNNING ALL PARTS OF THIS SCRIPT IS RECOMMENDED FOR ALL MariaDB
      SERVERS IN PRODUCTION USE!  PLEASE READ EACH STEP CAREFULLY!

In order to log into MariaDB to secure it, we'll need the current
password for the root user.  If you've just installed MariaDB, and
you haven't set the root password yet, the password will be blank,
so you should just press enter here.

Enter current password for root (enter for none):   << 回车
OK, successfully used password, moving on...

Setting the root password ensures that nobody can log into the MariaDB
root user without the proper authorisation.

Set root password? [Y/n] Y  << 设定 MariaDB root用户密码
New password:   << 输入密码
Re-enter new password:   << 再次输入密码
Password updated successfully!
Reloading privilege tables..
 ... Success!


By default, a MariaDB installation has an anonymous user, allowing anyone
to log into MariaDB without having to have a user account created for
them.  This is intended only for testing, and to make the installation
go a bit smoother.  You should remove them before moving into a
production environment.

Remove anonymous users? [Y/n] Y  << 删除匿名用户
 ... Success!

Normally, root should only be allowed to connect from 'localhost'.  This
ensures that someone cannot guess at the root password from the network.

Disallow root login remotely? [Y/n] Y  << 关闭root用户远程登陆
 ... Success!

By default, MariaDB comes with a database named 'test' that anyone can
access.  This is also intended only for testing, and should be removed
before moving into a production environment.

Remove test database and access to it? [Y/n] Y  << 删除测试数据库
 - Dropping test database...
 ... Success!
 - Removing privileges on test database...
 ... Success!

Reloading the privilege tables will ensure that all changes made so far
will take effect immediately.

Reload privilege tables now? [Y/n] Y  << 重新载入表
 ... Success!

Cleaning up...

All done!  If you've completed all of the above steps, your MariaDB
installation should now be secure.

Thanks for using MariaDB!
Sign in to MariaDB.
mysql -u root -p
Create the zabbixdb database and the zabbixuser account. Use a unique password for an actual installation.
create database zabbixdb character set utf8 collate utf8_bin;

grant all privileges on zabbixdb.* to zabbixuser@localhost identified by 'password';

quit;
Import the initial schema and data.
cd /usr/share/doc/zabbix-server-mysql*/

zcat create.sql.gz | mysql -u zabbixuser -p zabbixdb
Open zabbix_server.conf.
vi /etc/zabbix/zabbix_server.conf
Set the database name, user, and password.
DBHost=localhost
DBName=zabbixdb
DBUser=zabbixuser
DBPassword=password
Restart the related services.
systemctl restart zabbix-server zabbix-agent httpd rh-php72-php-fpm
2.4. Open the required firewall ports
Passive checks connect from the server or proxy to the agent on TCP 10050. Active checks connect from the agent to the server or proxy on TCP 10051. The lab also uses TCP 80 for the HTTP frontend. Open only the ports each host needs.
firewall-cmd --permanent --add-port=10050/tcp

firewall-cmd --permanent --add-port=10051/tcp

firewall-cmd --permanent --add-port=80/tcp

firewall-cmd --reload
3. Complete setup in the web frontend
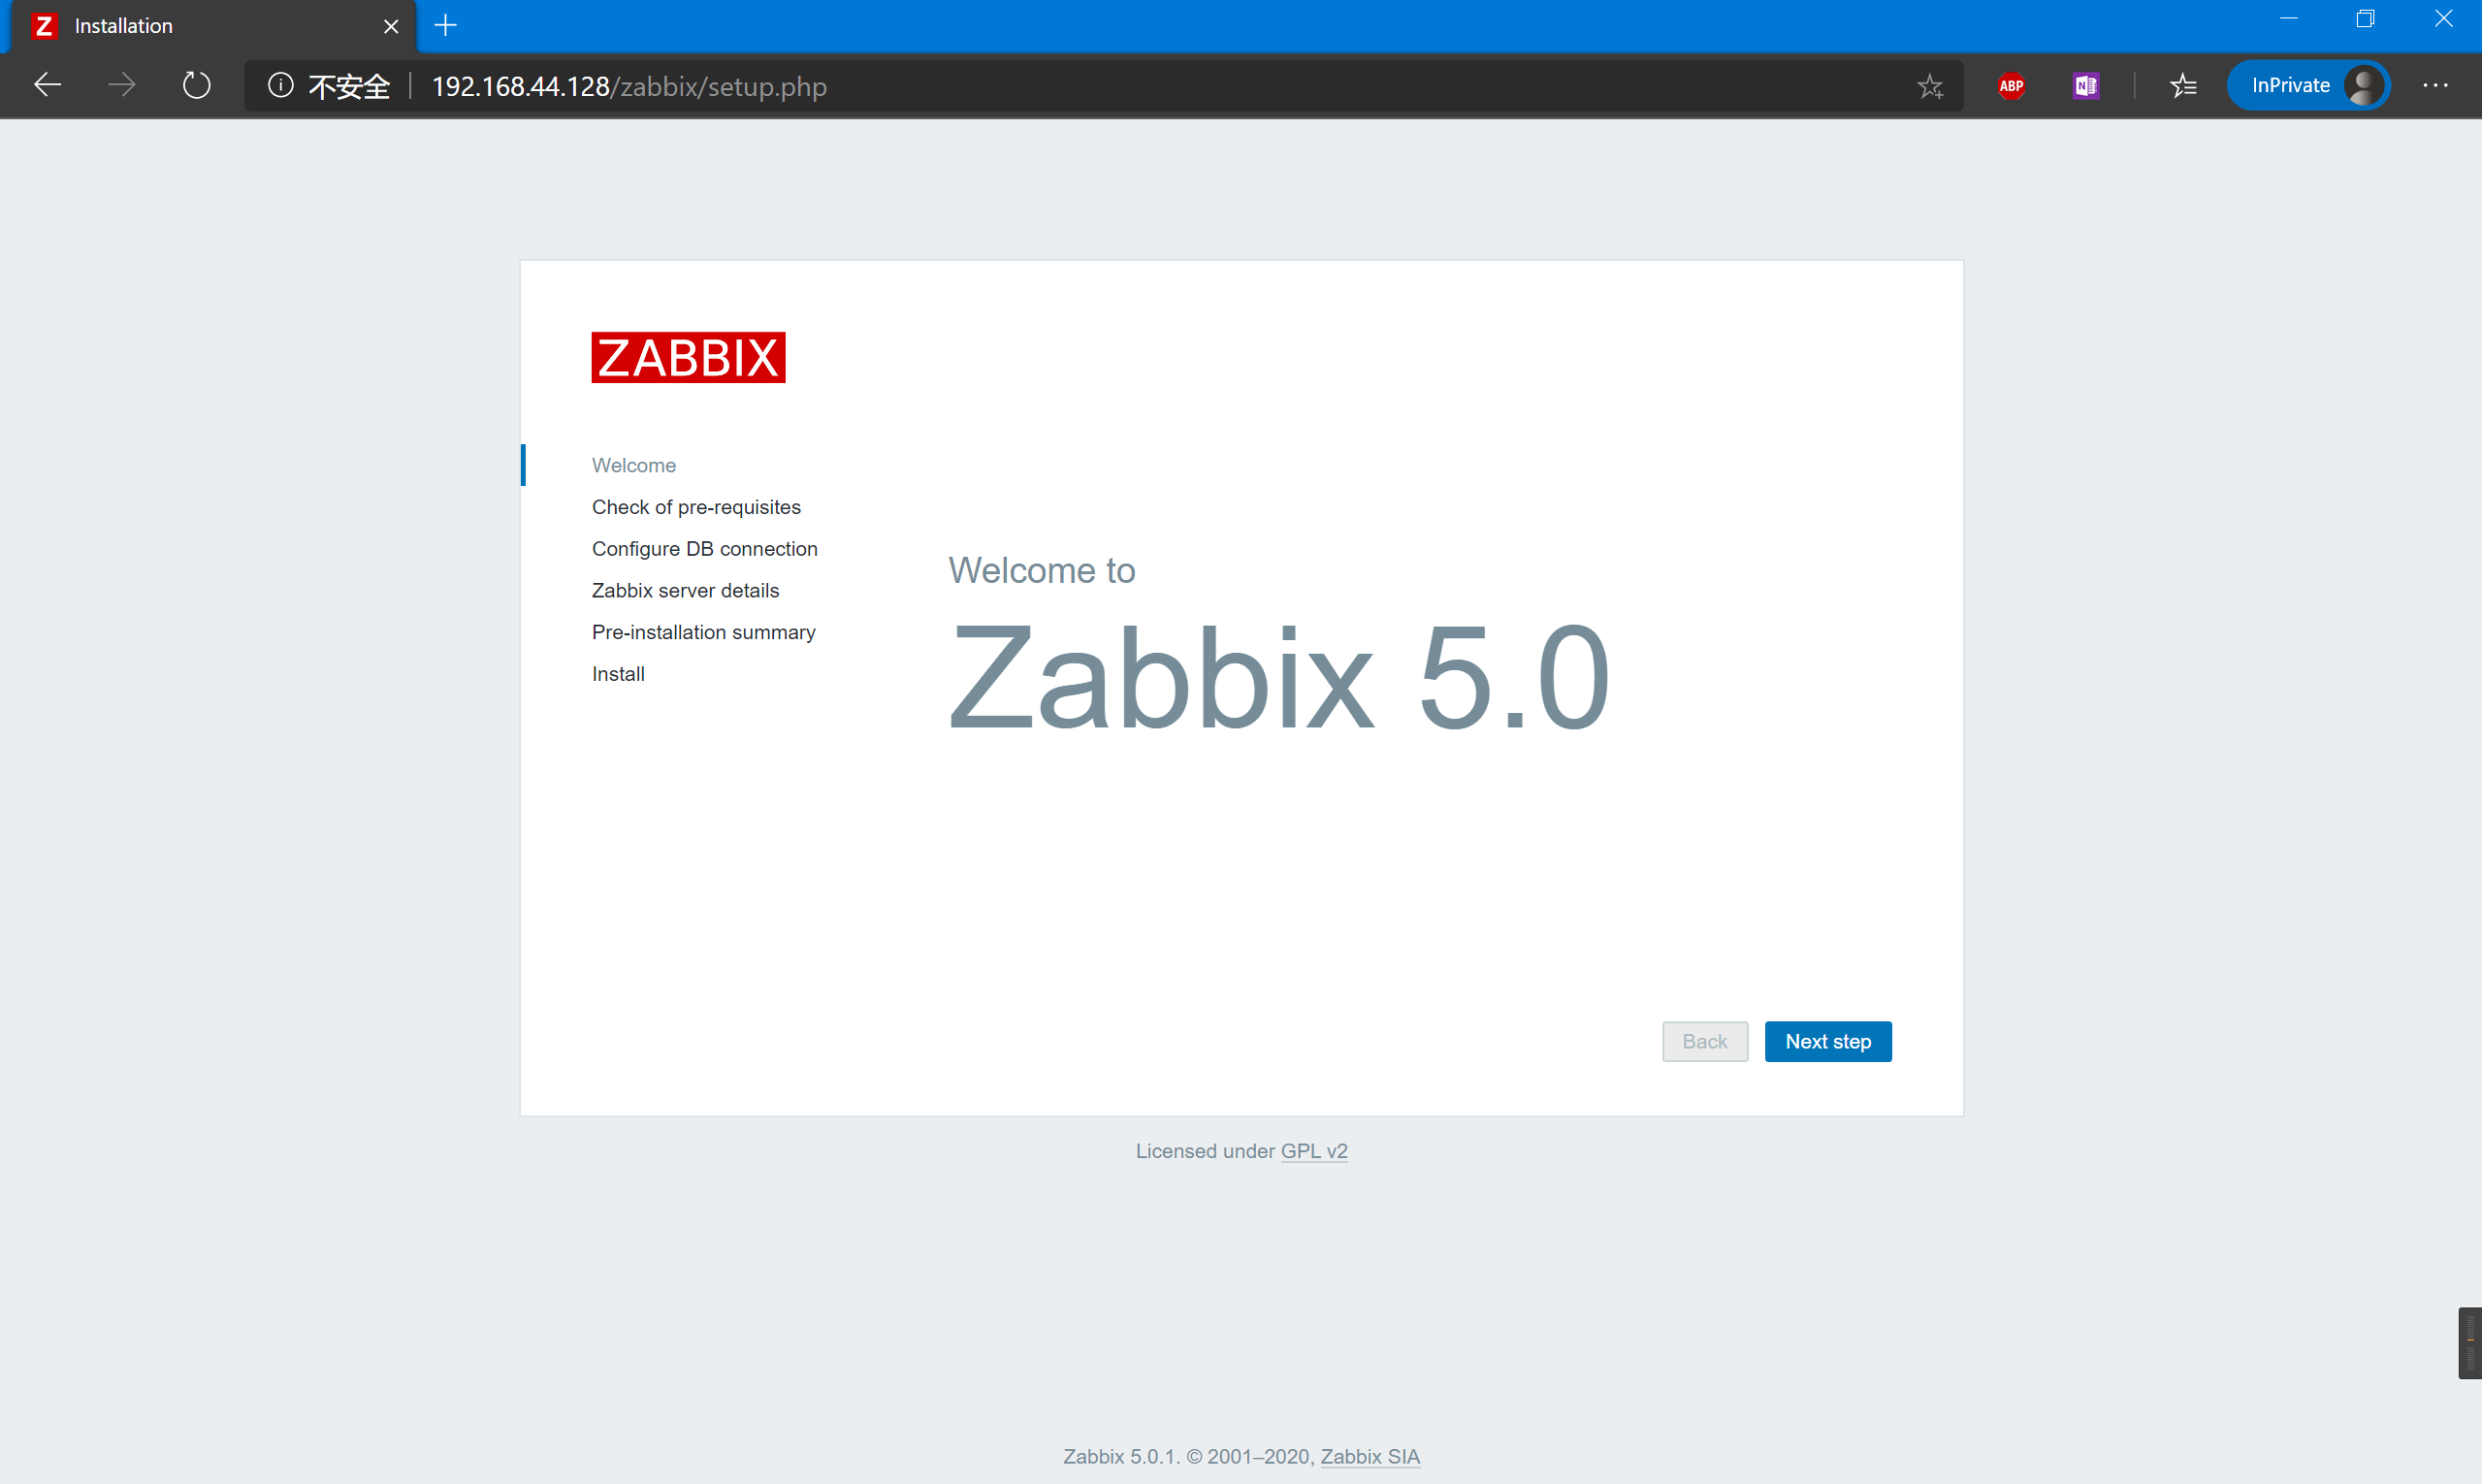
Open the /zabbix/ path on the server. The lab URL is http://192.168.44.128/zabbix/.
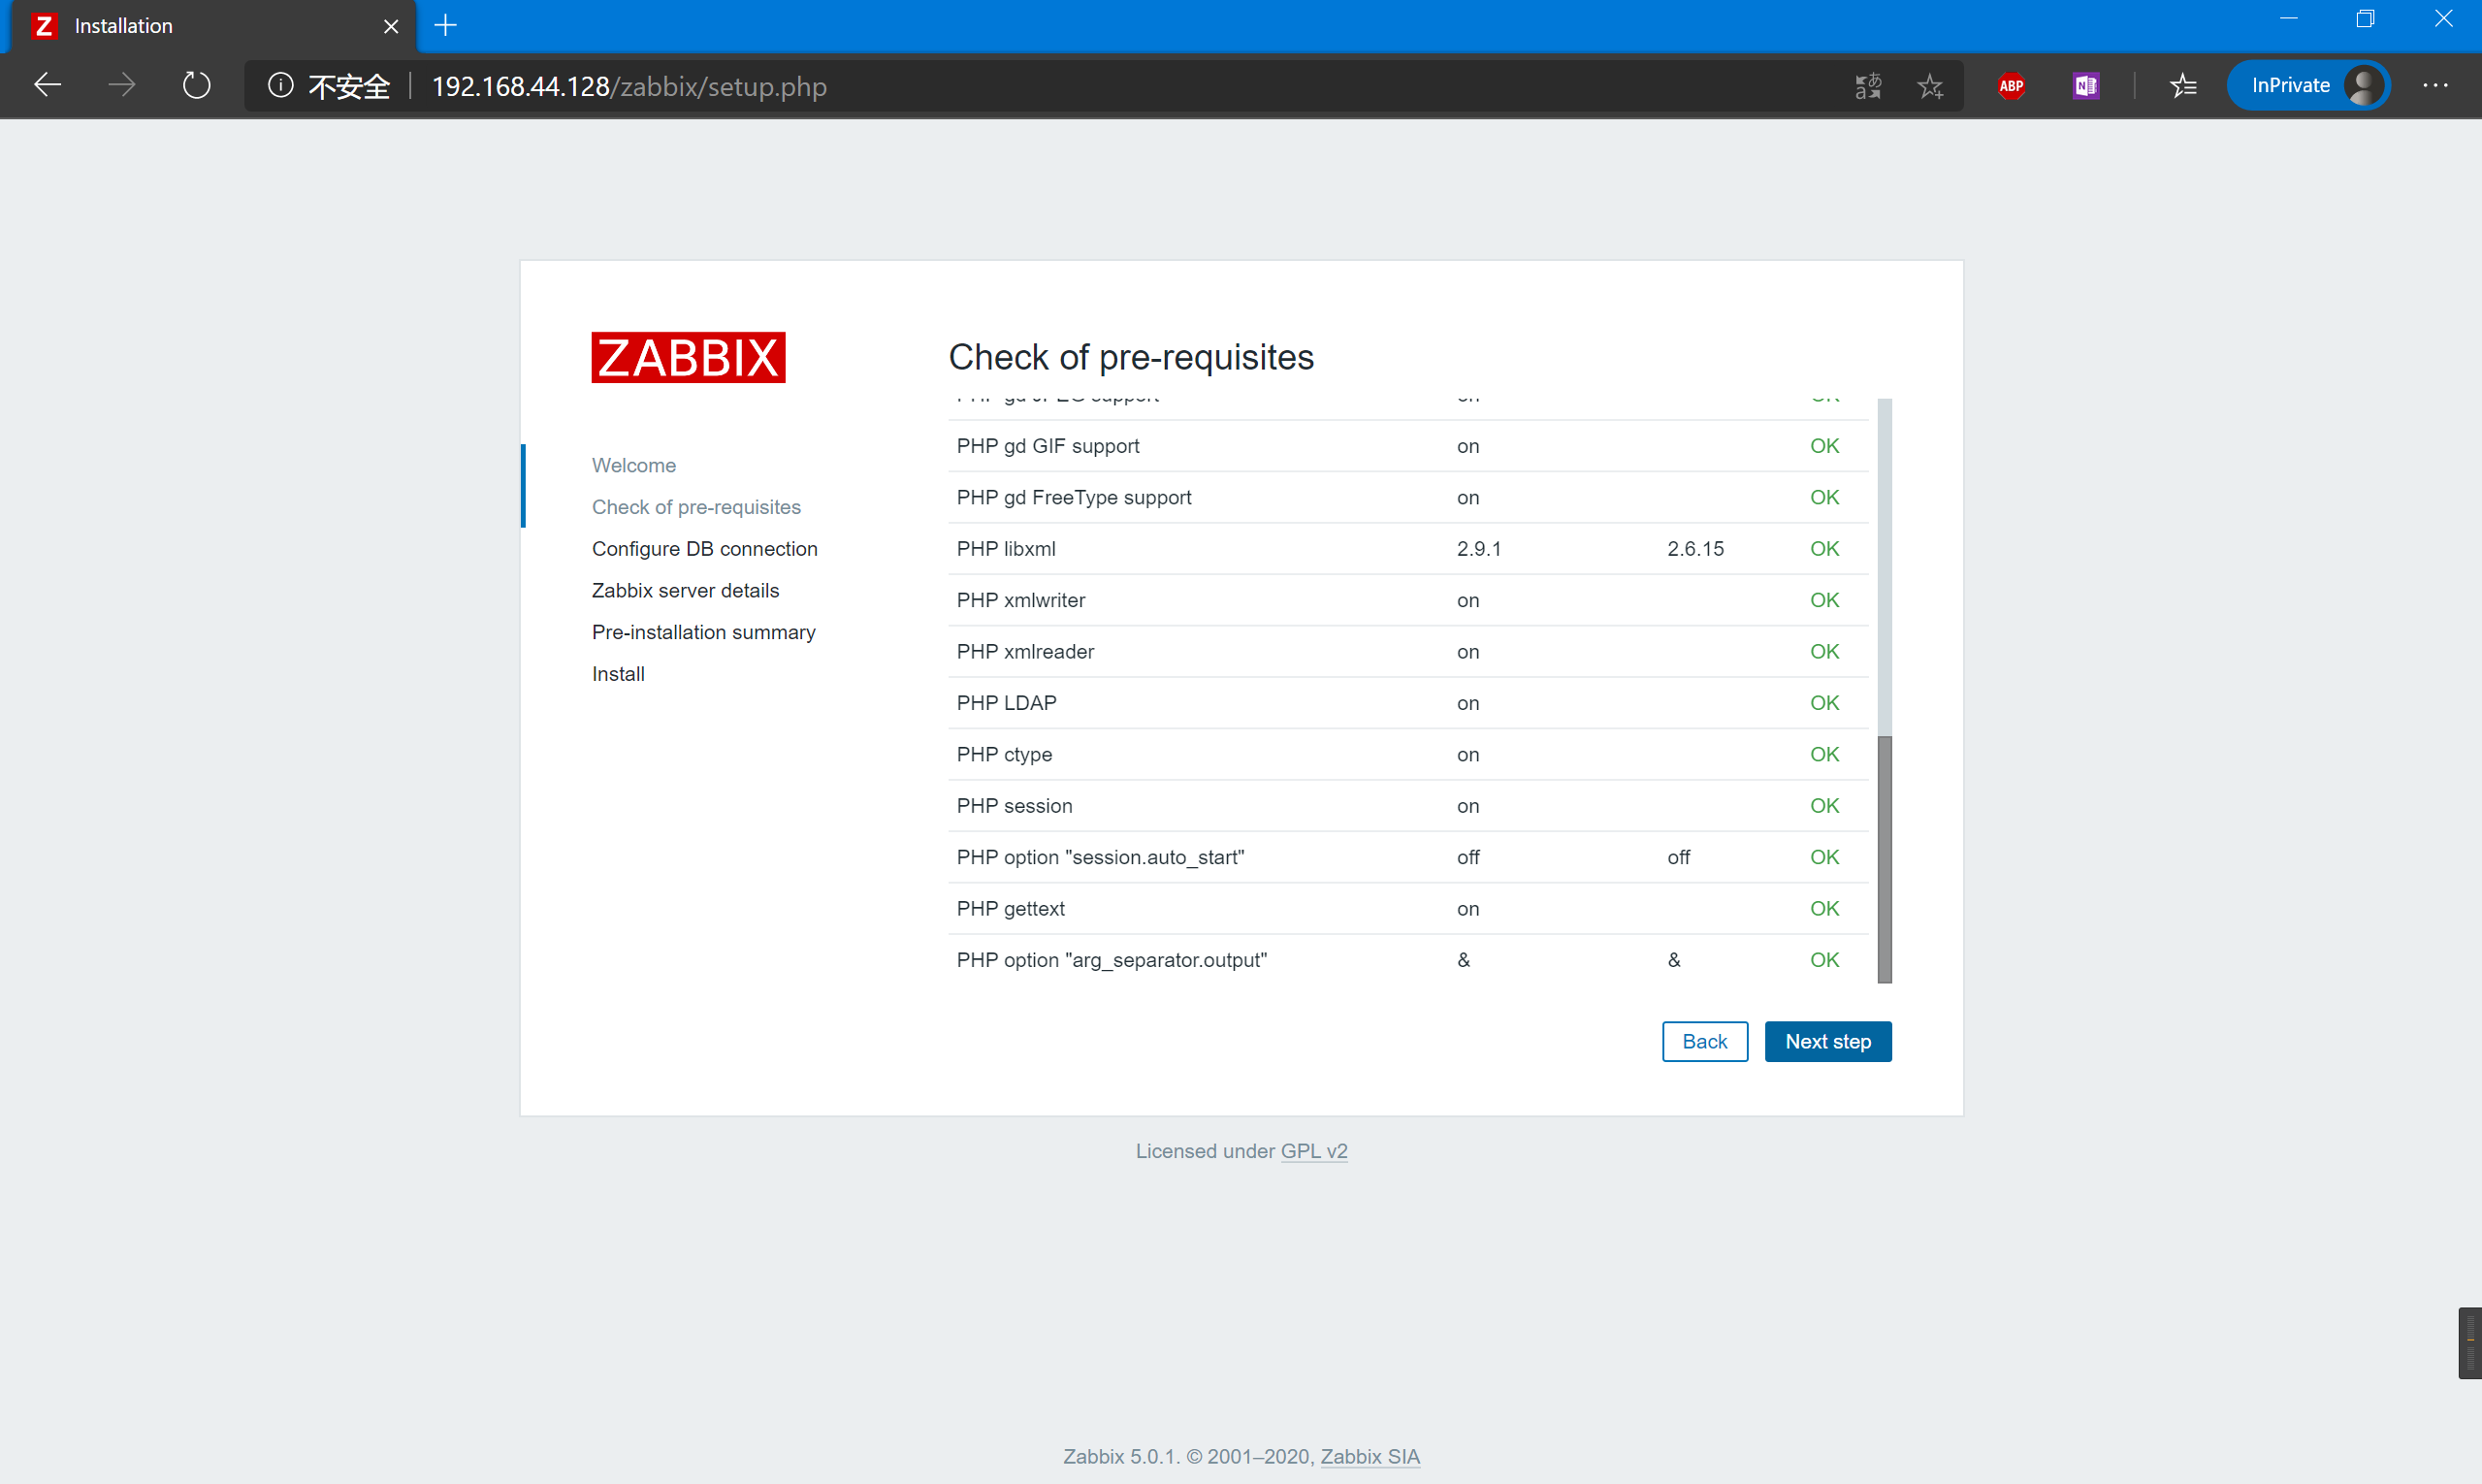
Check the installation prerequisites and fix any failures before continuing.
Enter the database name, user, and password.
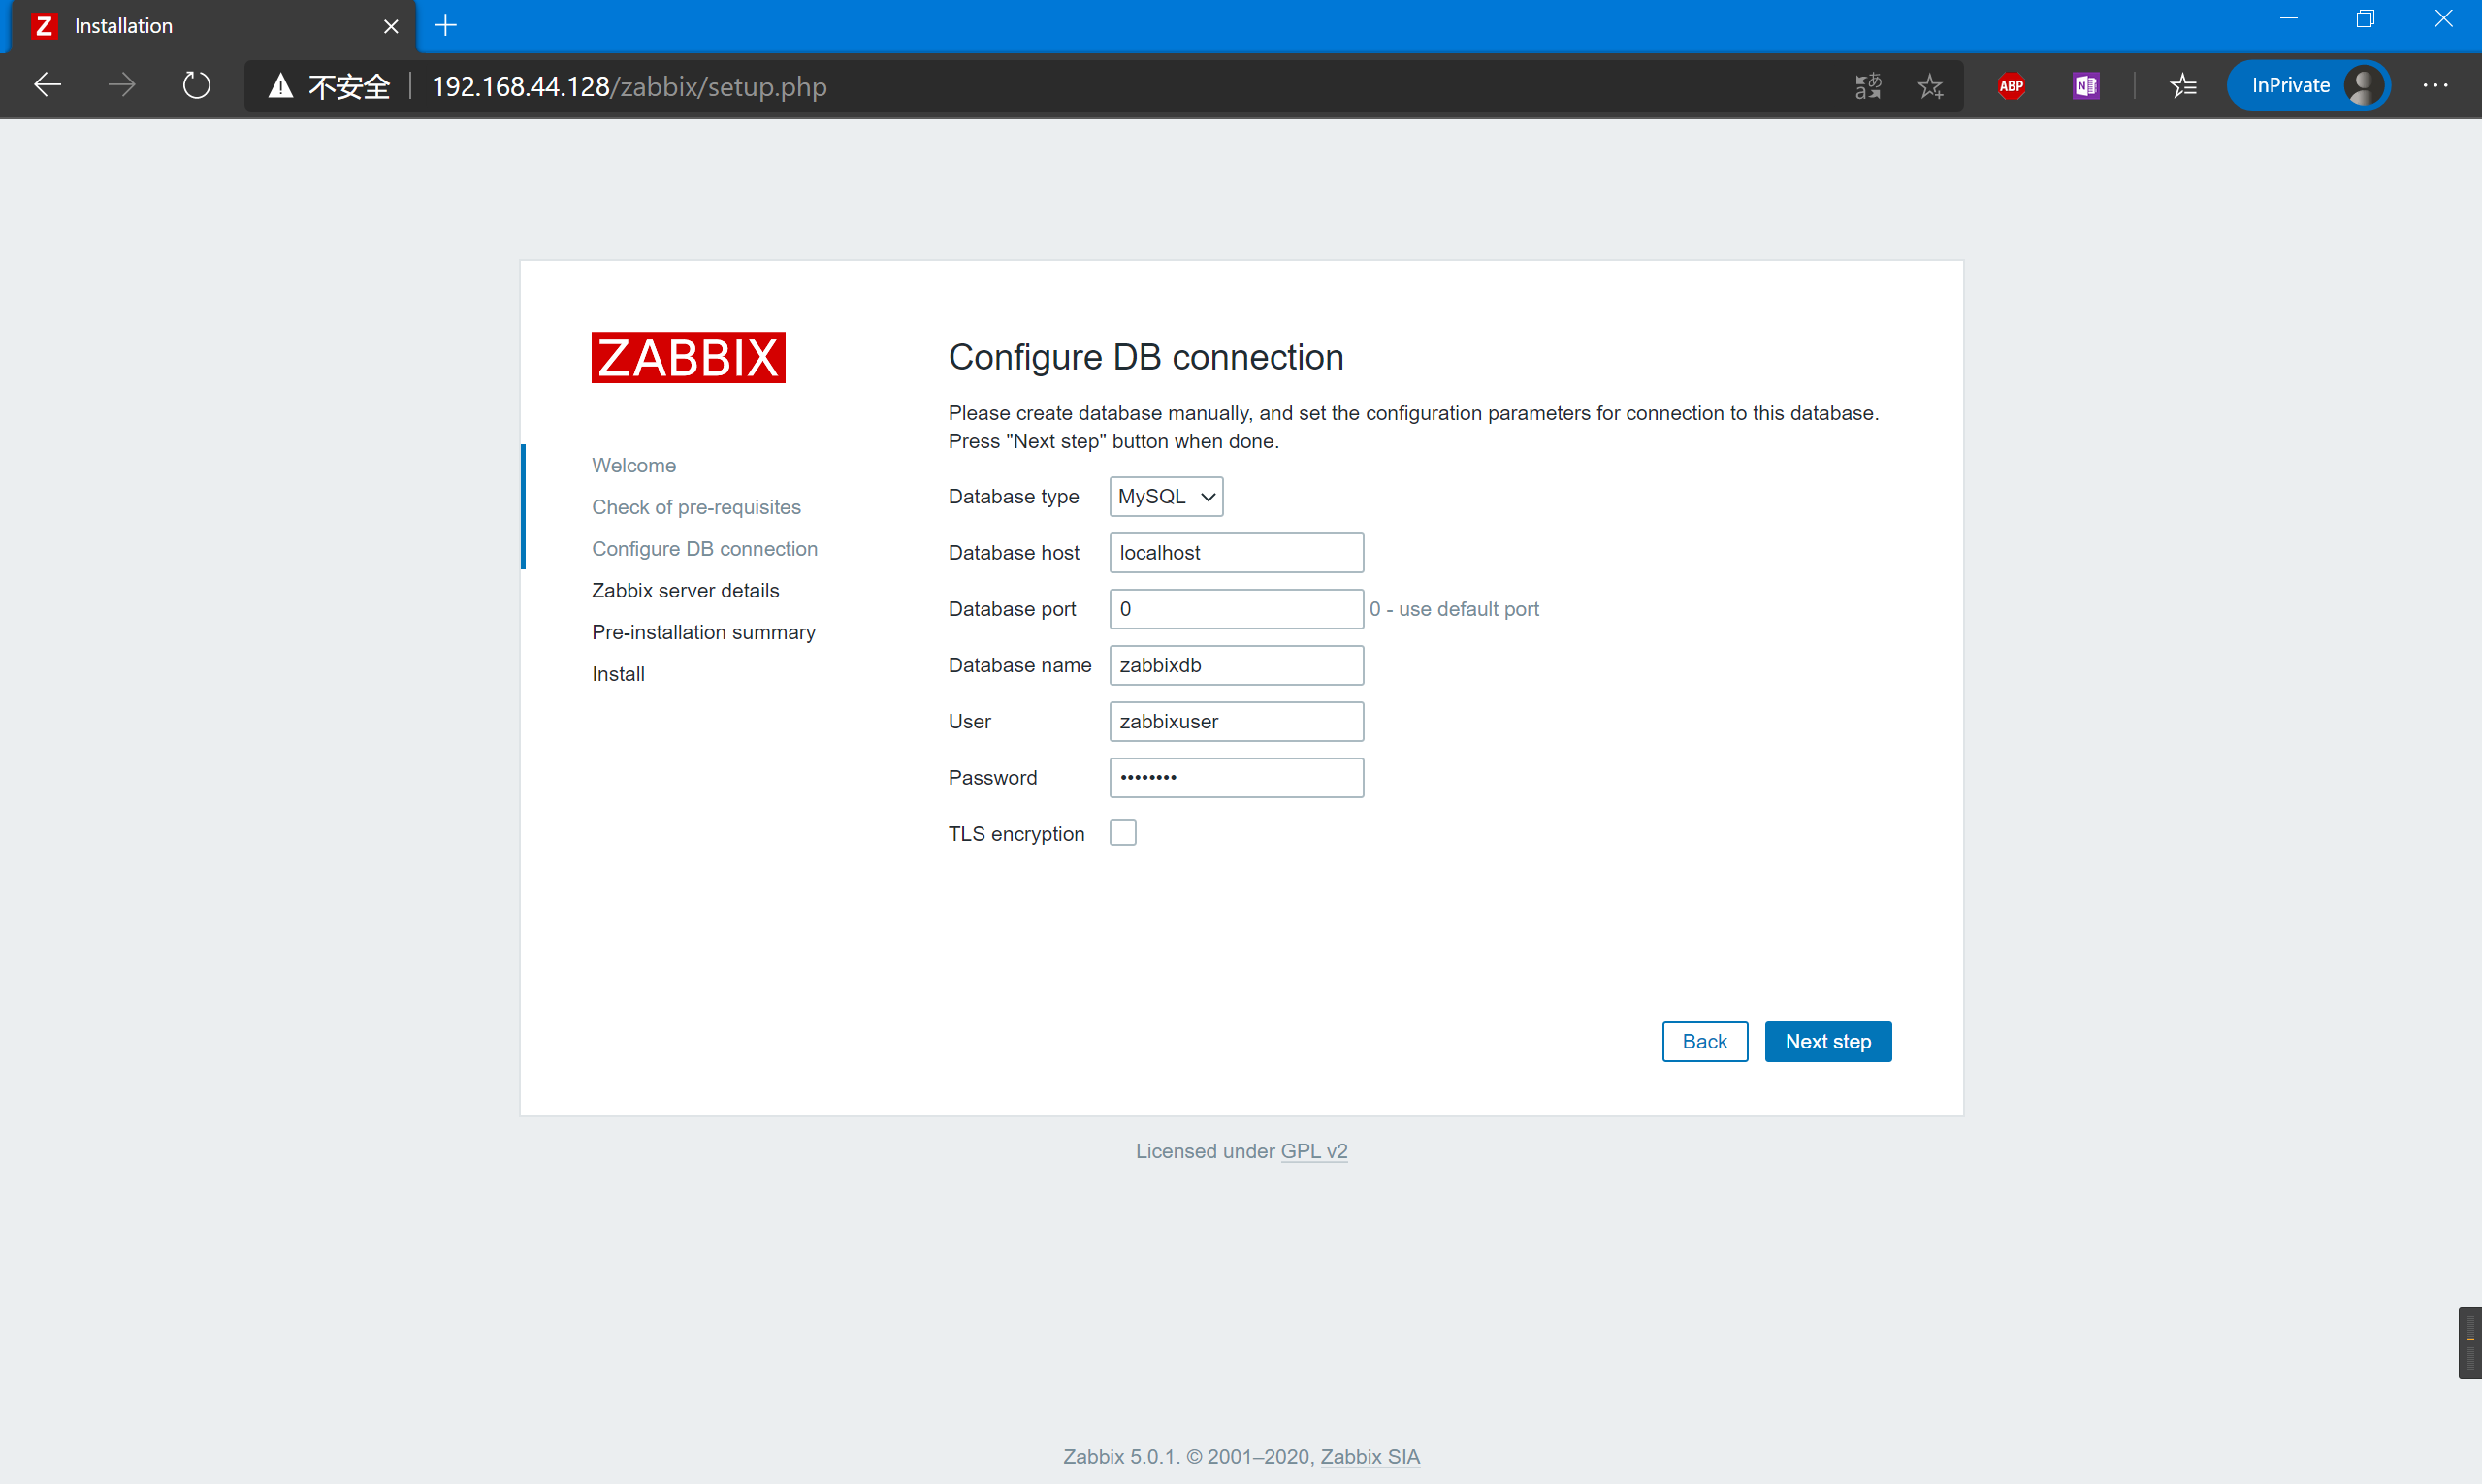
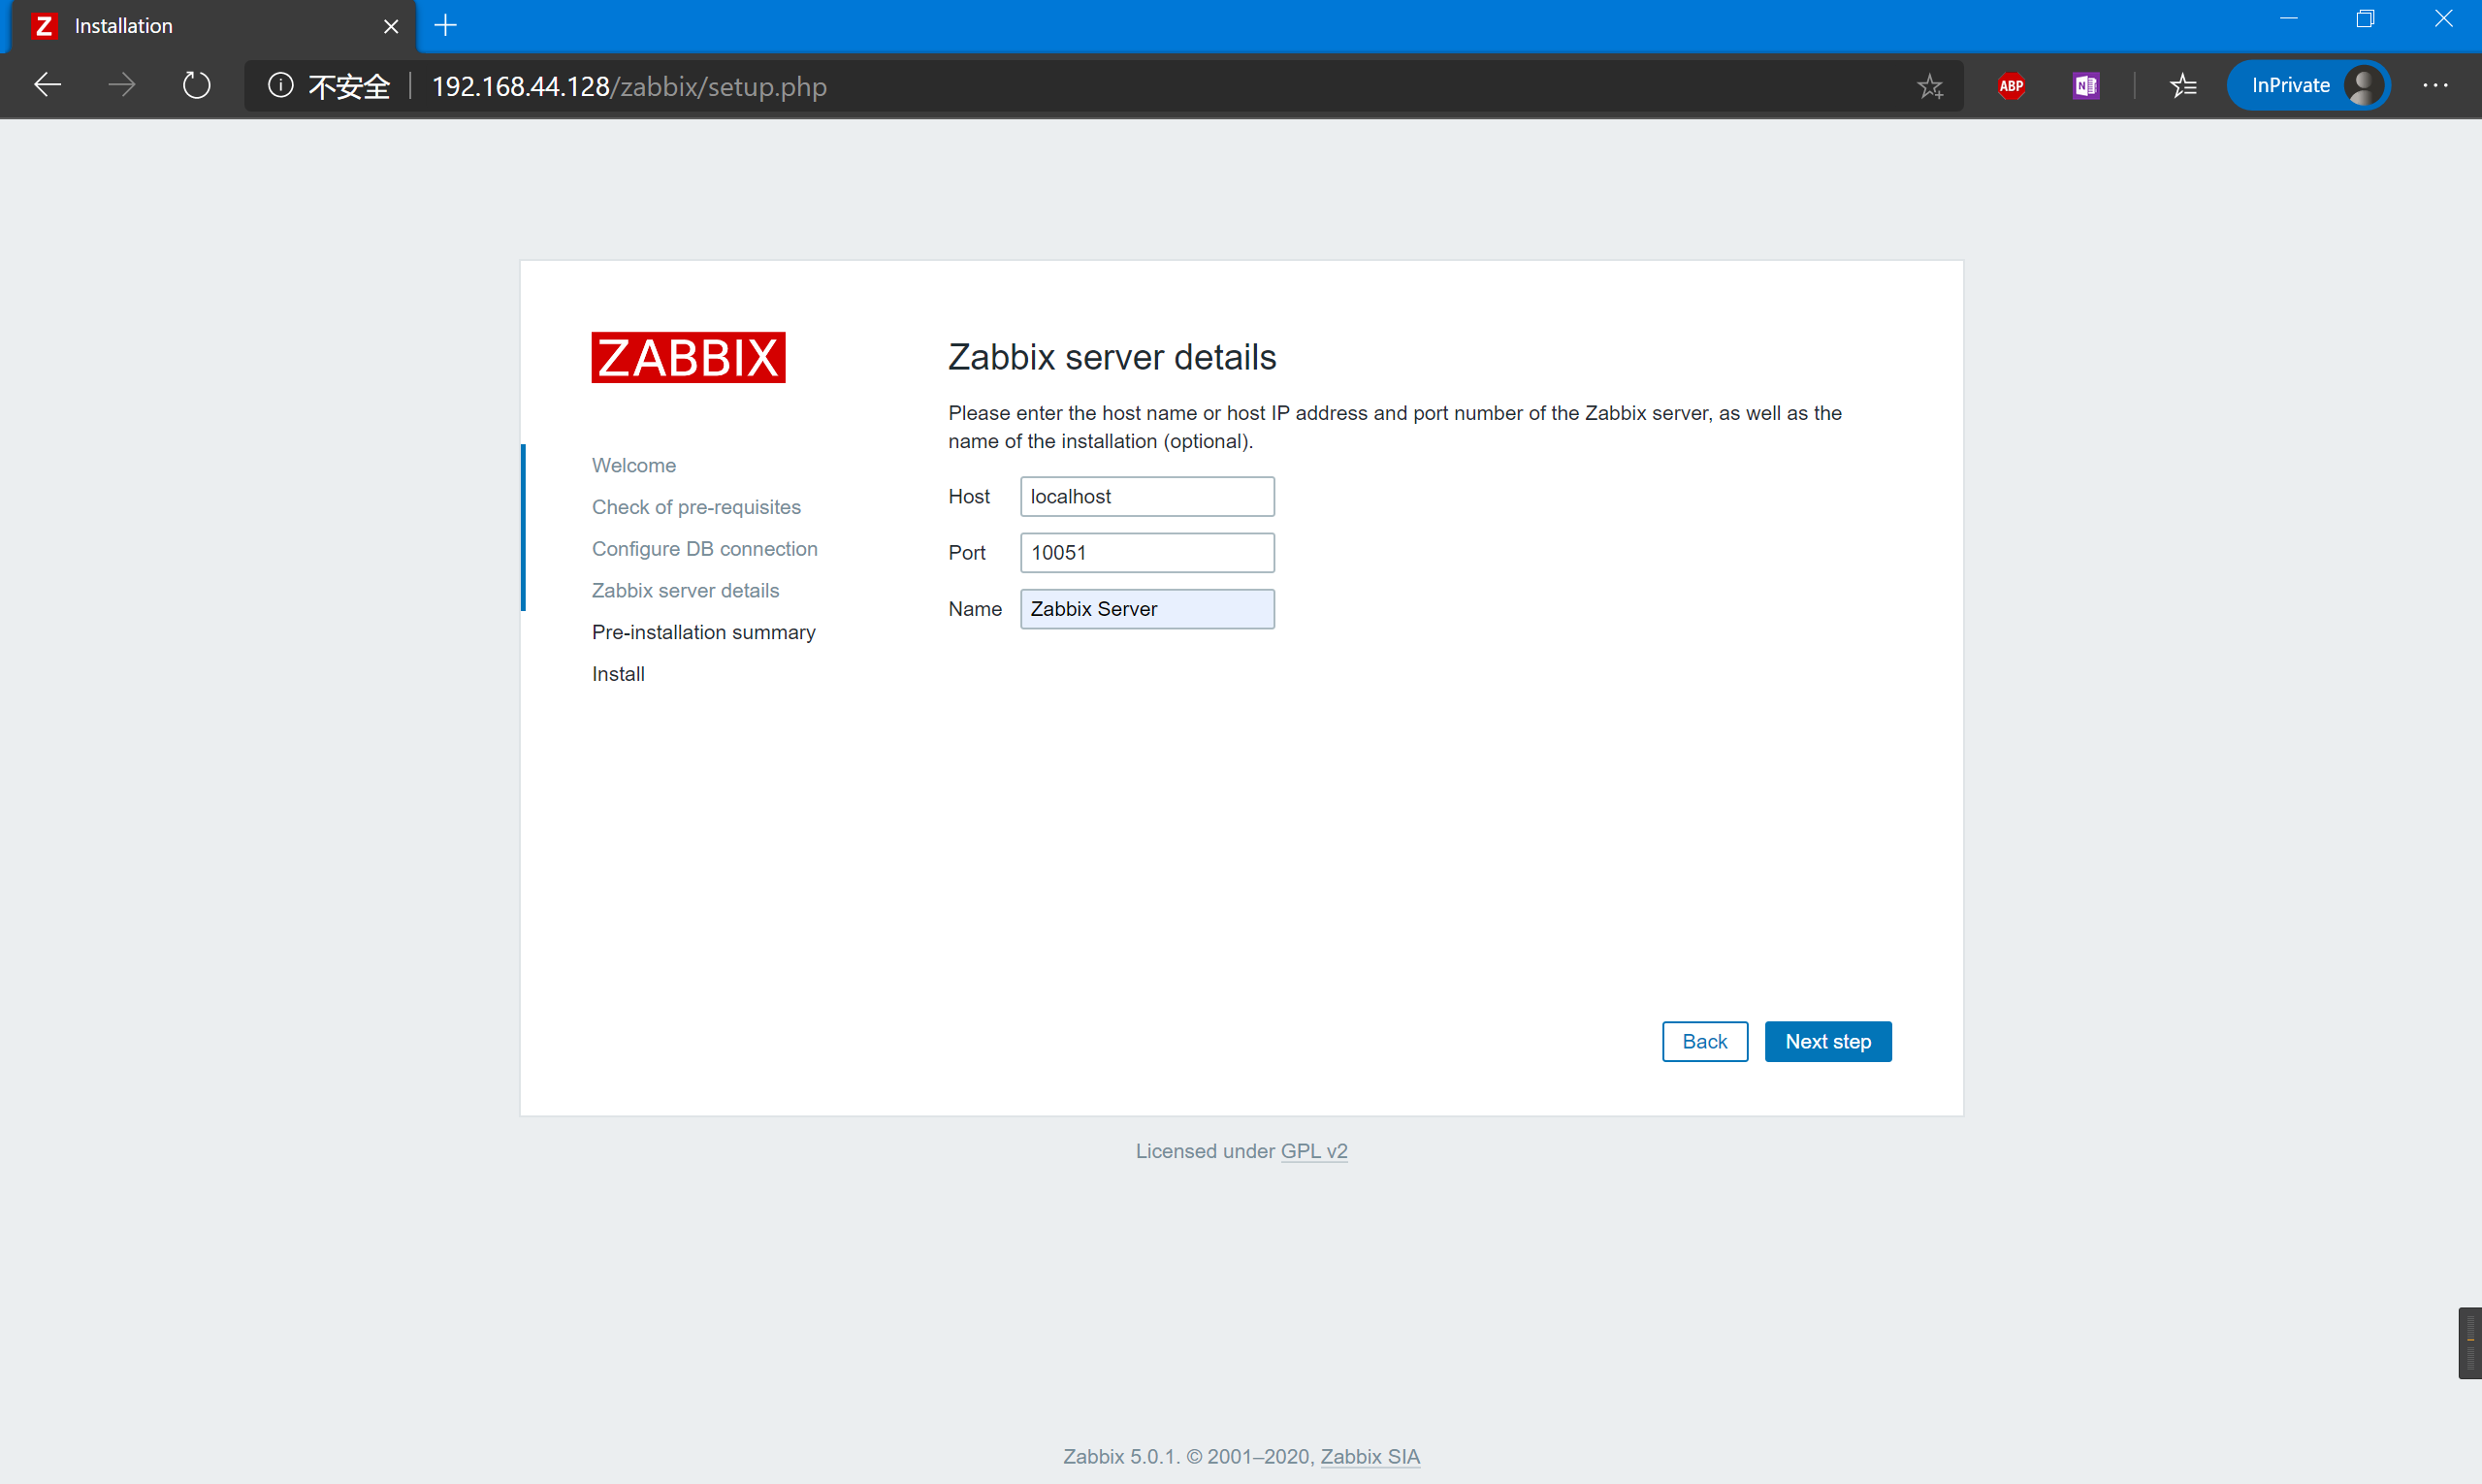
Confirm the Zabbix server details and instance name.
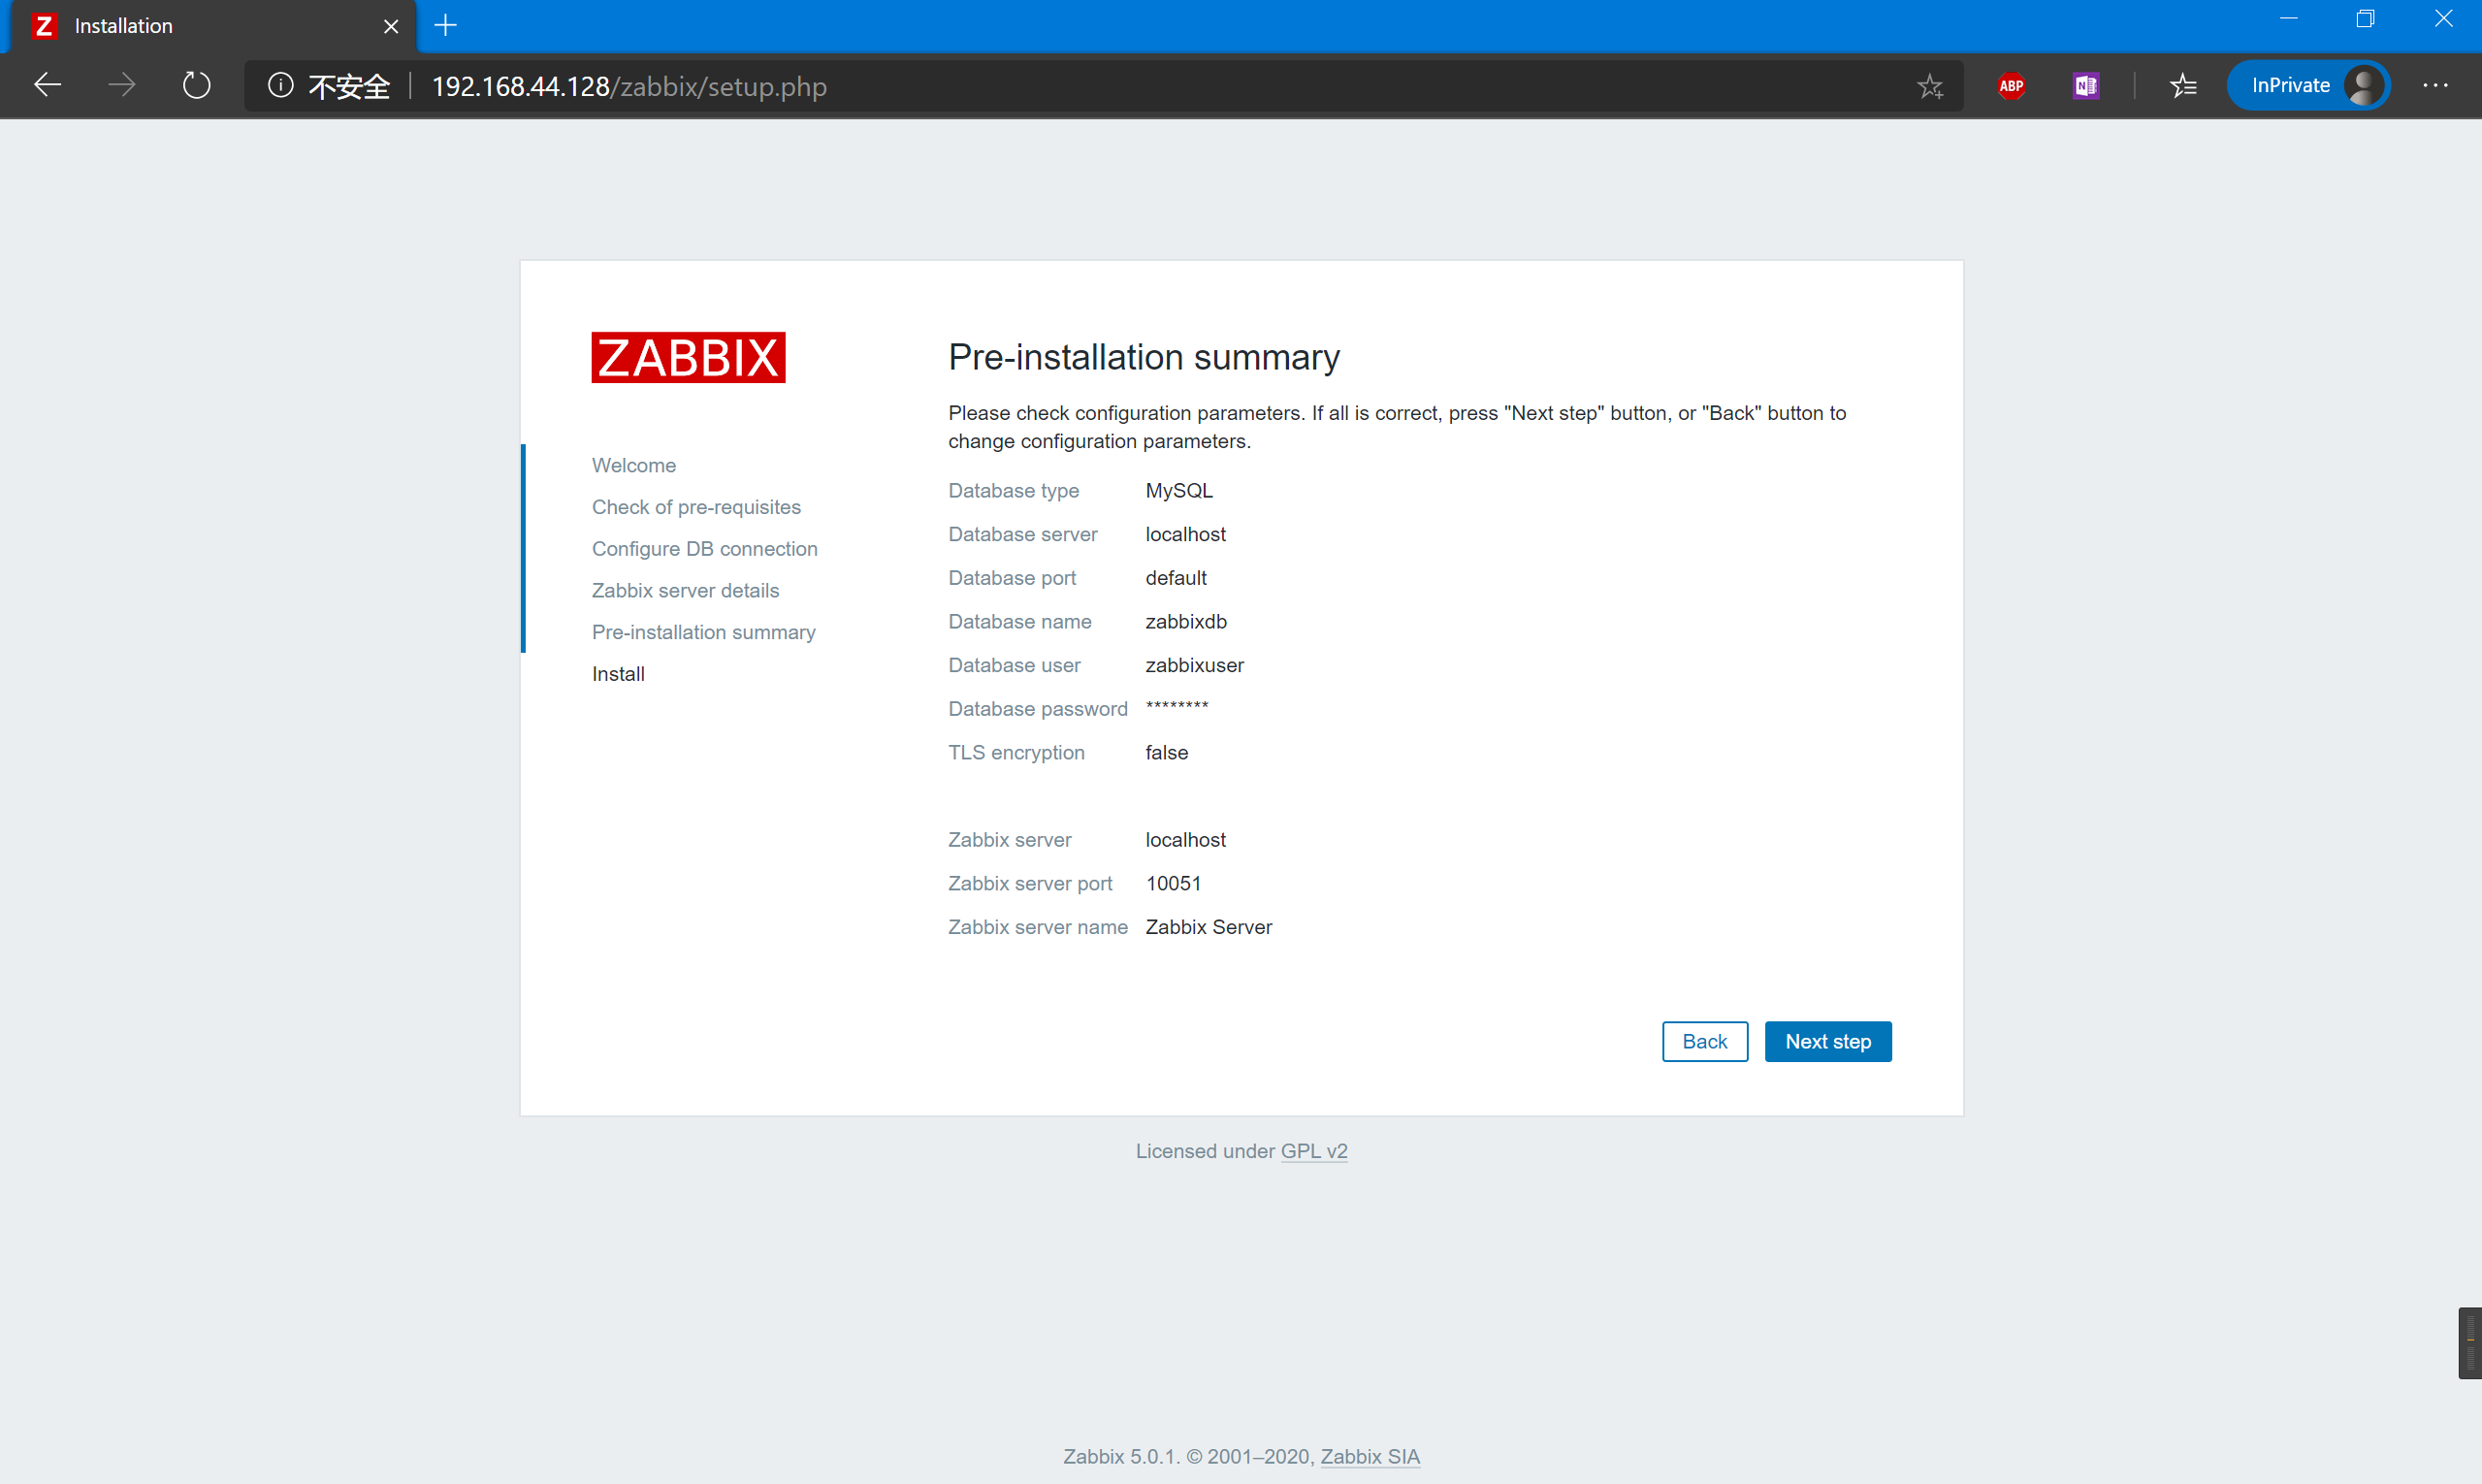
Review the summary.
In this run, the installer could not write the frontend configuration. Download the generated file and transfer it to the path shown by the installer.
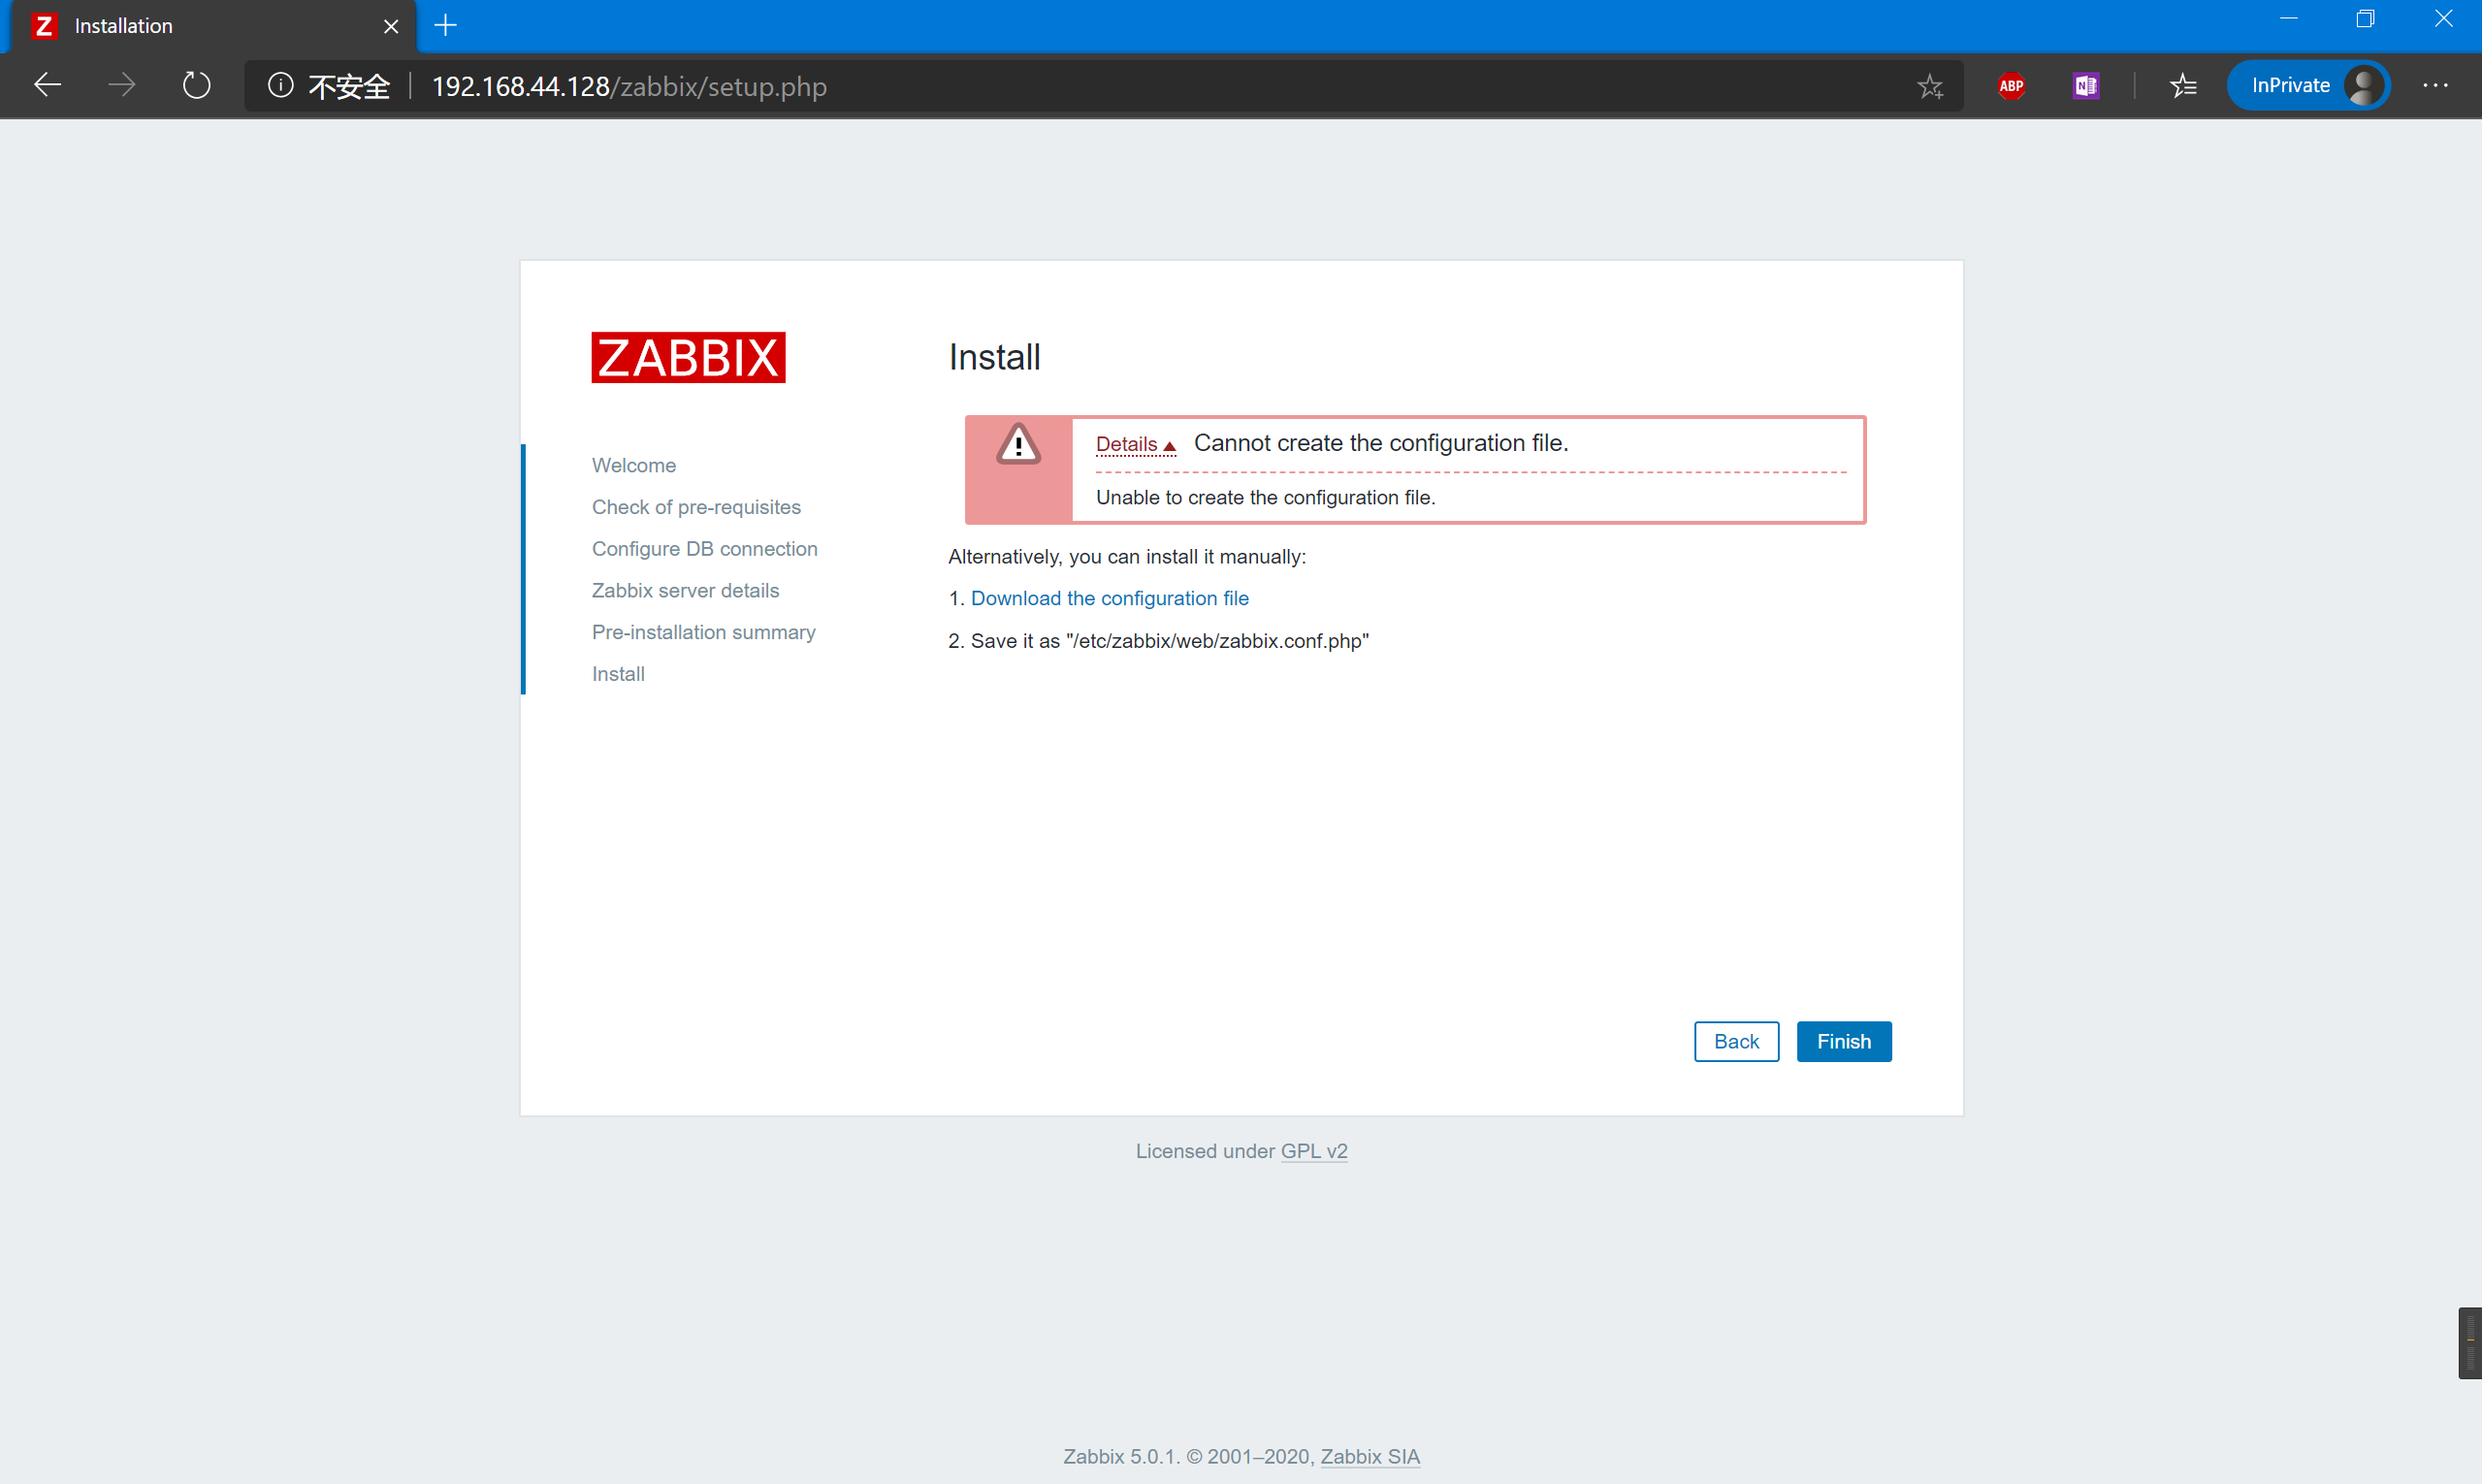
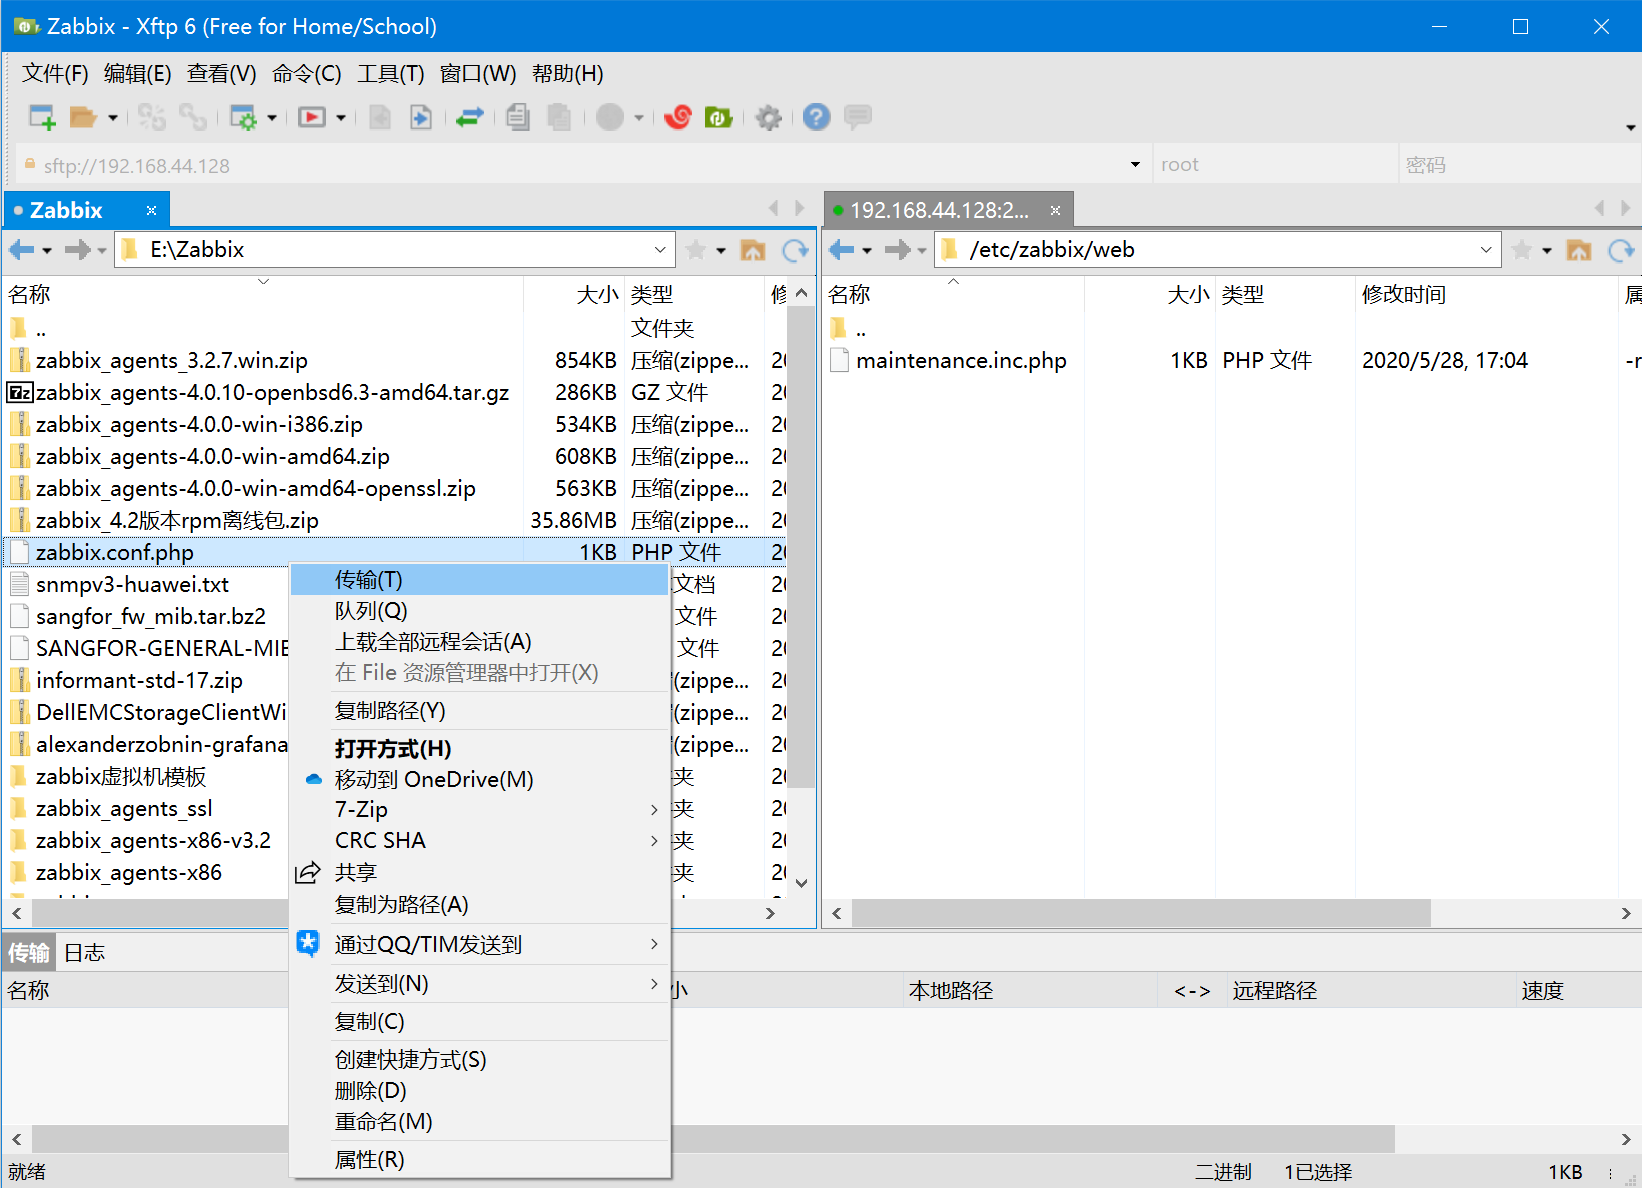
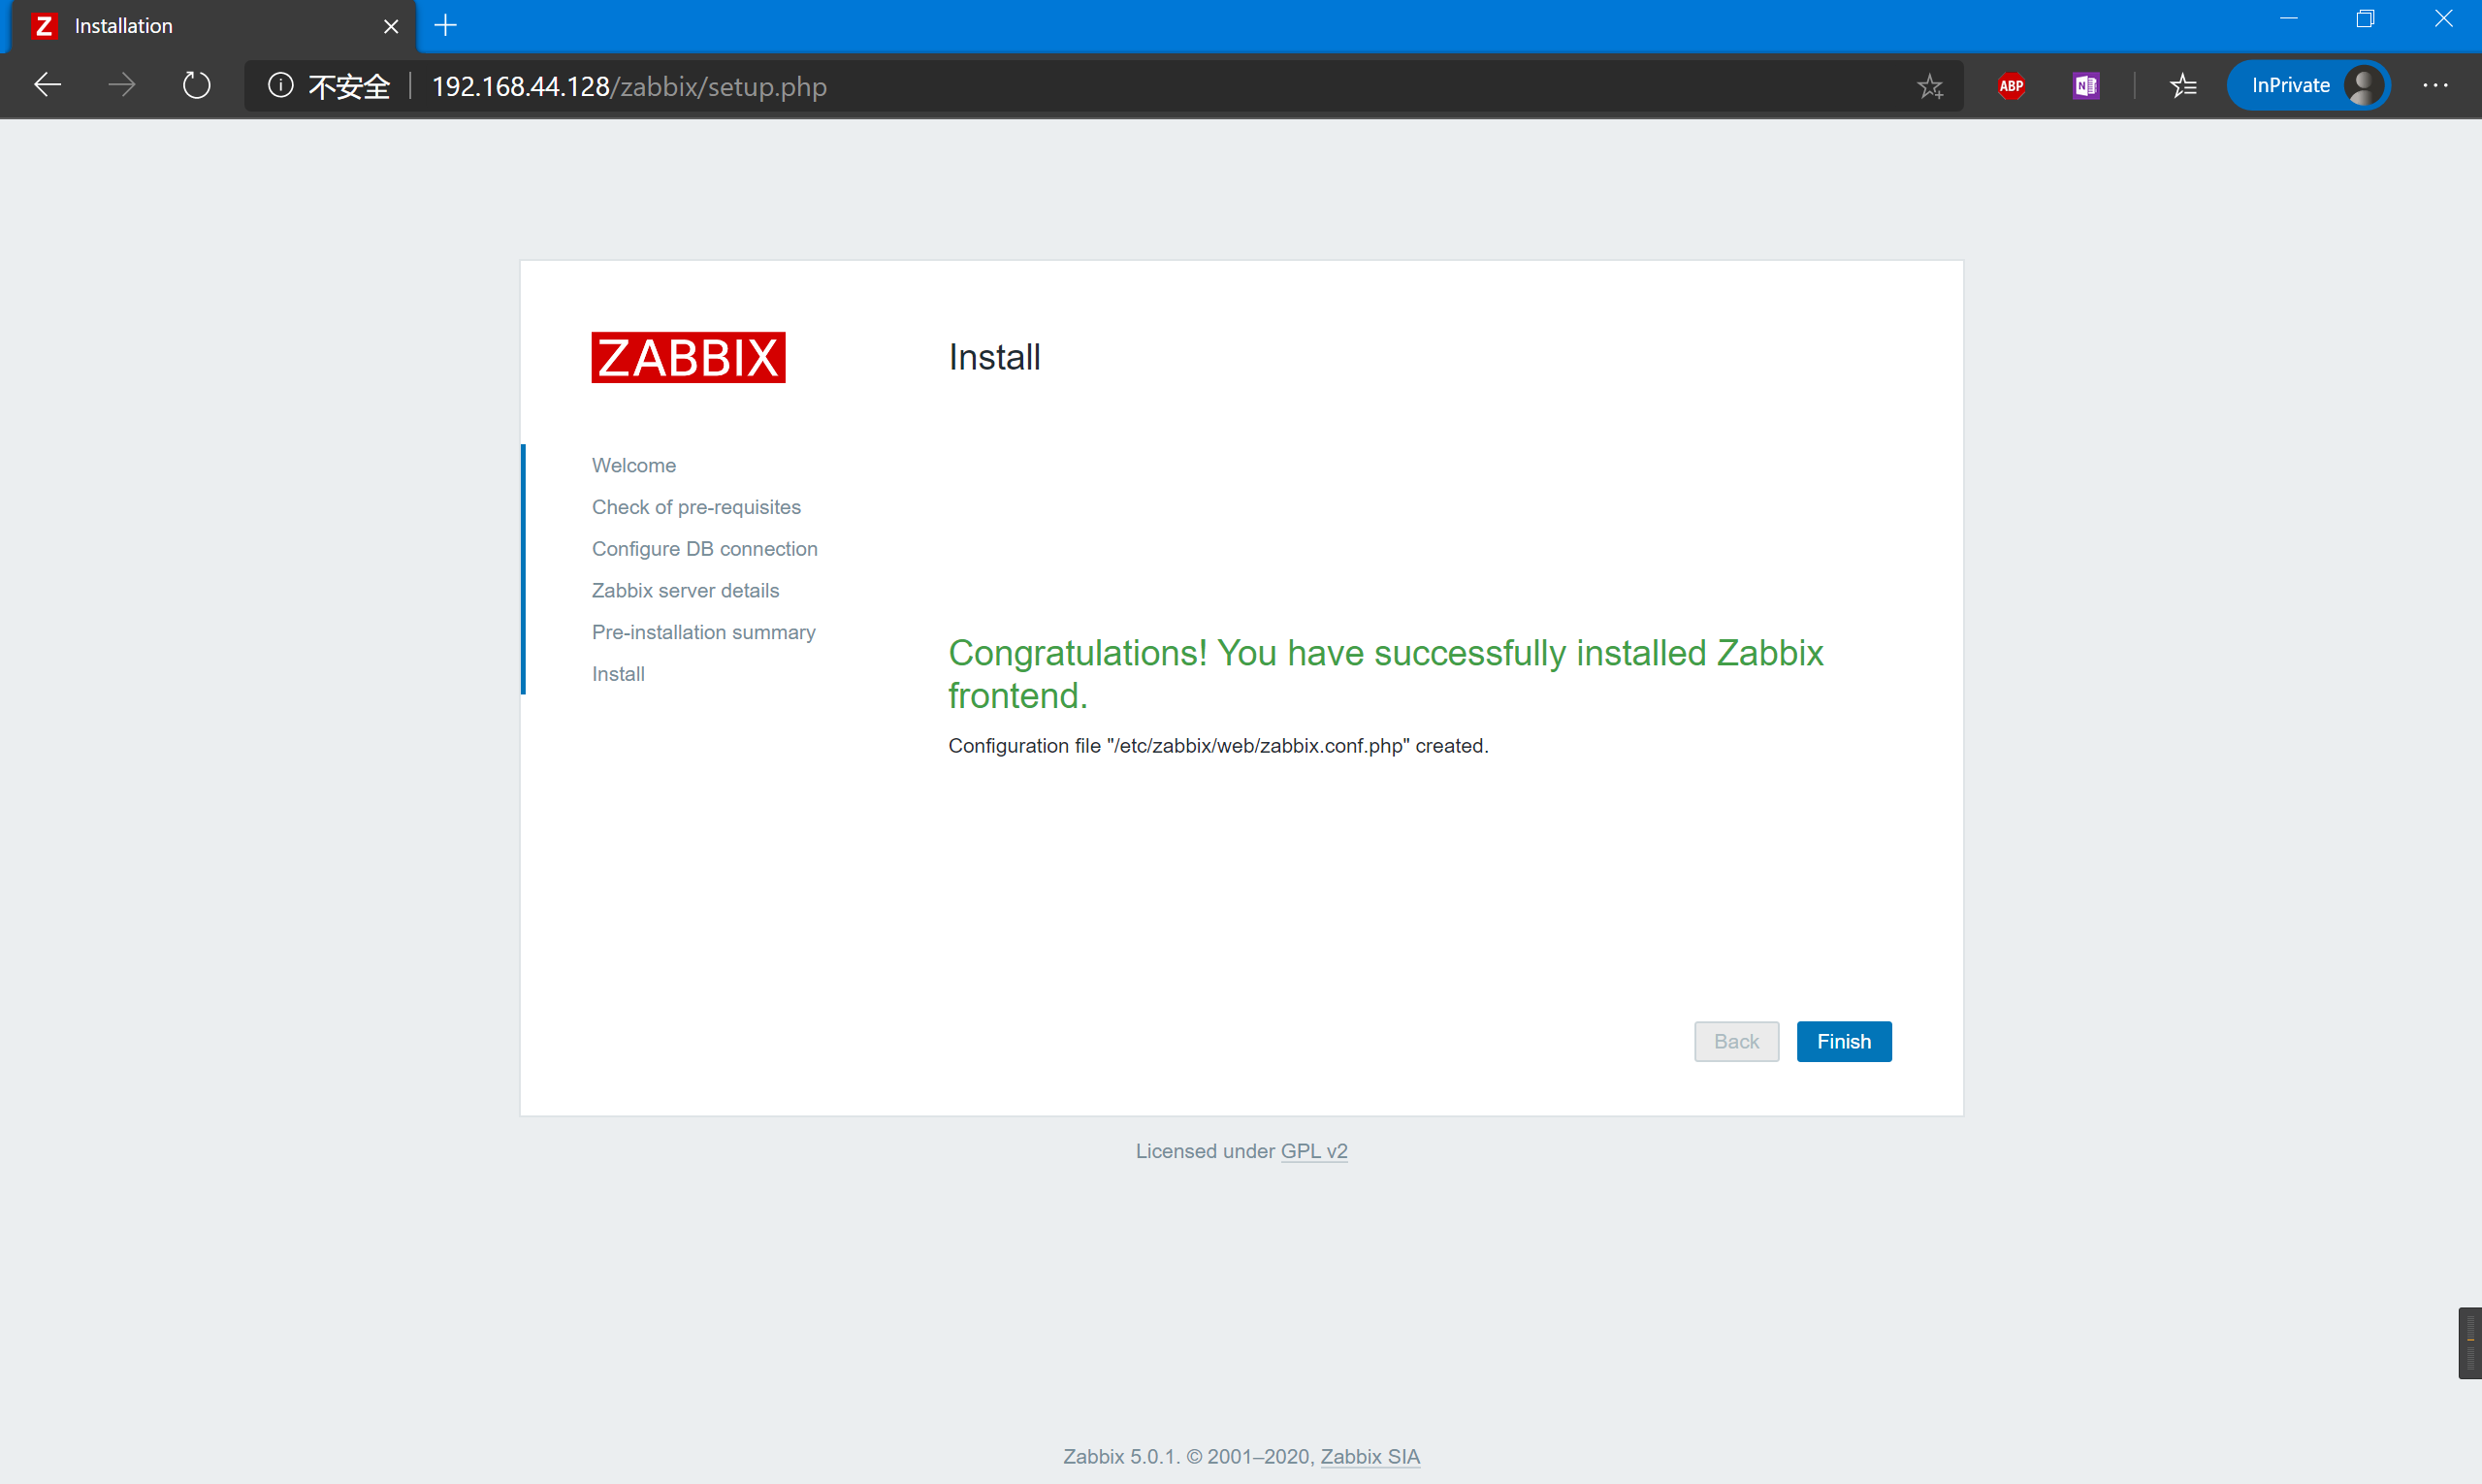
Return to the wizard and finish the setup.
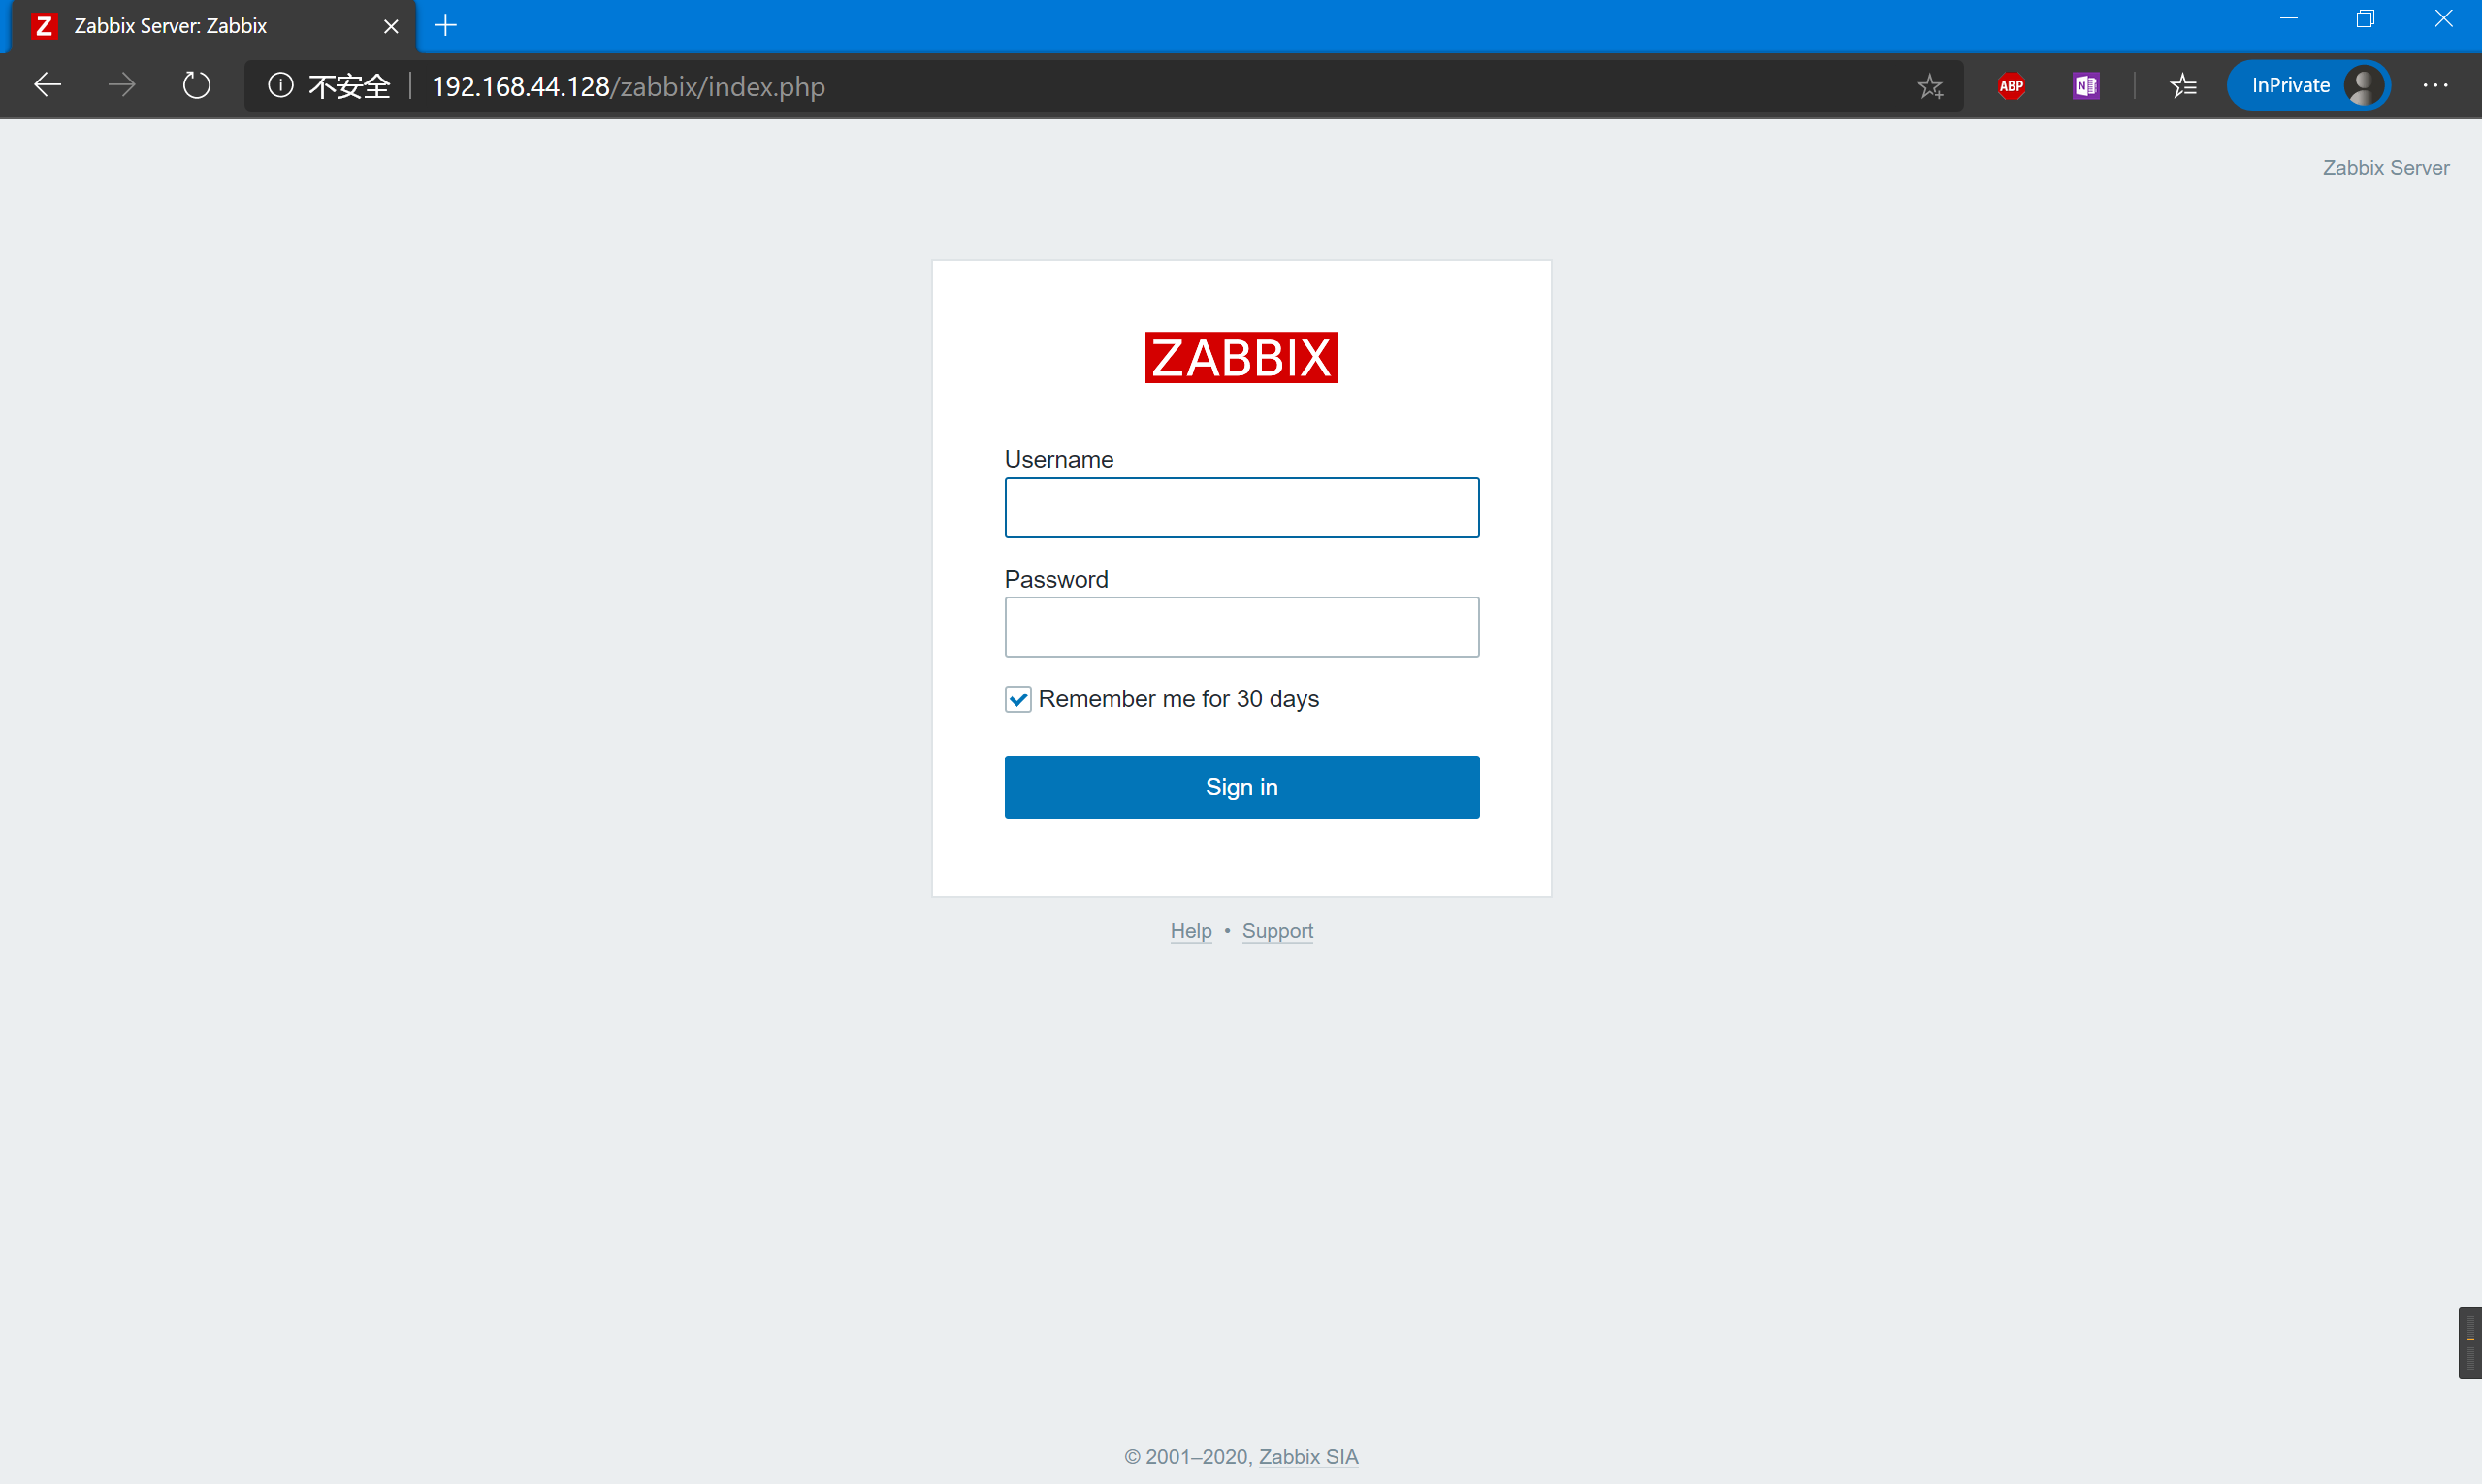
4. Sign in to Zabbix
The historical default frontend credentials are Admin and zabbix. Change the default password on first login. Use separate credentials for the OS, database, and frontend.
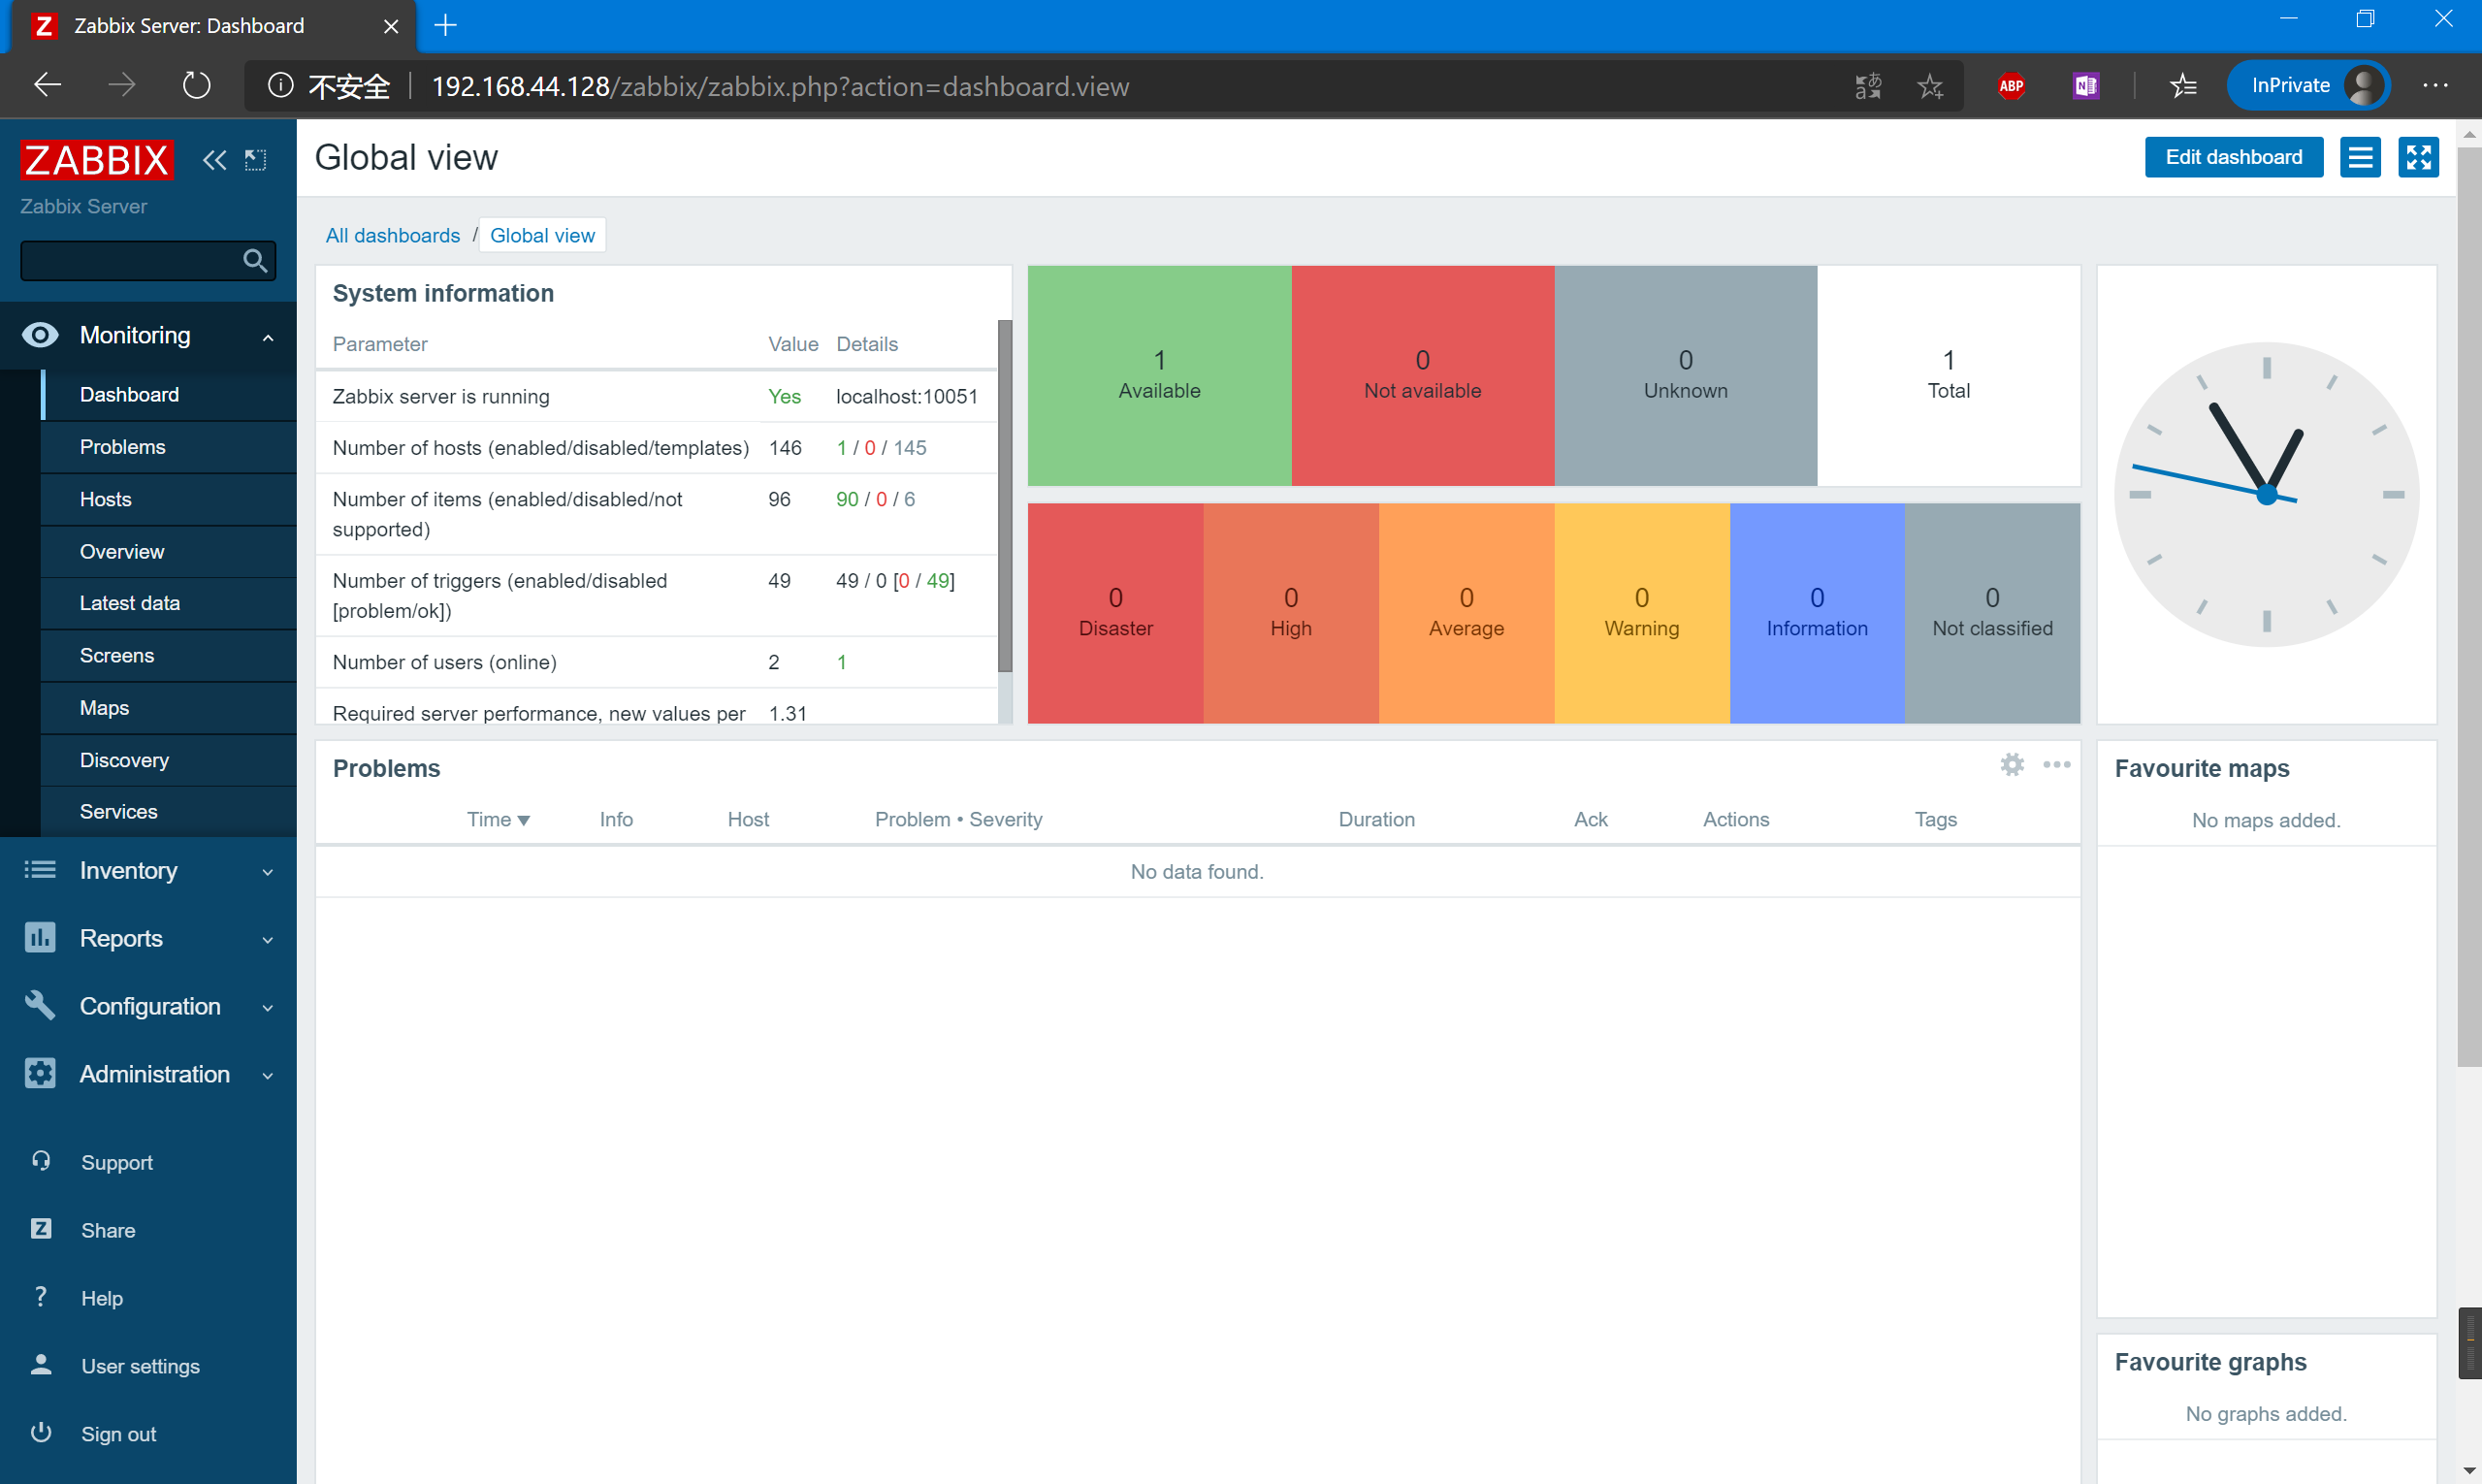
The dashboard opens after a successful login. Check the server logs and confirm that monitored items receive data.
5. Prepare packages for an offline install
Collect packages on an online machine with the same OS version, architecture, and repositories as the offline target. Dependencies already installed on the download host may be skipped, so test the bundle on a clean offline VM. Disable enabled online repositories during local installation.
只下载:
--downloadonly

指定下载目录:
--downloaddir=/tmp

连起来一起用:
yum install -y zabbix-web-mysql-scl zabbix-apache-conf-scl zabbix-server-mysql zabbix-agent --enablerepo=zabbix-frontend --downloadonly  --downloaddir=/tmp
The command above covers the listed Zabbix packages. Collect database, PHP, and other dependencies separately. The same approach can be used for other applications after testing the complete bundle.
